
Photo guide
This is an average Joe's guide to taking great pictures when it comes to selling.
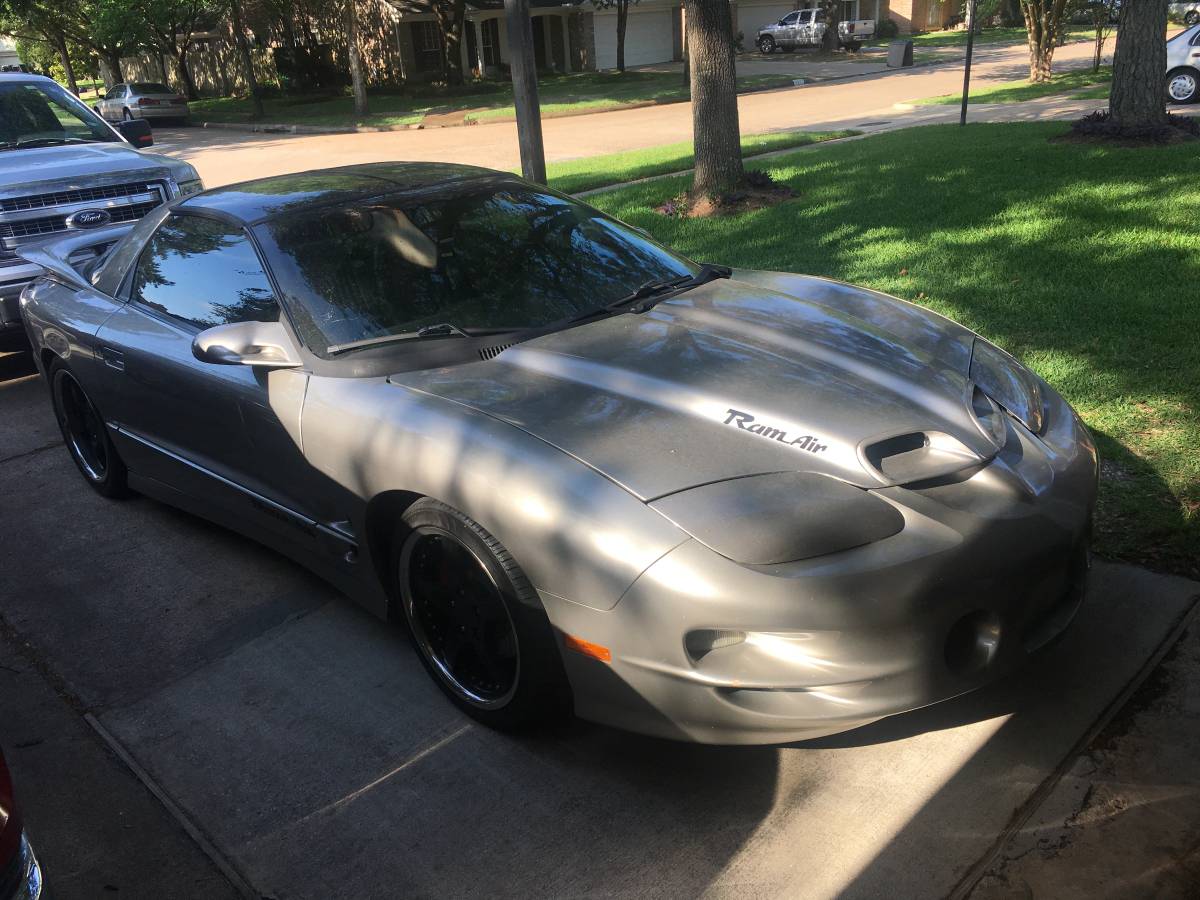
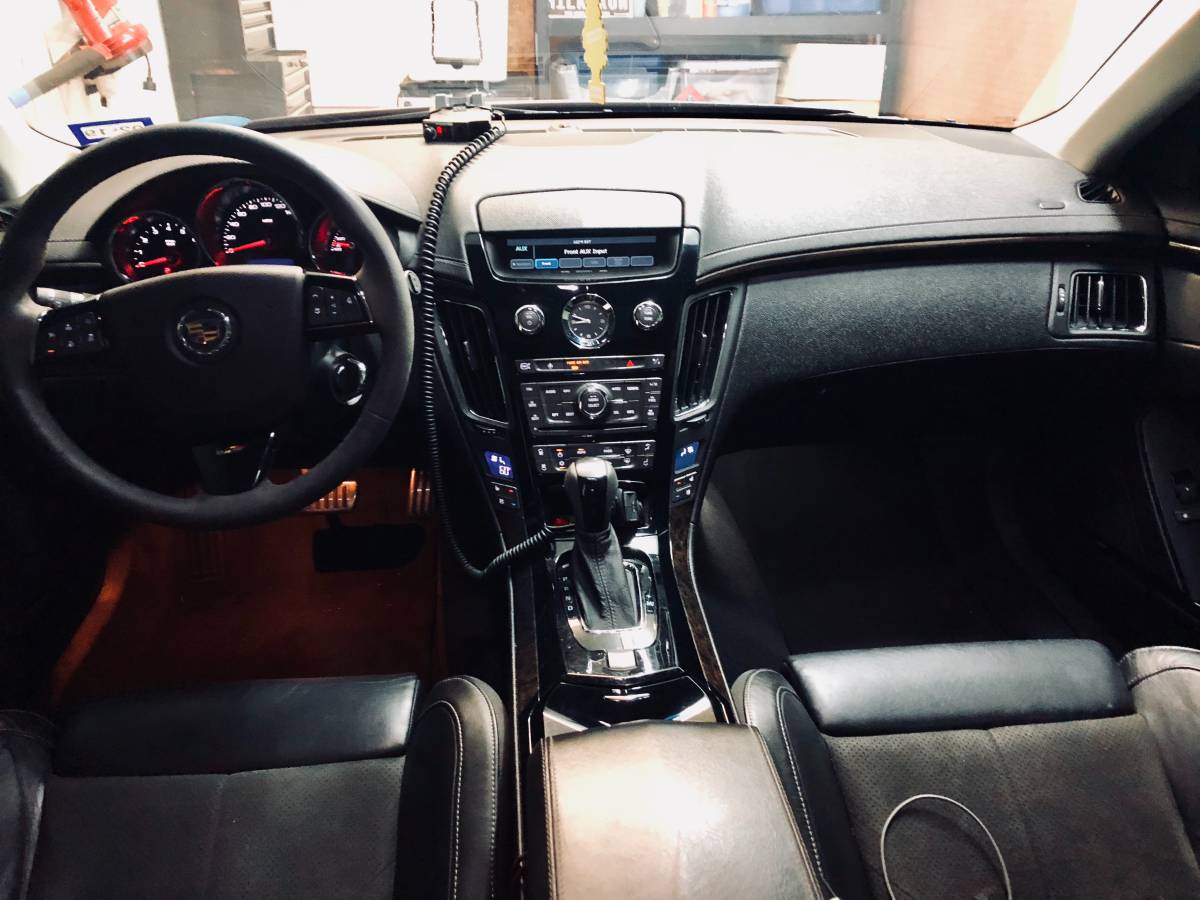
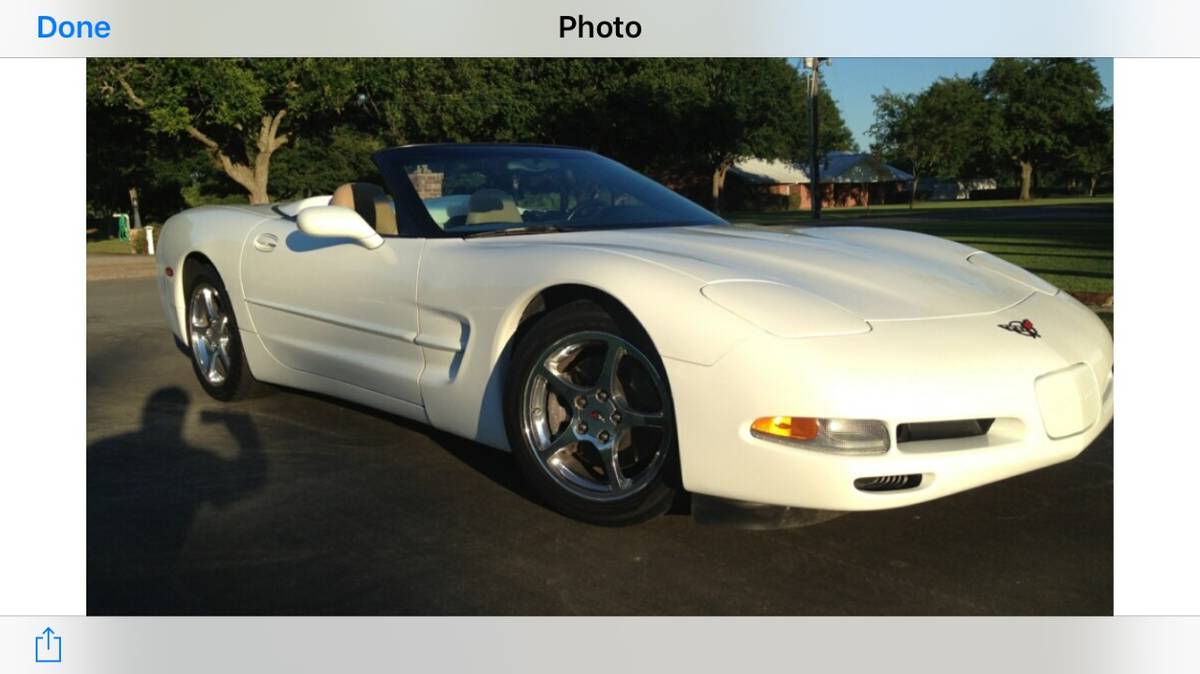
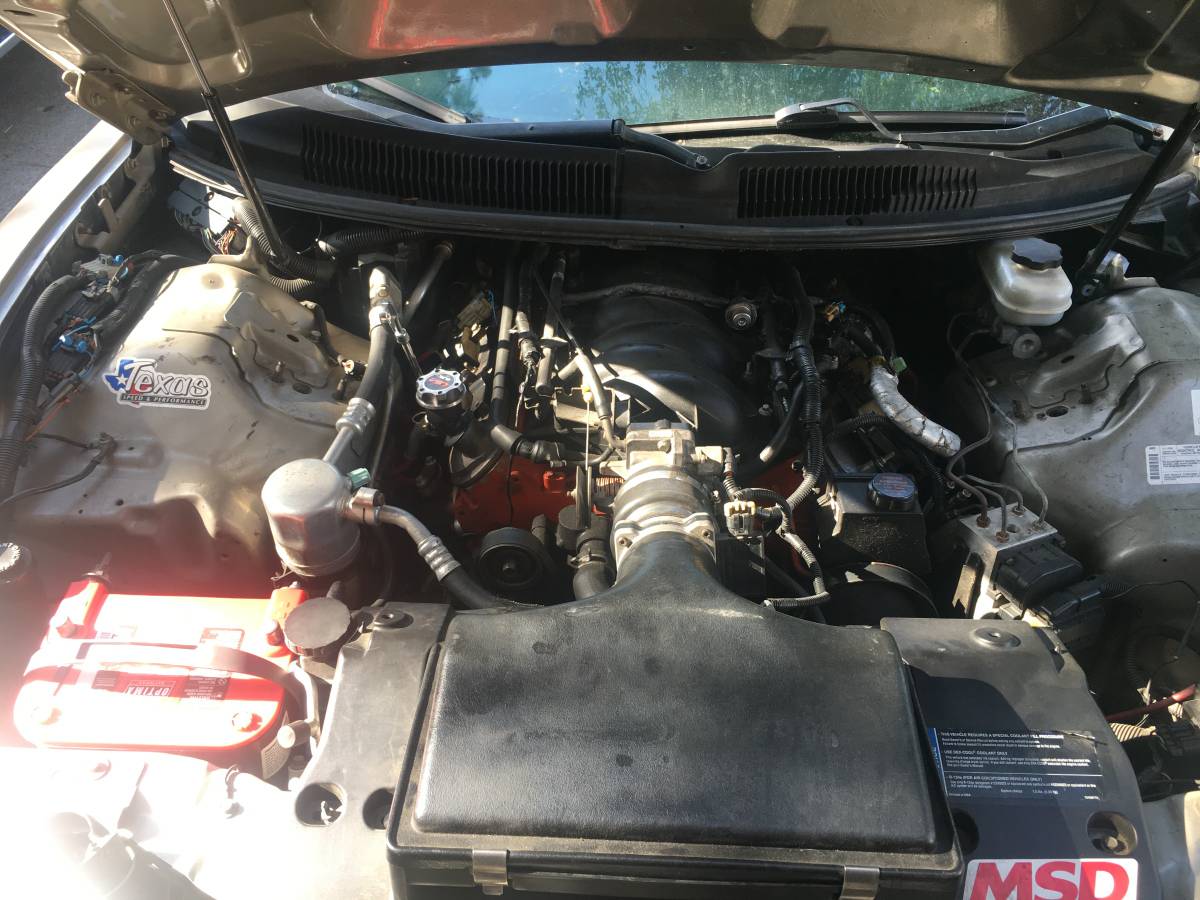
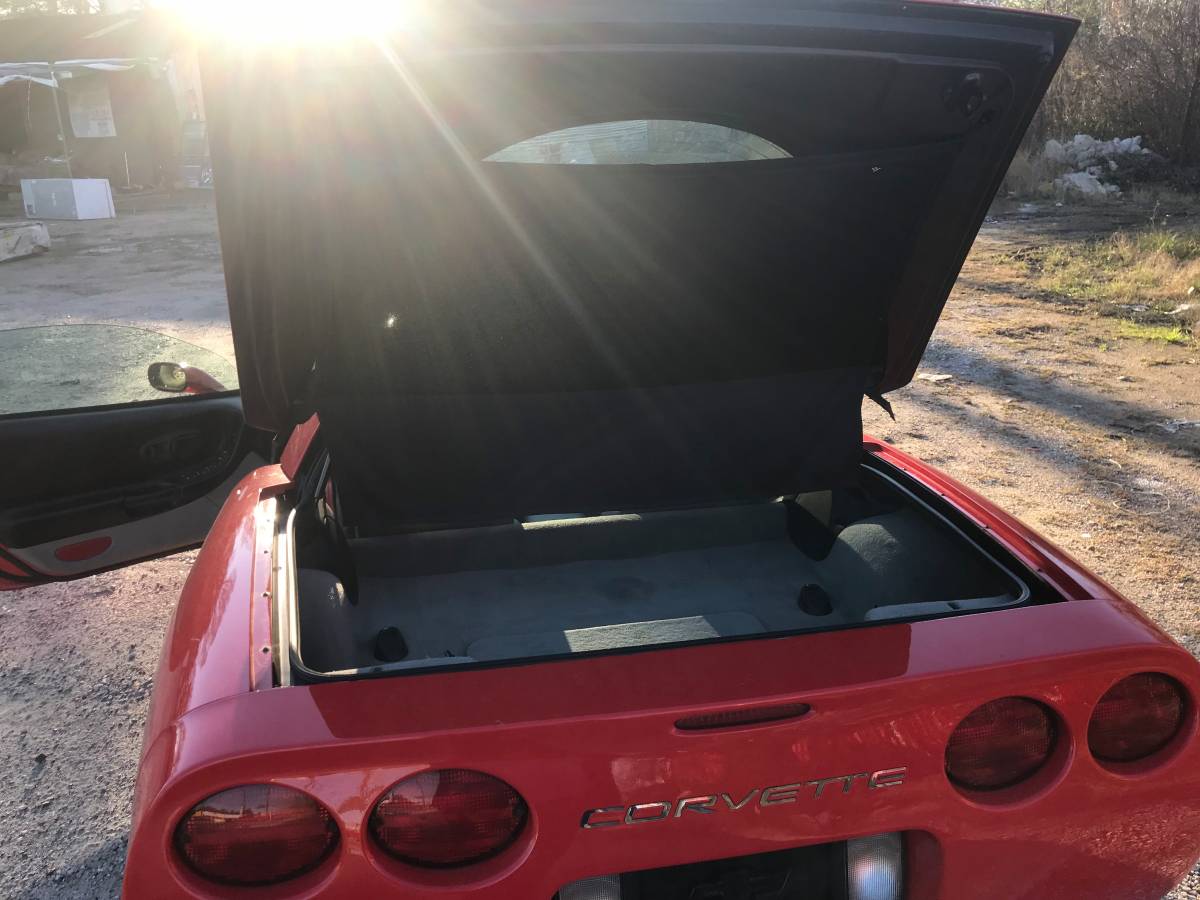
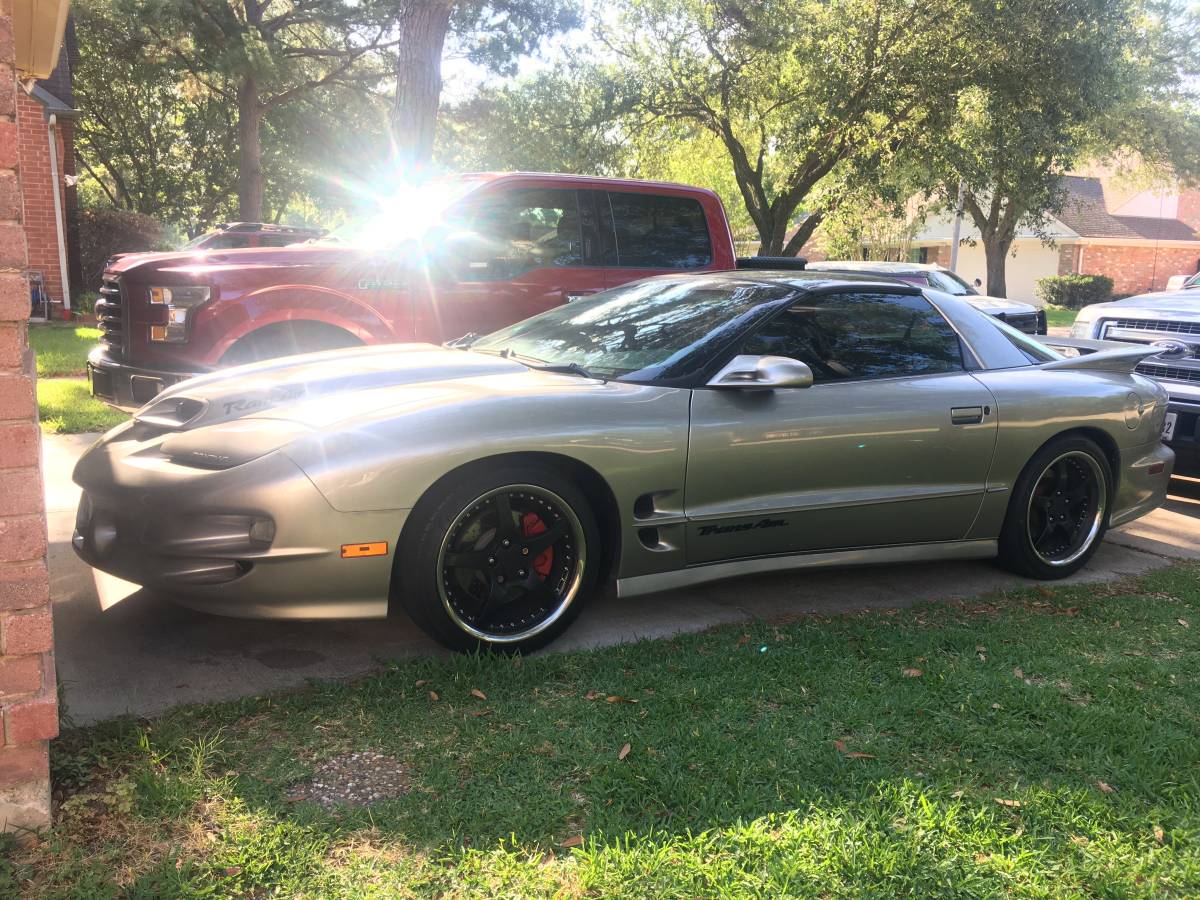
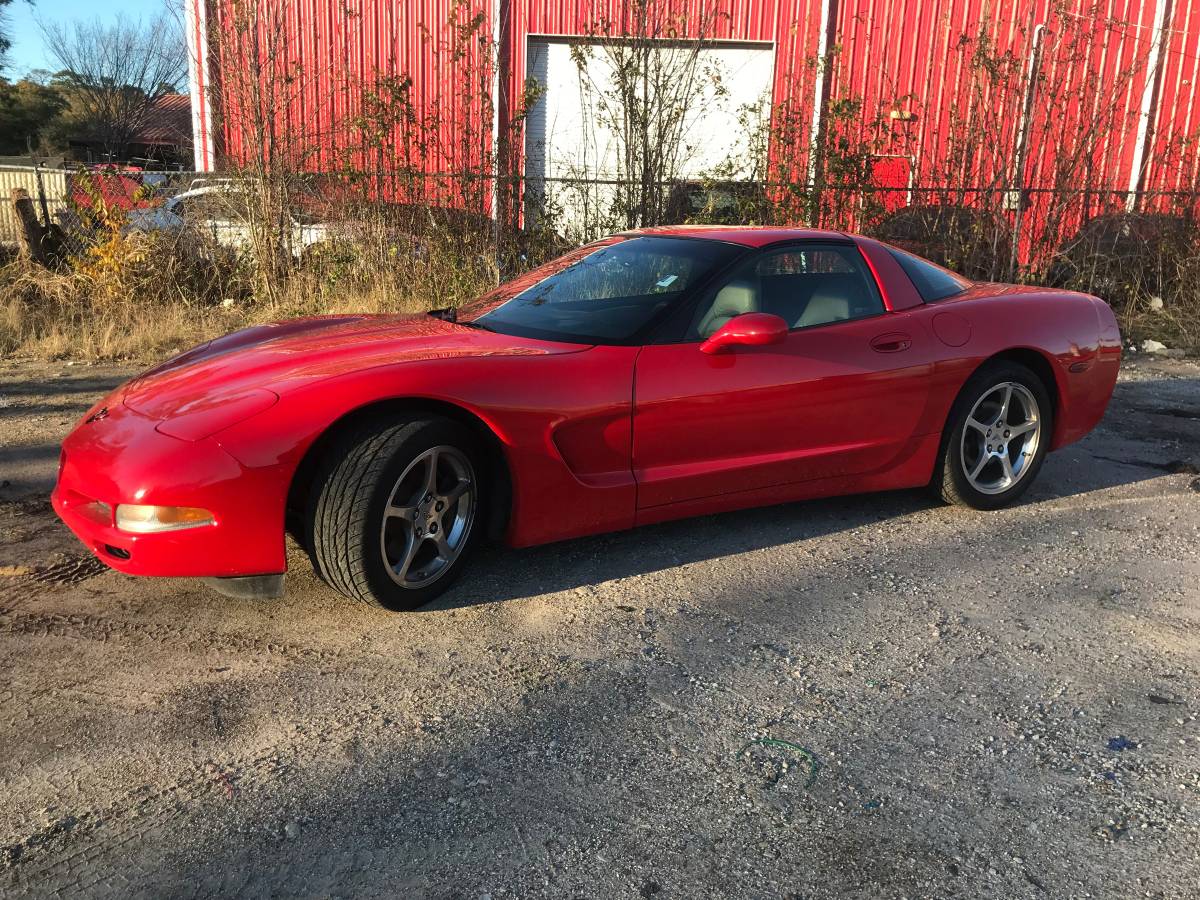
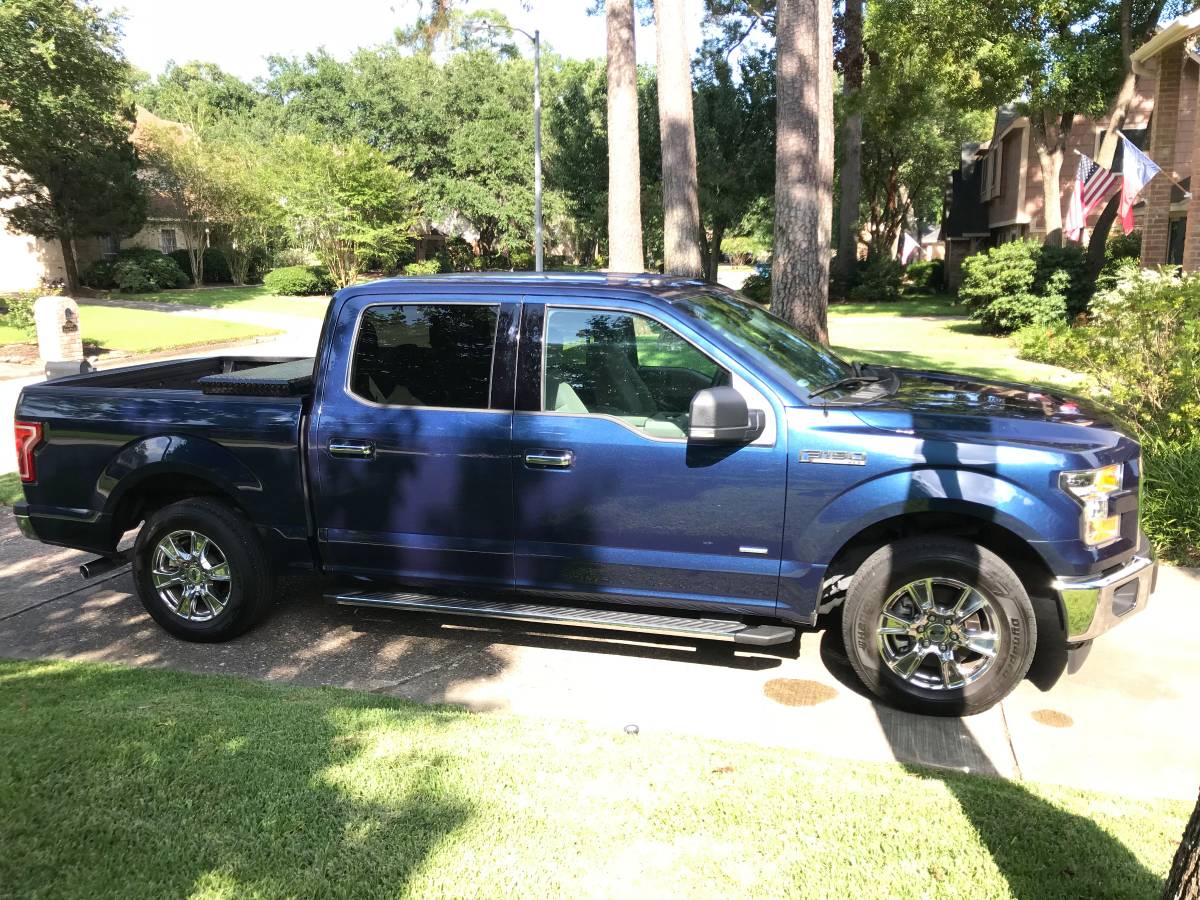
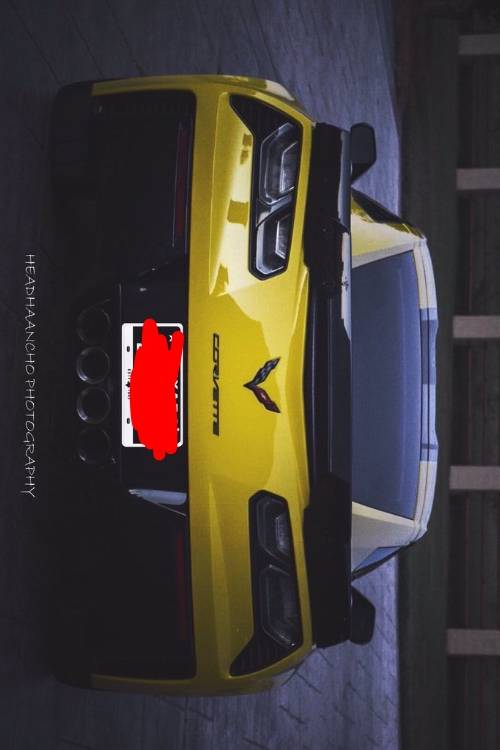
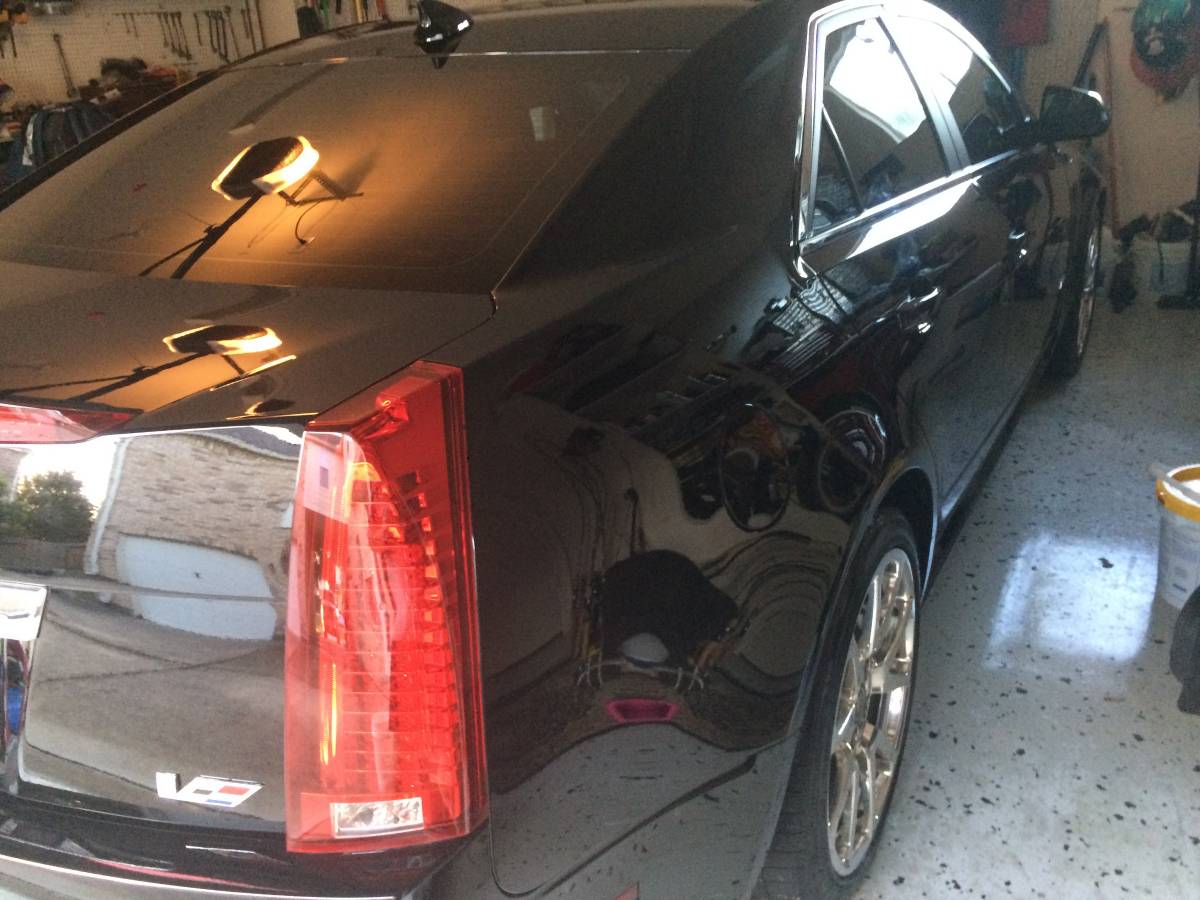
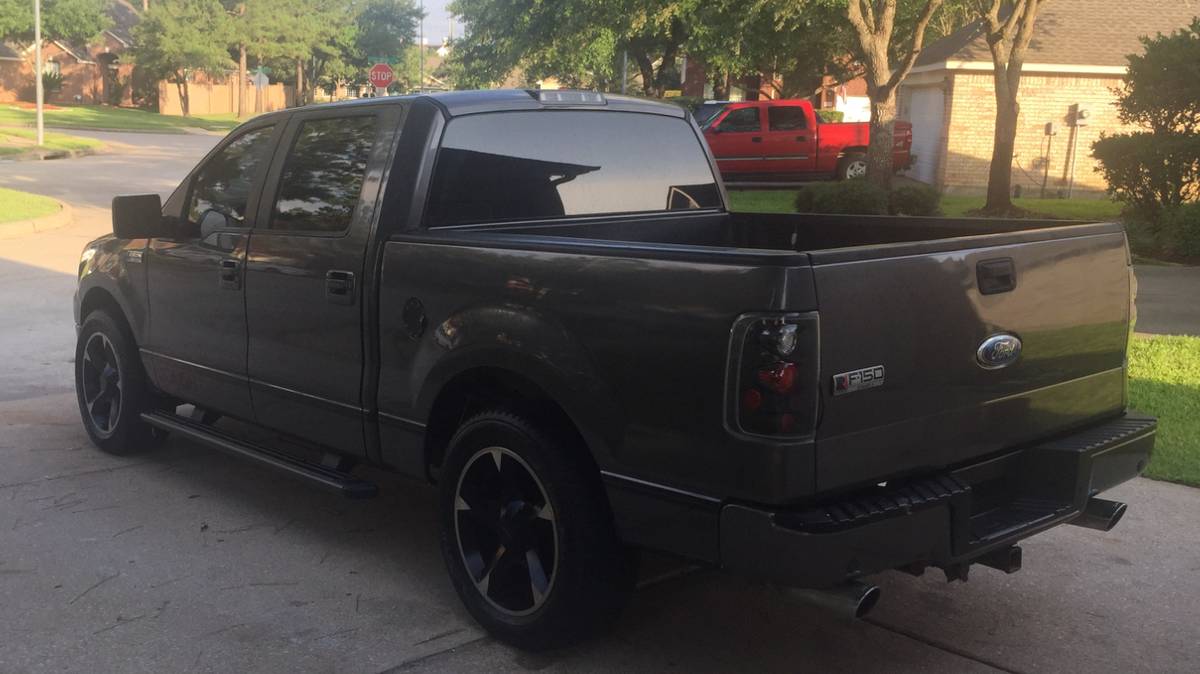
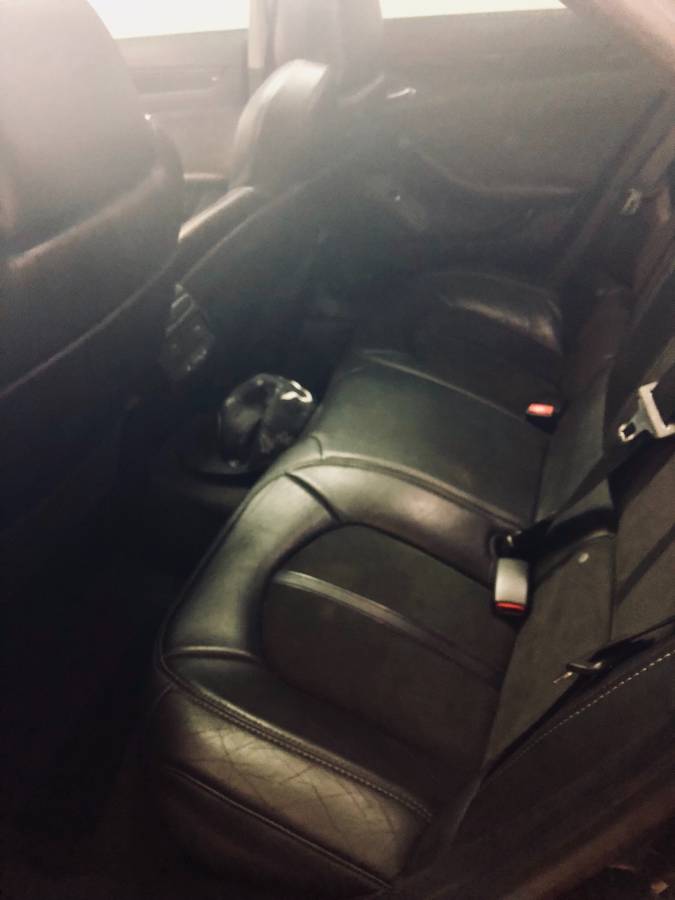
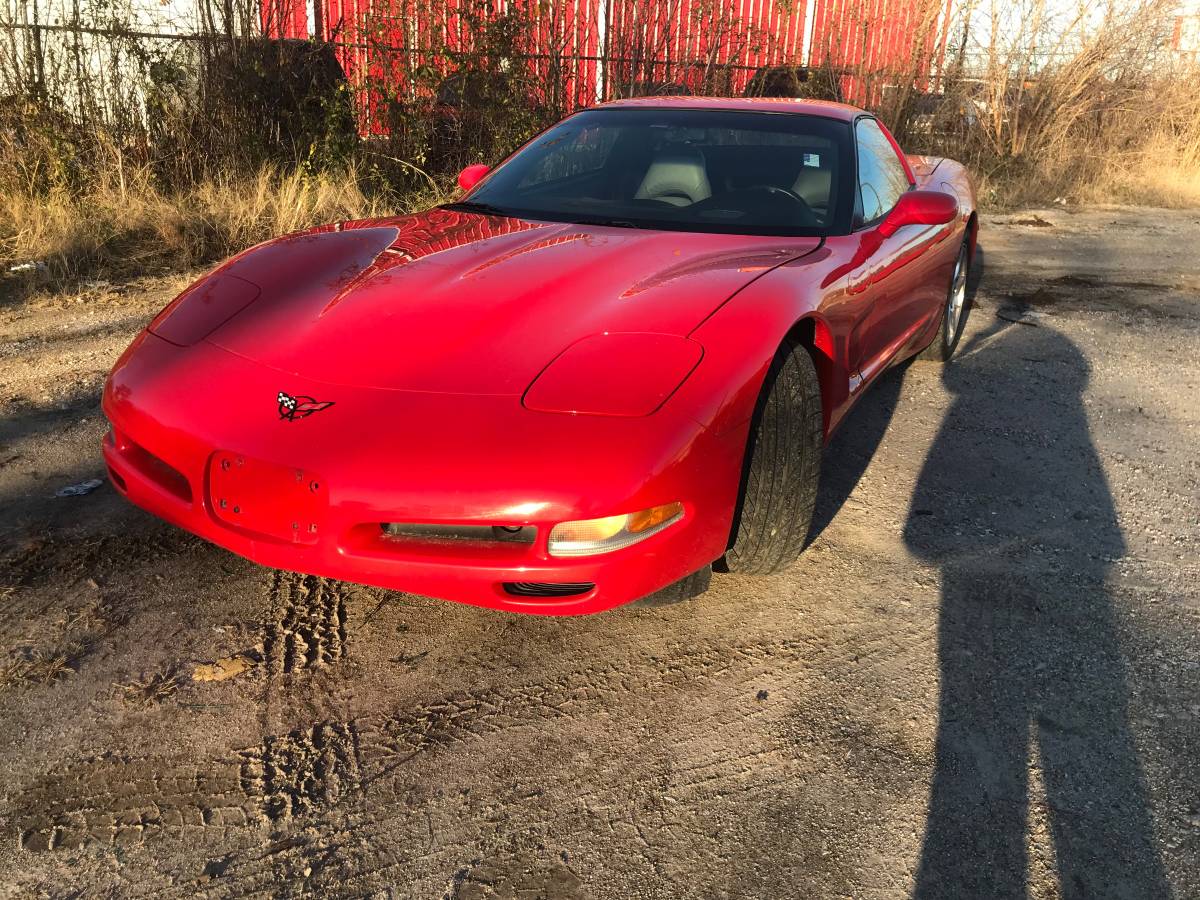
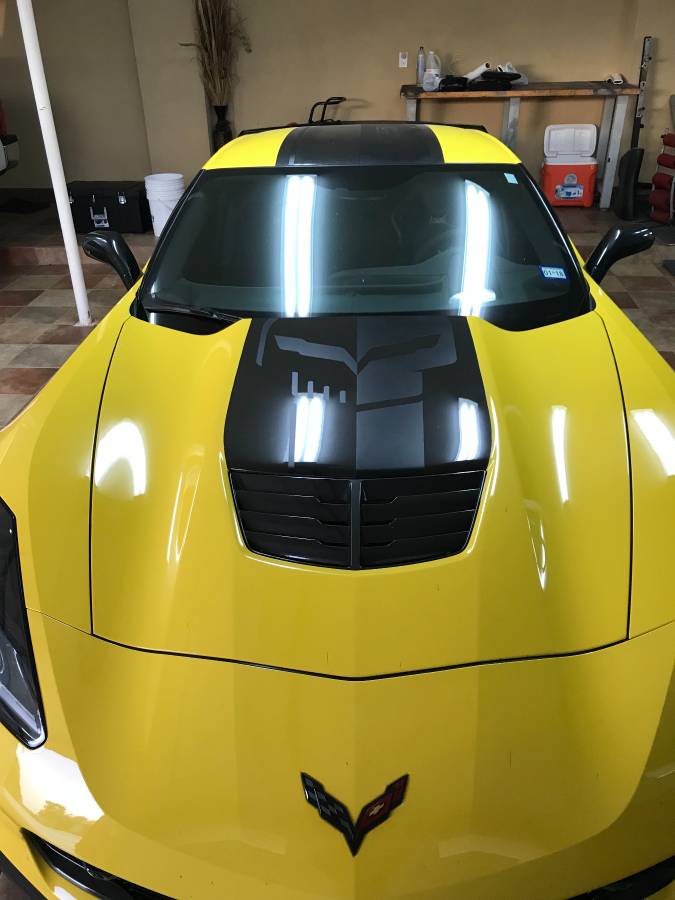
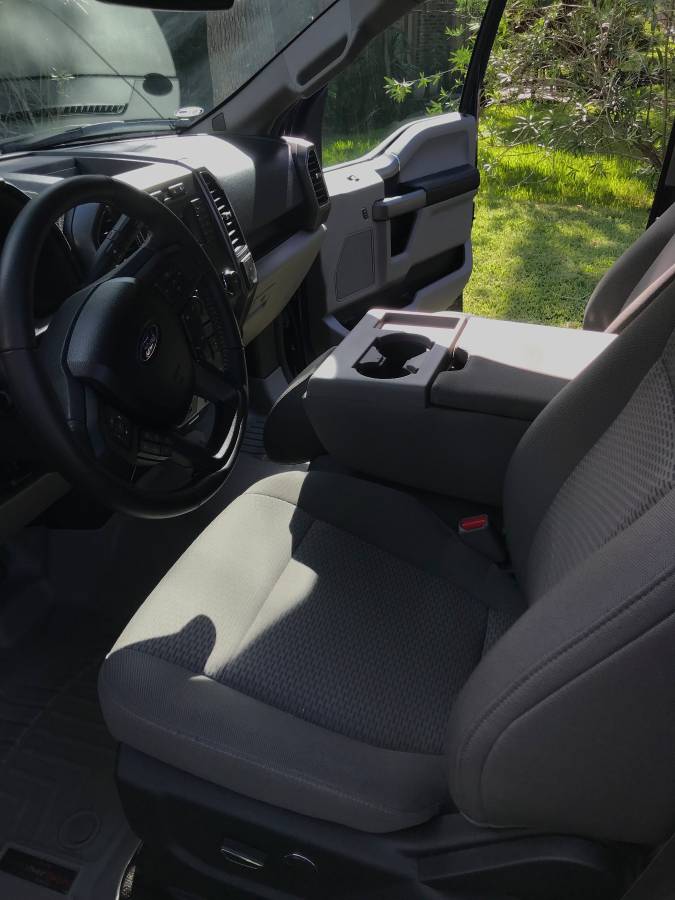
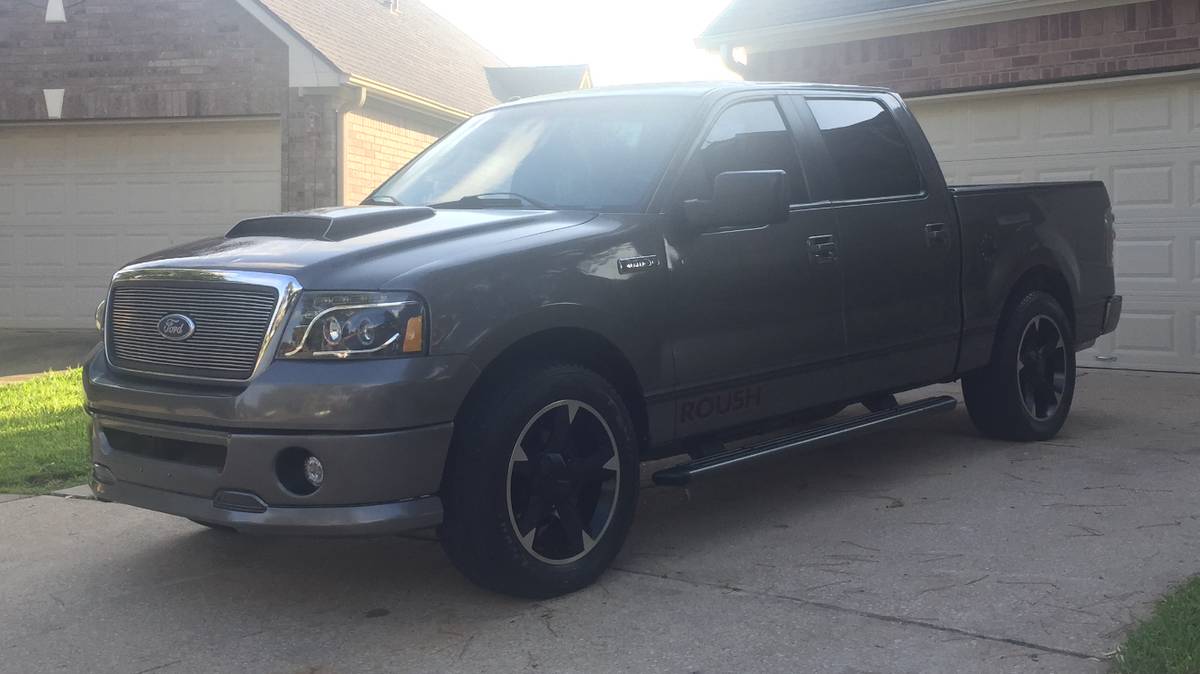
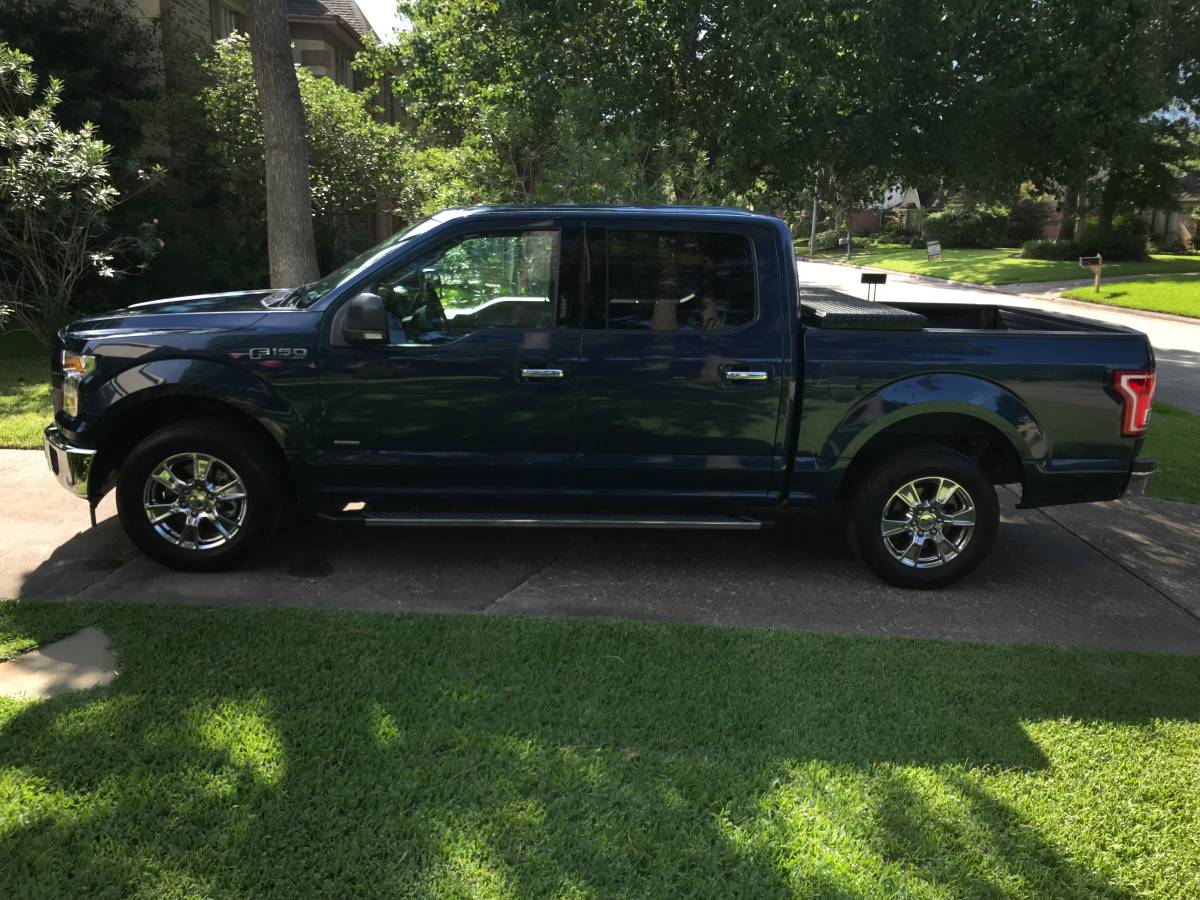
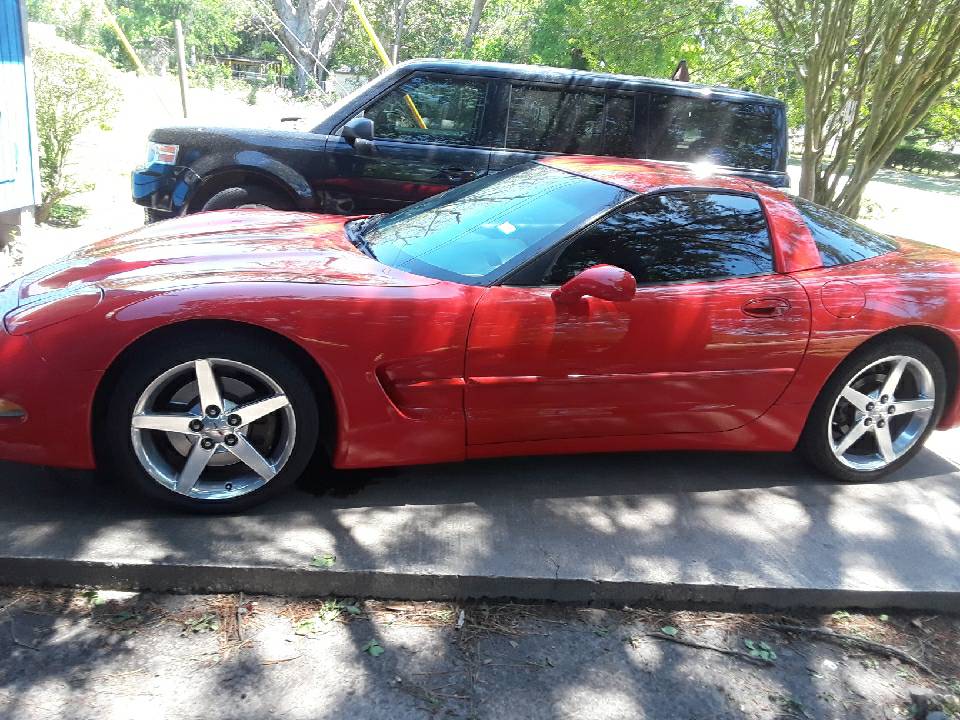
Before we get started, take a minute to check out this gallery of "horrible classified pictures" and see if you can figure out what "not to do". Took us no time to find these pictures floating around. After finishing this guide, you will have a huge advantage over others trying to sell their car.
Lets do this!
Creating an appealing, detailed ad shows how well you know your car and have really taken good care of it. Taking nice pictures of everything shows your attention to detail and gives the buyer more confidence in buying from you. Make sure to give your car a good cleaning, from a properly vacummed and wiped down interior to shinny wheels and tires. If you are selling a nice ride, clean up that engine bay and exhaust tips as well. Remove all your personal junk from the interior and trunk.
Apps we recommend: PhotoEditor for drawing and Snapseed for color balance.
First of all, few things to keep in mind:
Take pictures at the highest resolution your camera offers. Make sure your camera is focused in every picture so the main object comes out sharp, not blurry. Touch different parts of your screen to adjust the focus and see which setting gives you the best picture.
Keep an eye on Light Balance - Too much brightness (sunlight) or darkness(shadow) causes the camera to lose light balance. If your picture is going to come out too bright, too dark, or both, dont take it. Find a different angle or move the car around.
Avoid shadows of objects in pictures (trees, your own, poles, etc).
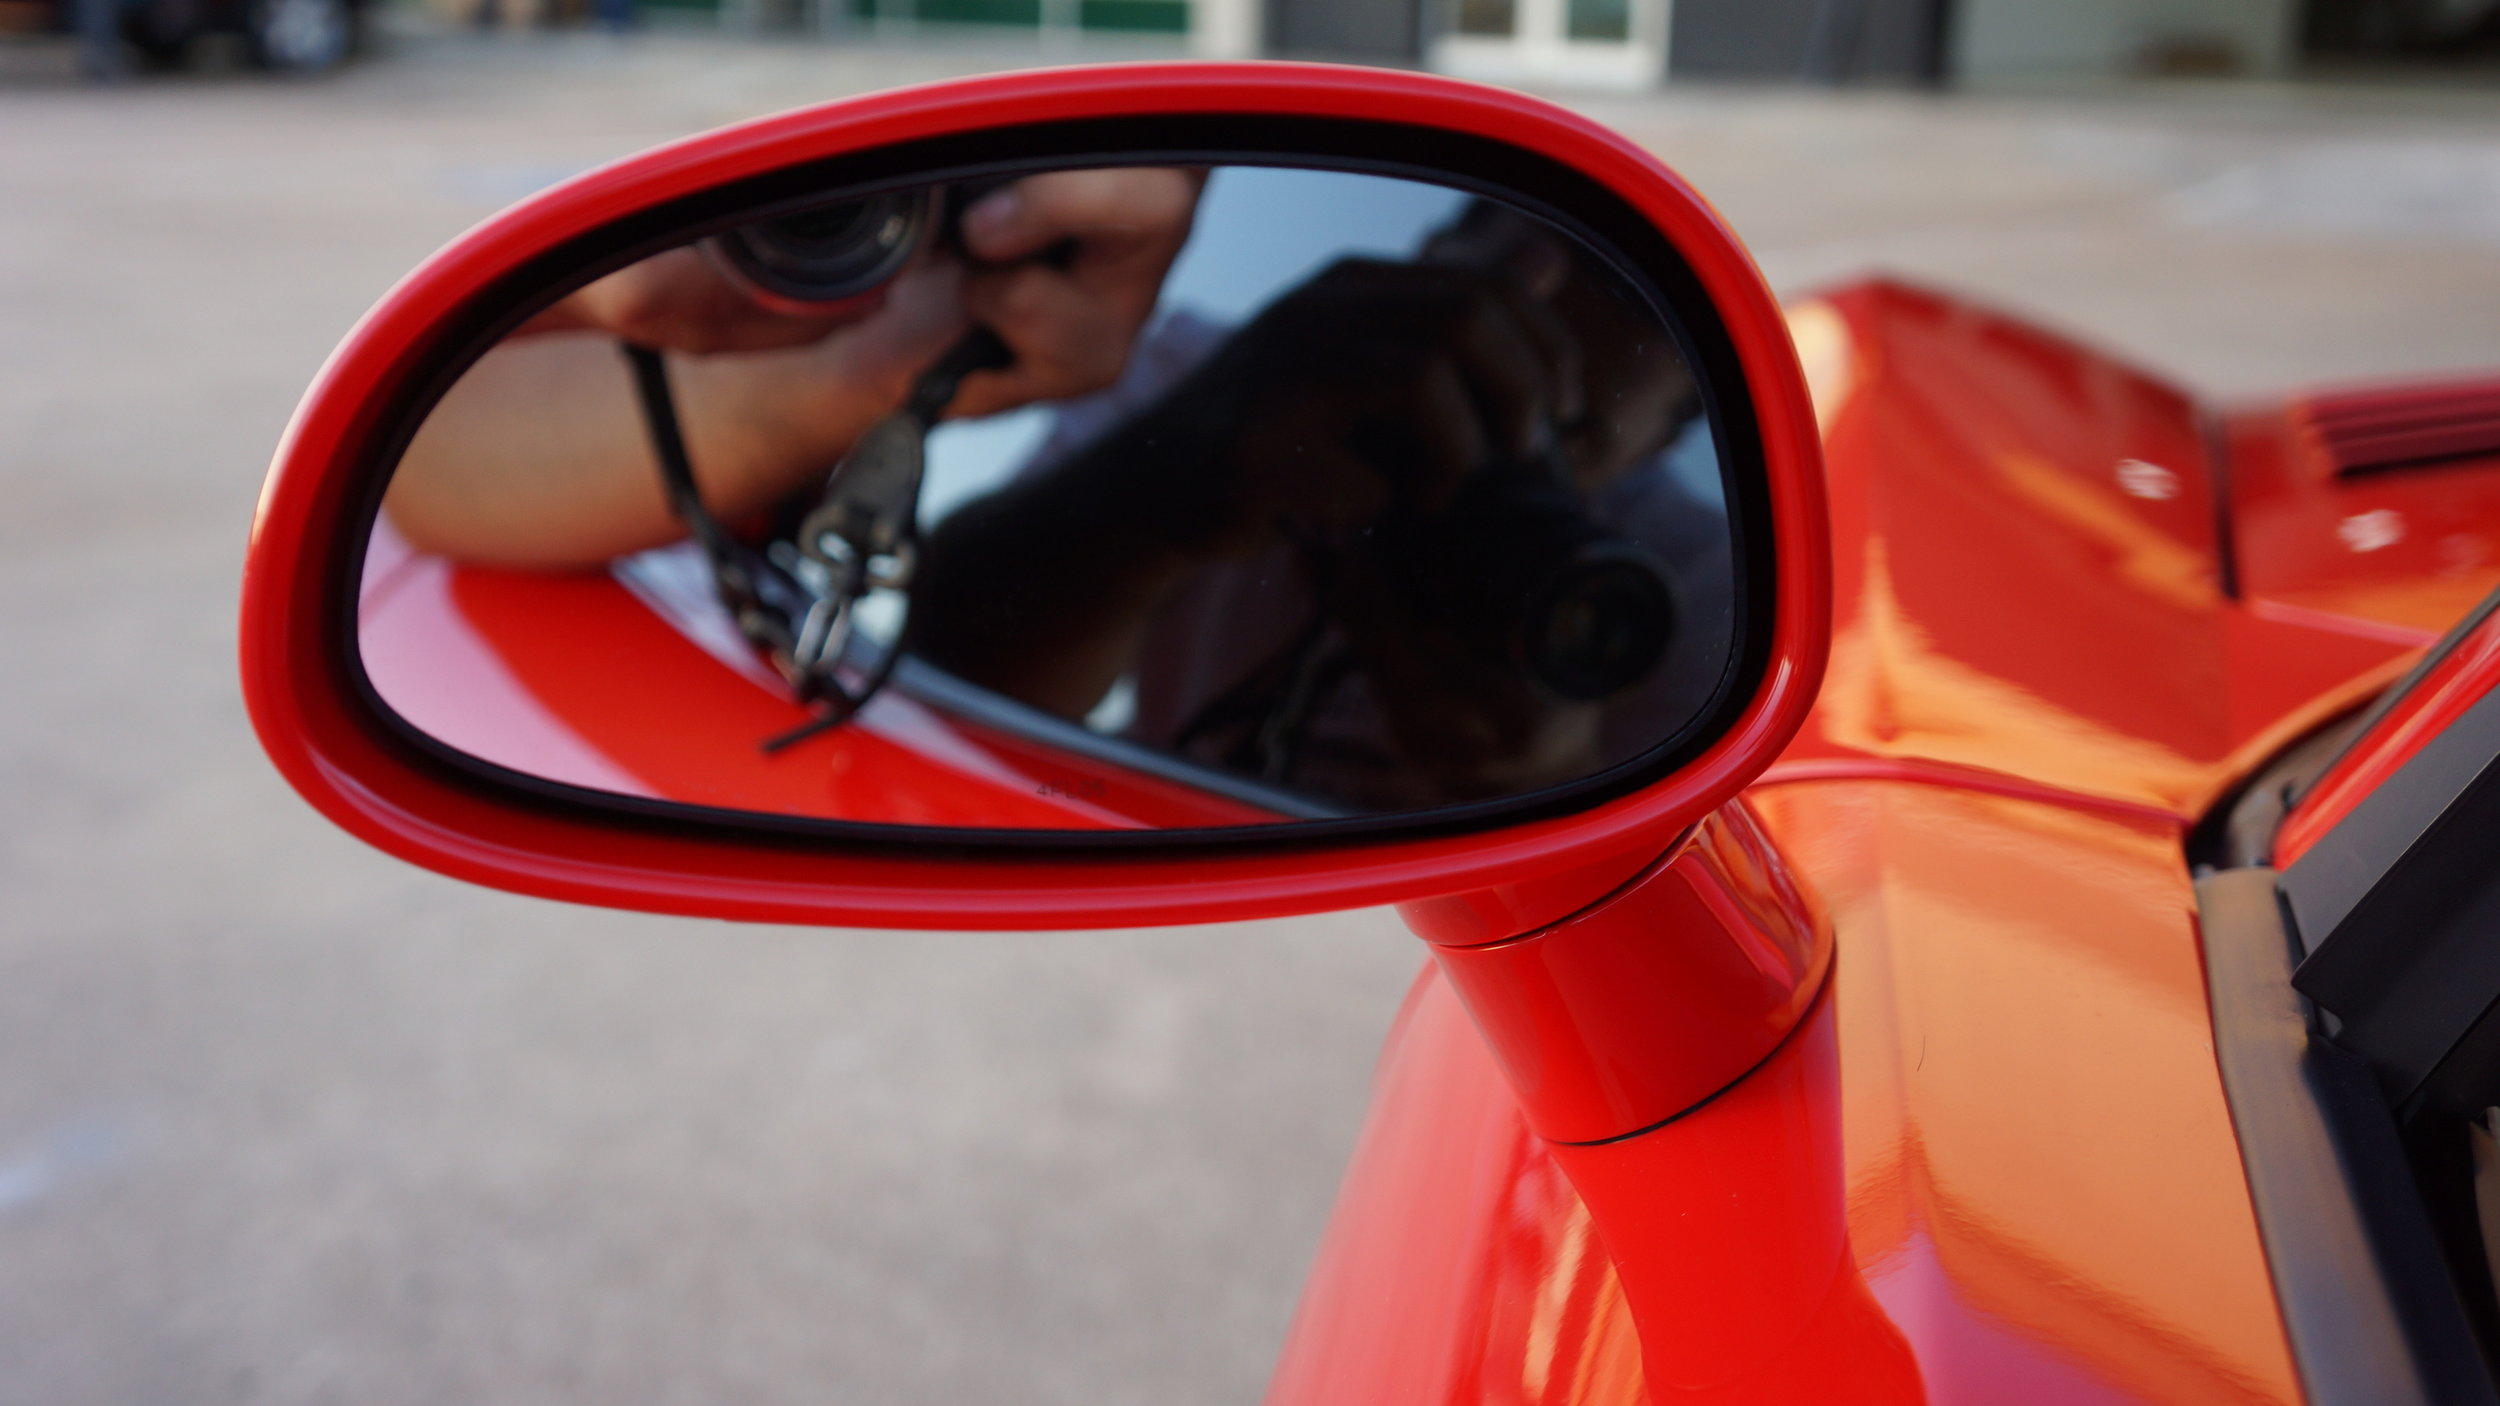
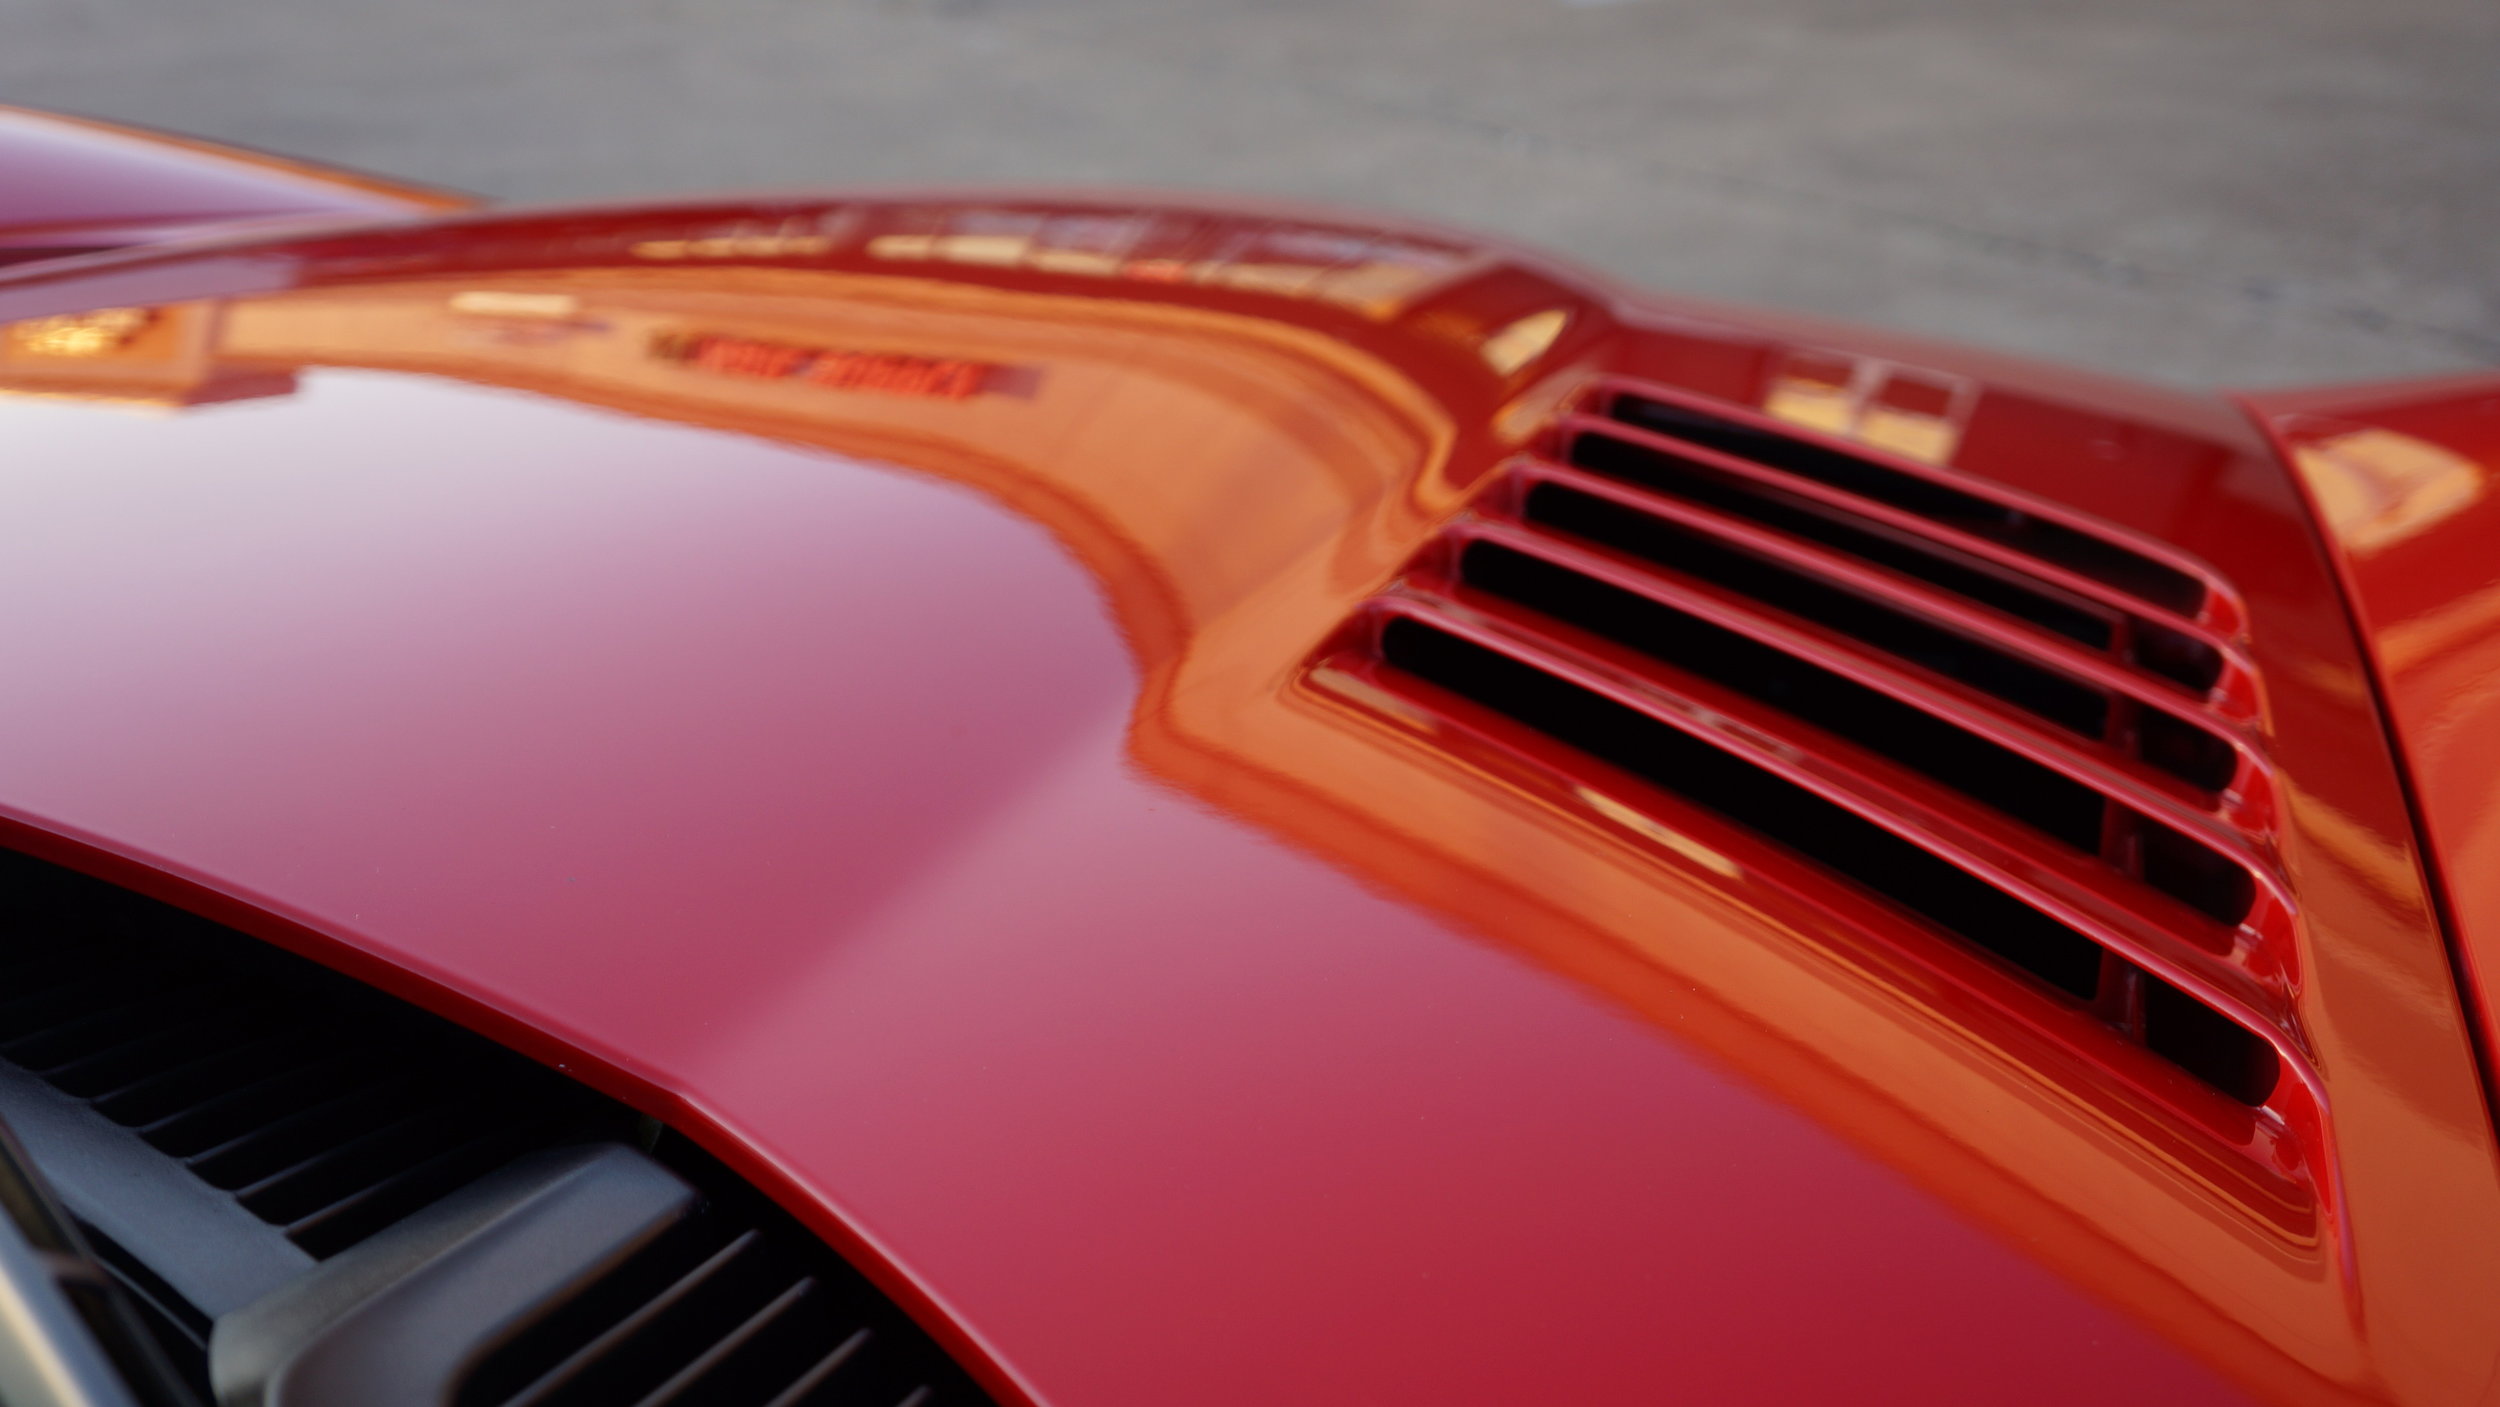
Avoid reflections on the car (Sun especially, trees, yourself, etc).
If you do not have an indoor location, the best time to take pictures outside is around sunrise or sunset, or on a very cloudy day.
After dark, you can also take decent pictures at a nicely lit up gas station with high ceilings but light reflections do cause some problems.
Please do not post screenshots. Properly crop your pictures.
Avoid taking pictures in tight areas (inside a crammed garage).
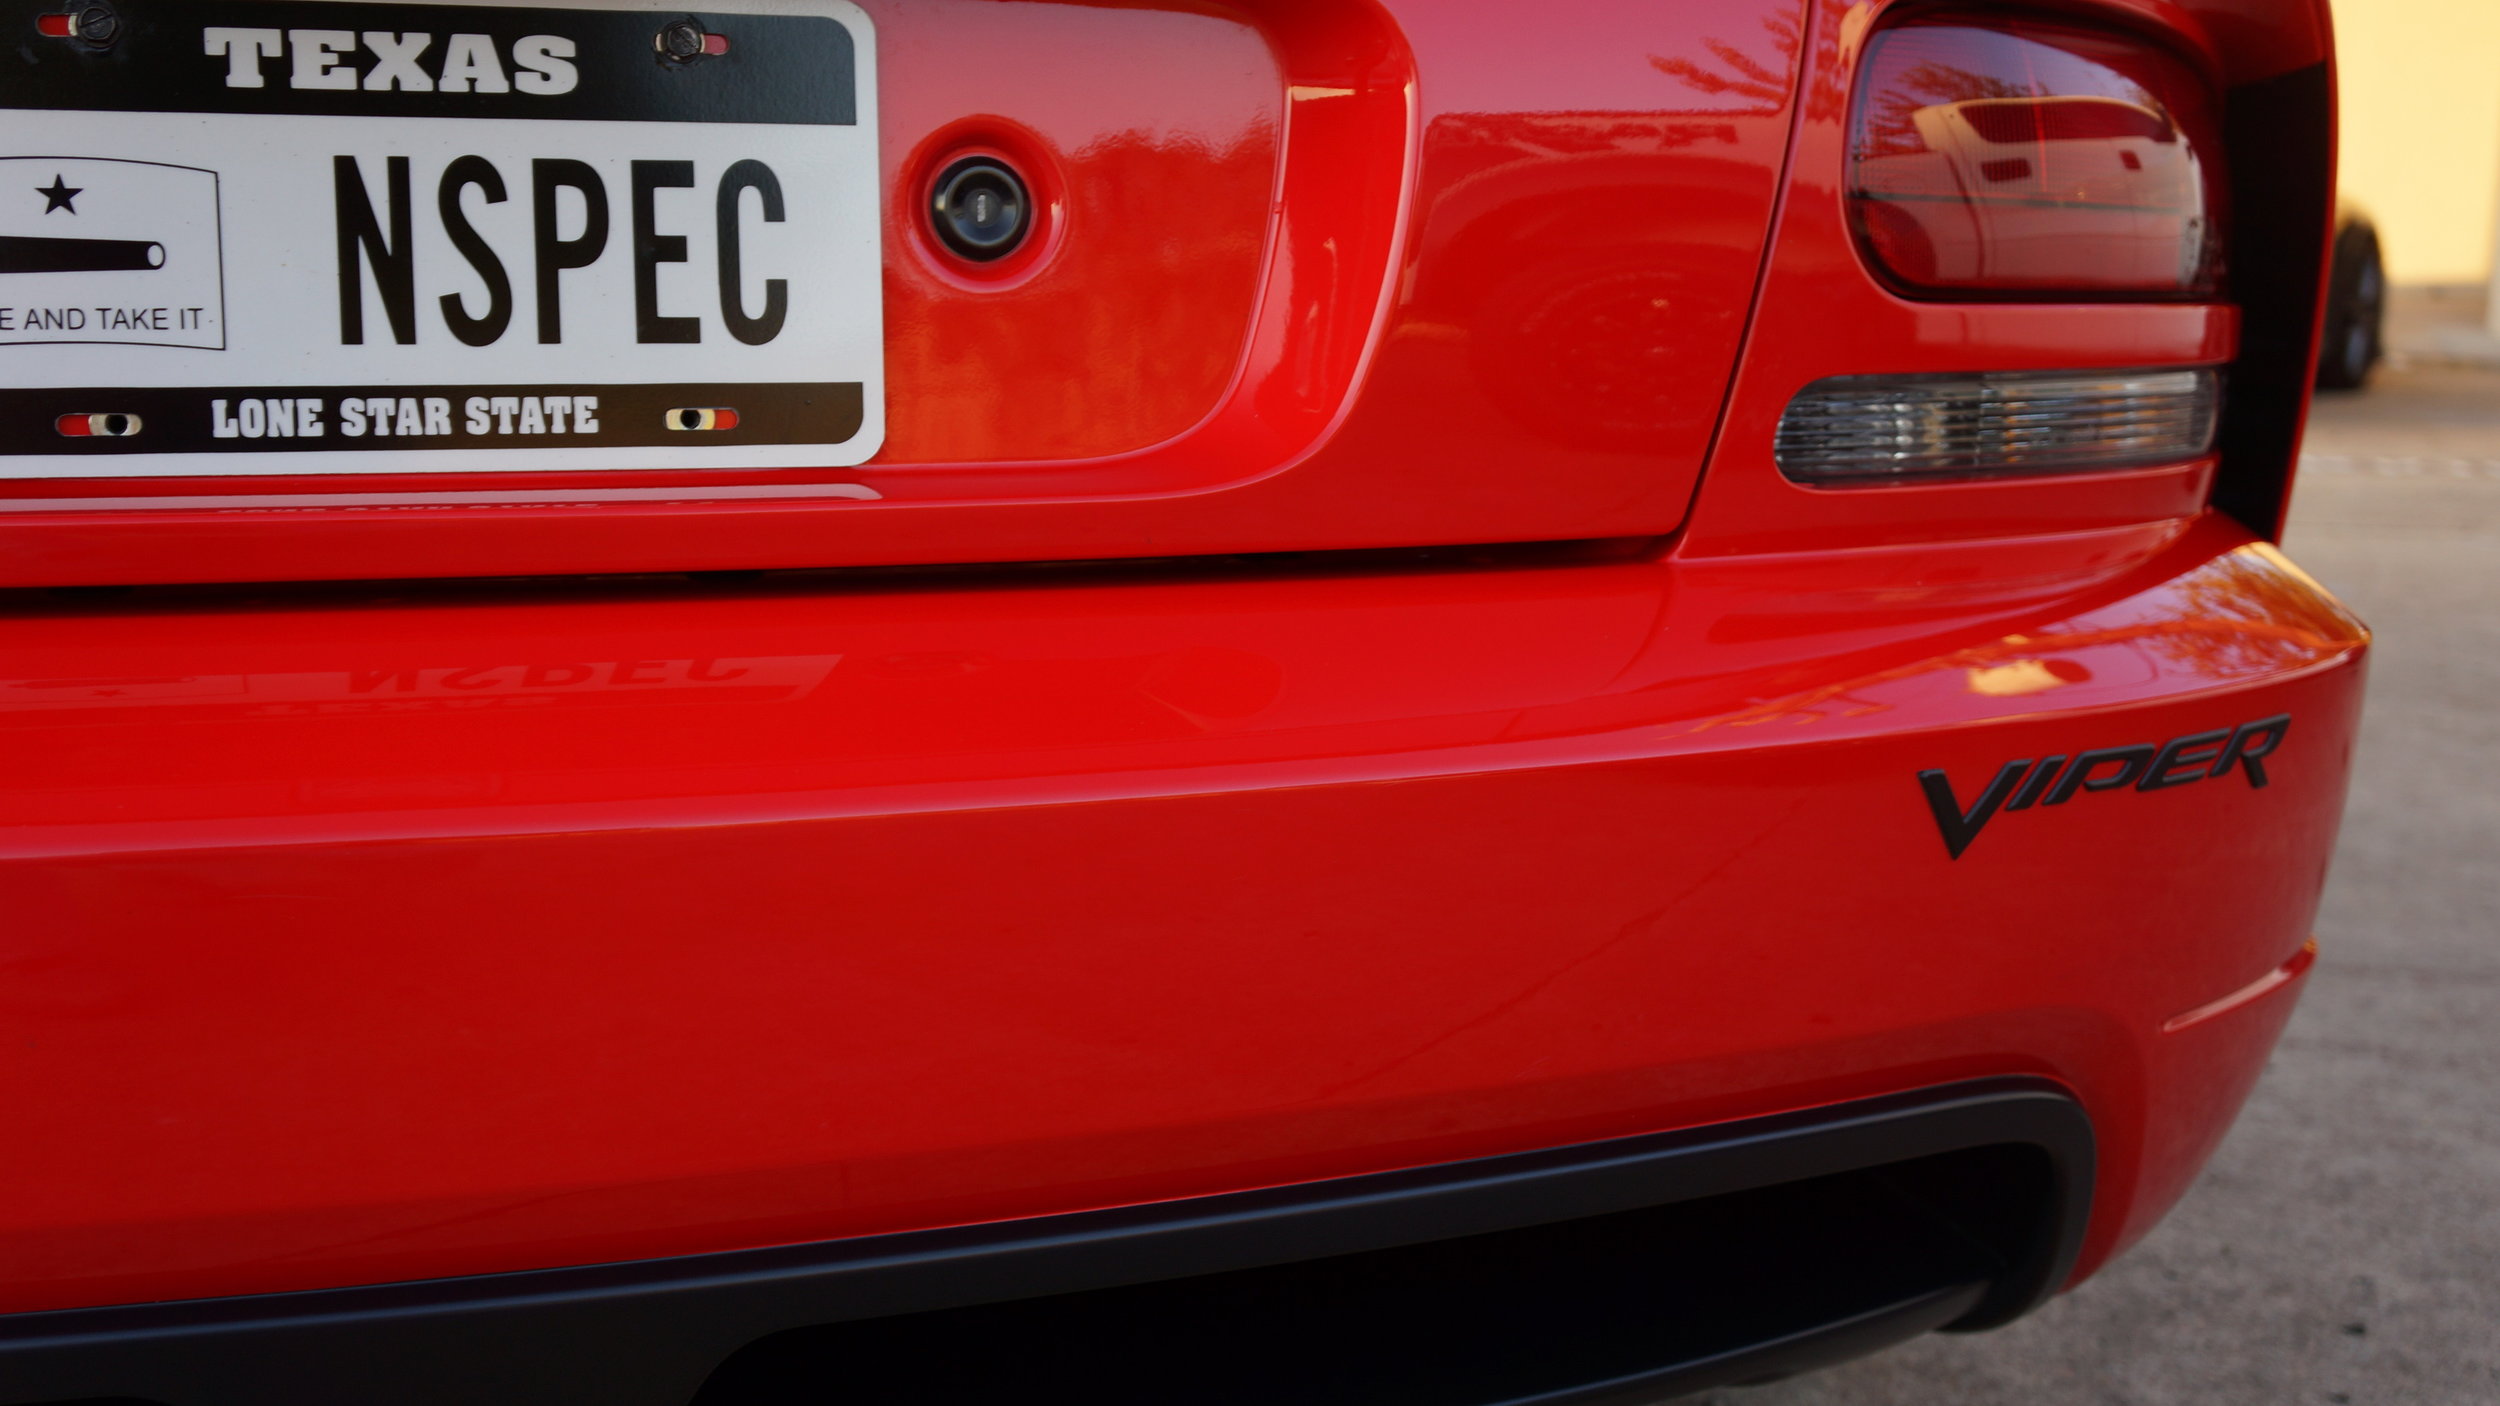
Don't use paper or towel to cover up your license plates, just take them off or use photoeditor app to hide plates, vin number, any other info you want to keep private. (Tutorial coming soon).
Use Snapseed app to manage brightness and darkness in the pictures, bring out colors. (Tutorial coming very soon).
Now Memorize "LFS":
Light - Bright/Dark Balance
focus - Make sure the main object is not blurry
Straight - Keep your phone straight horizontally.
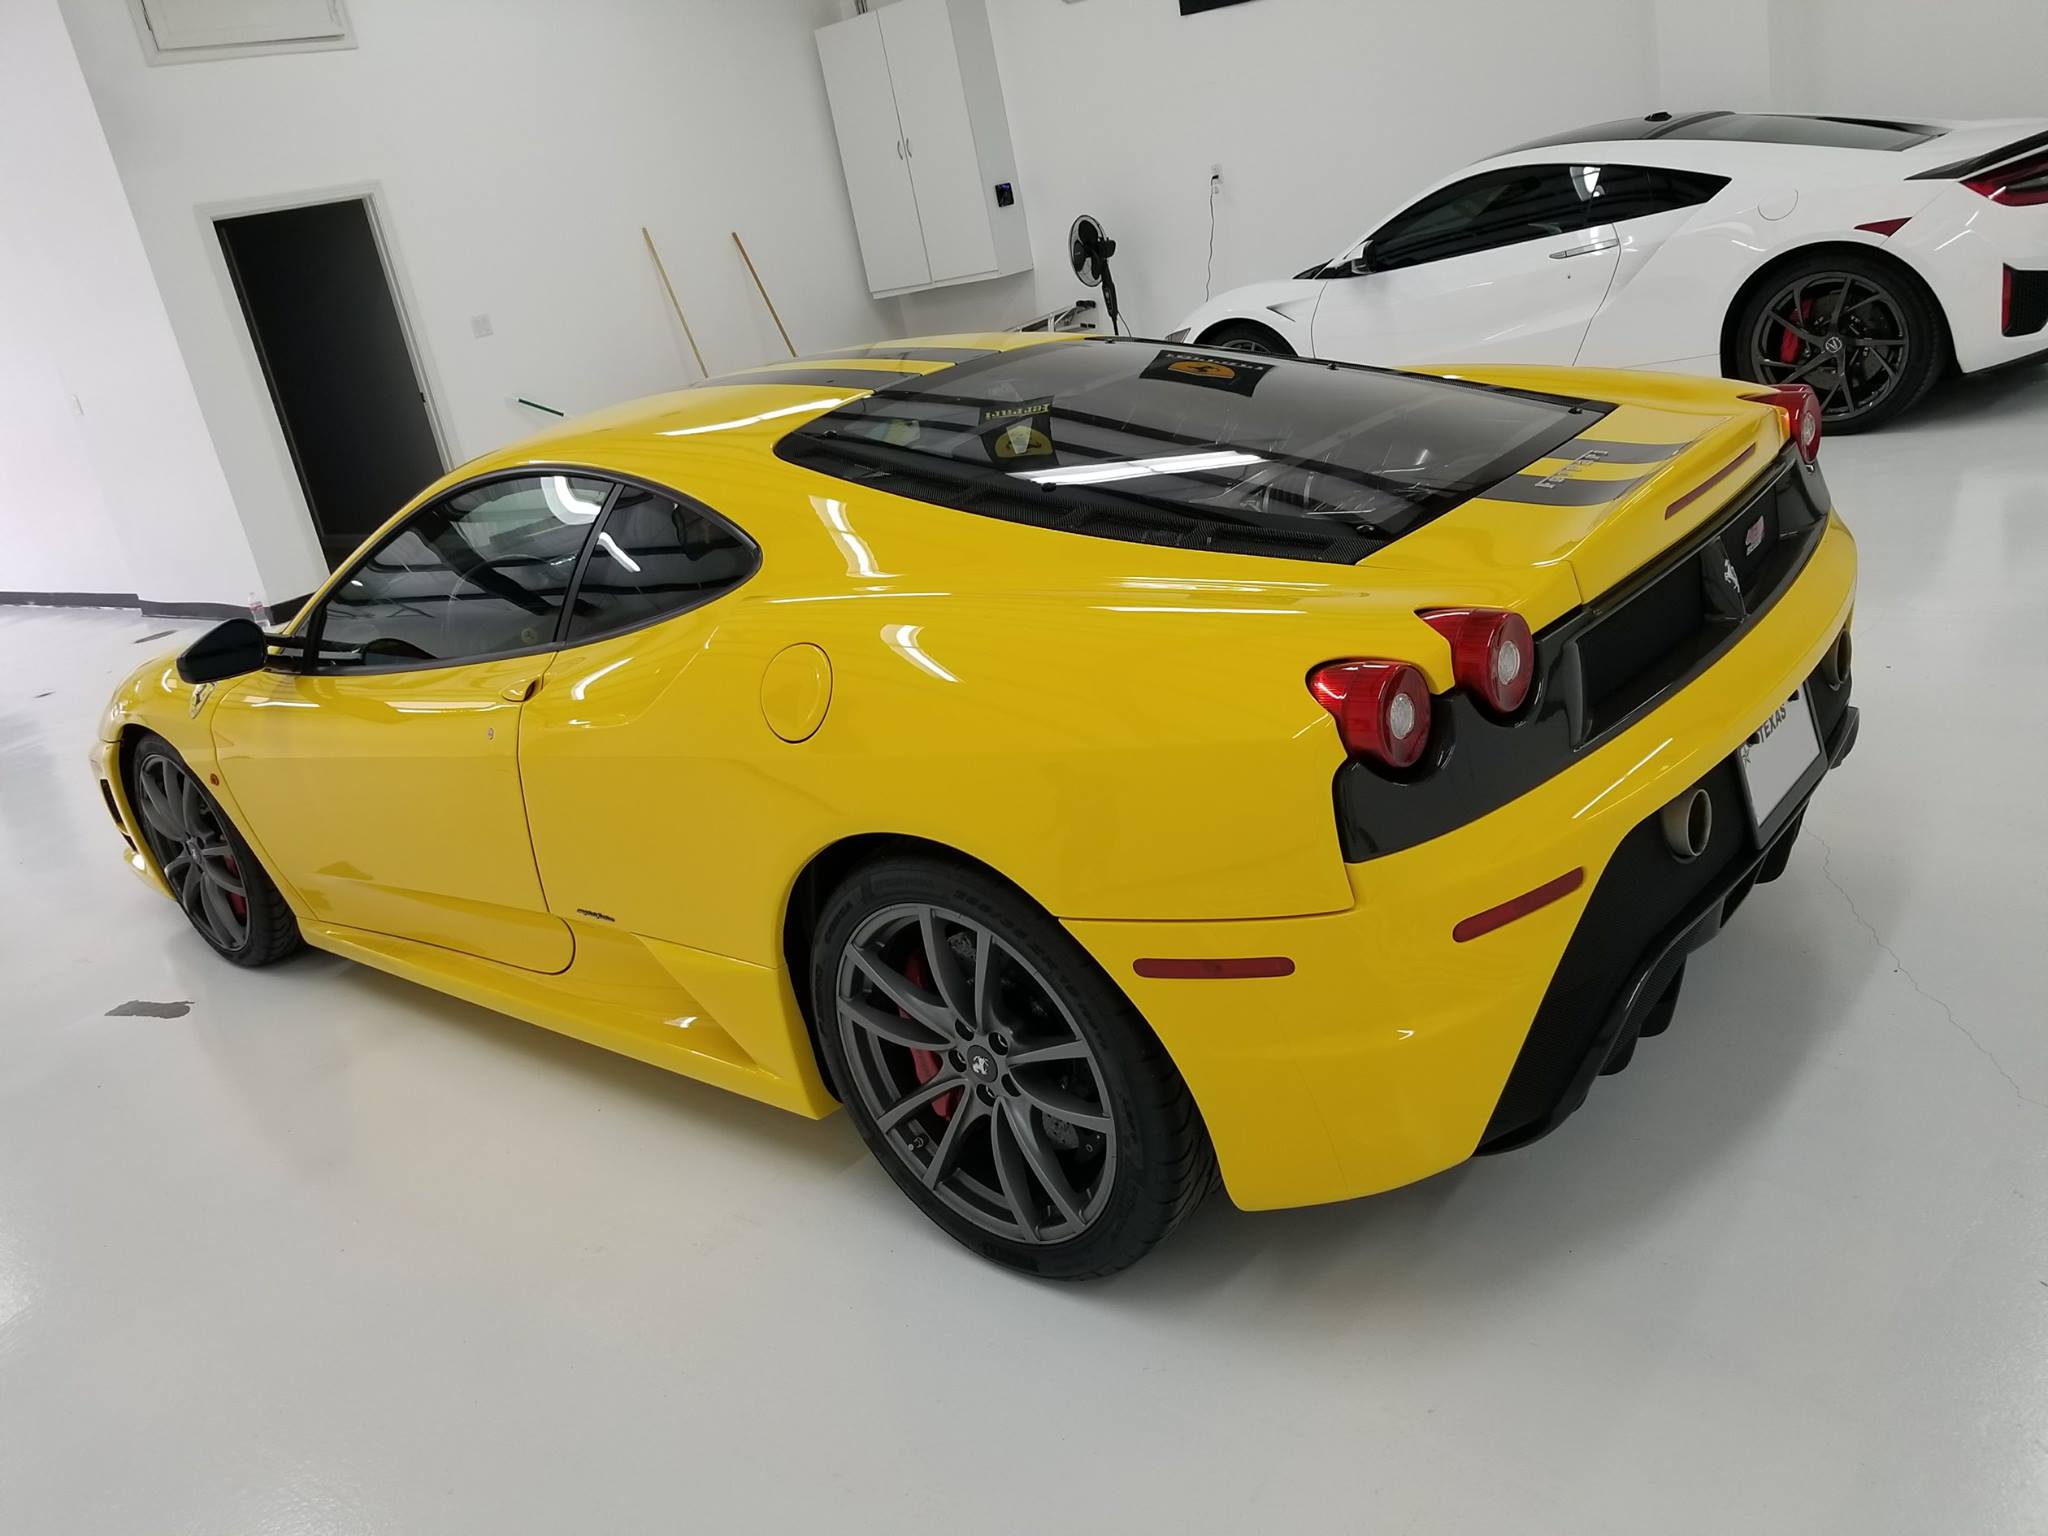
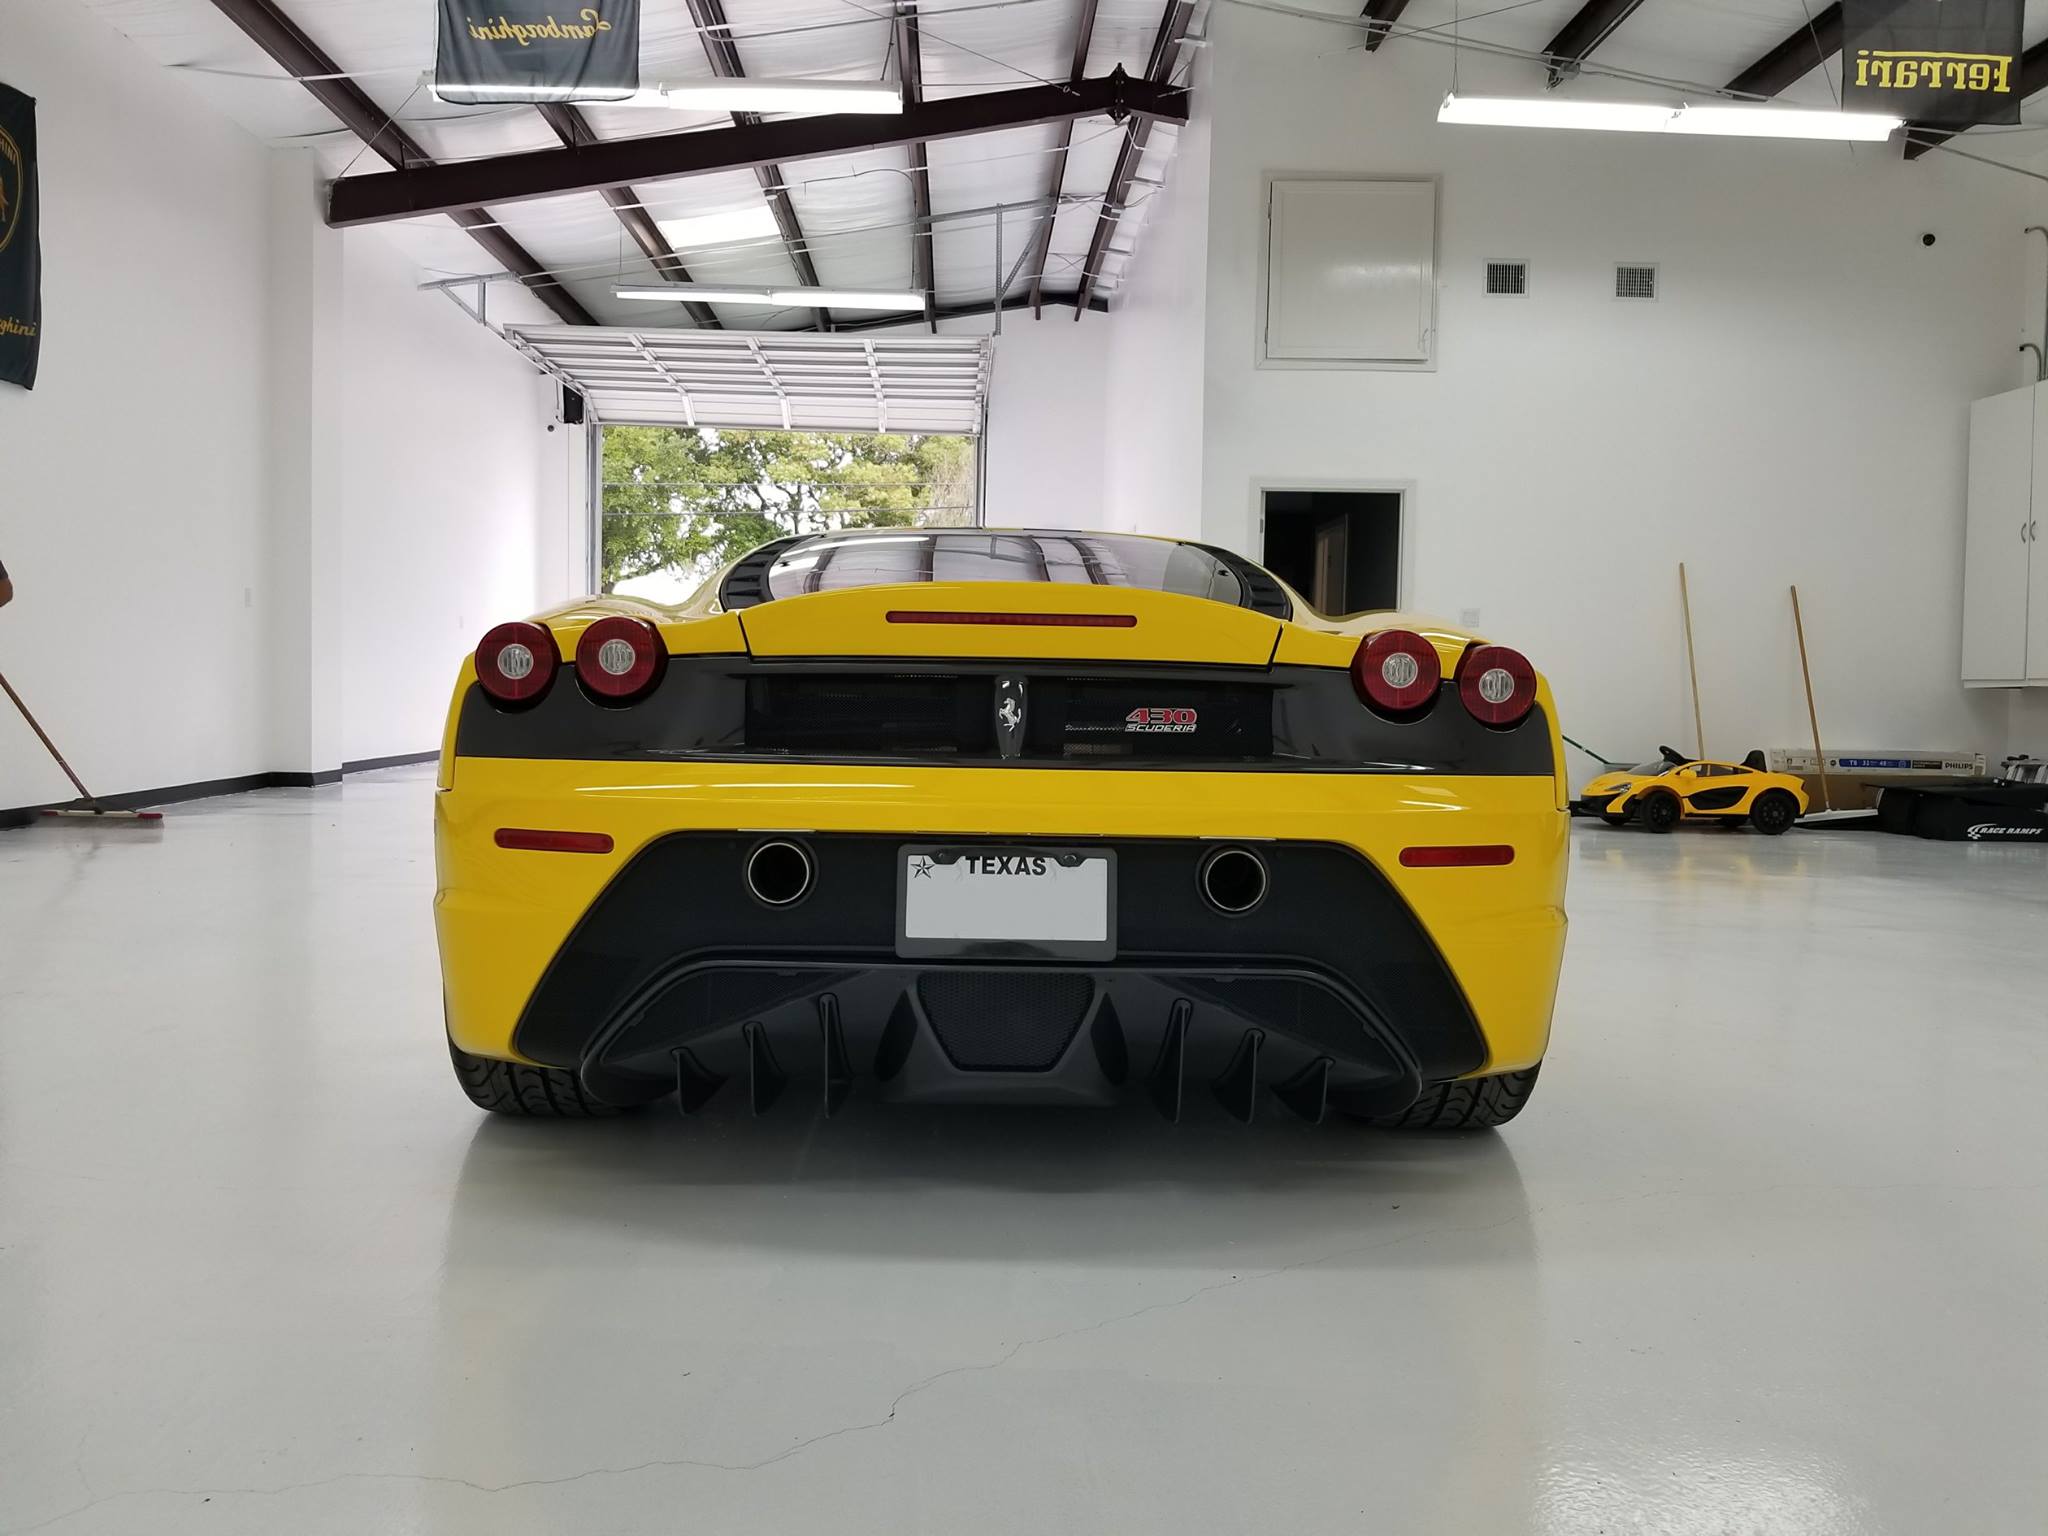
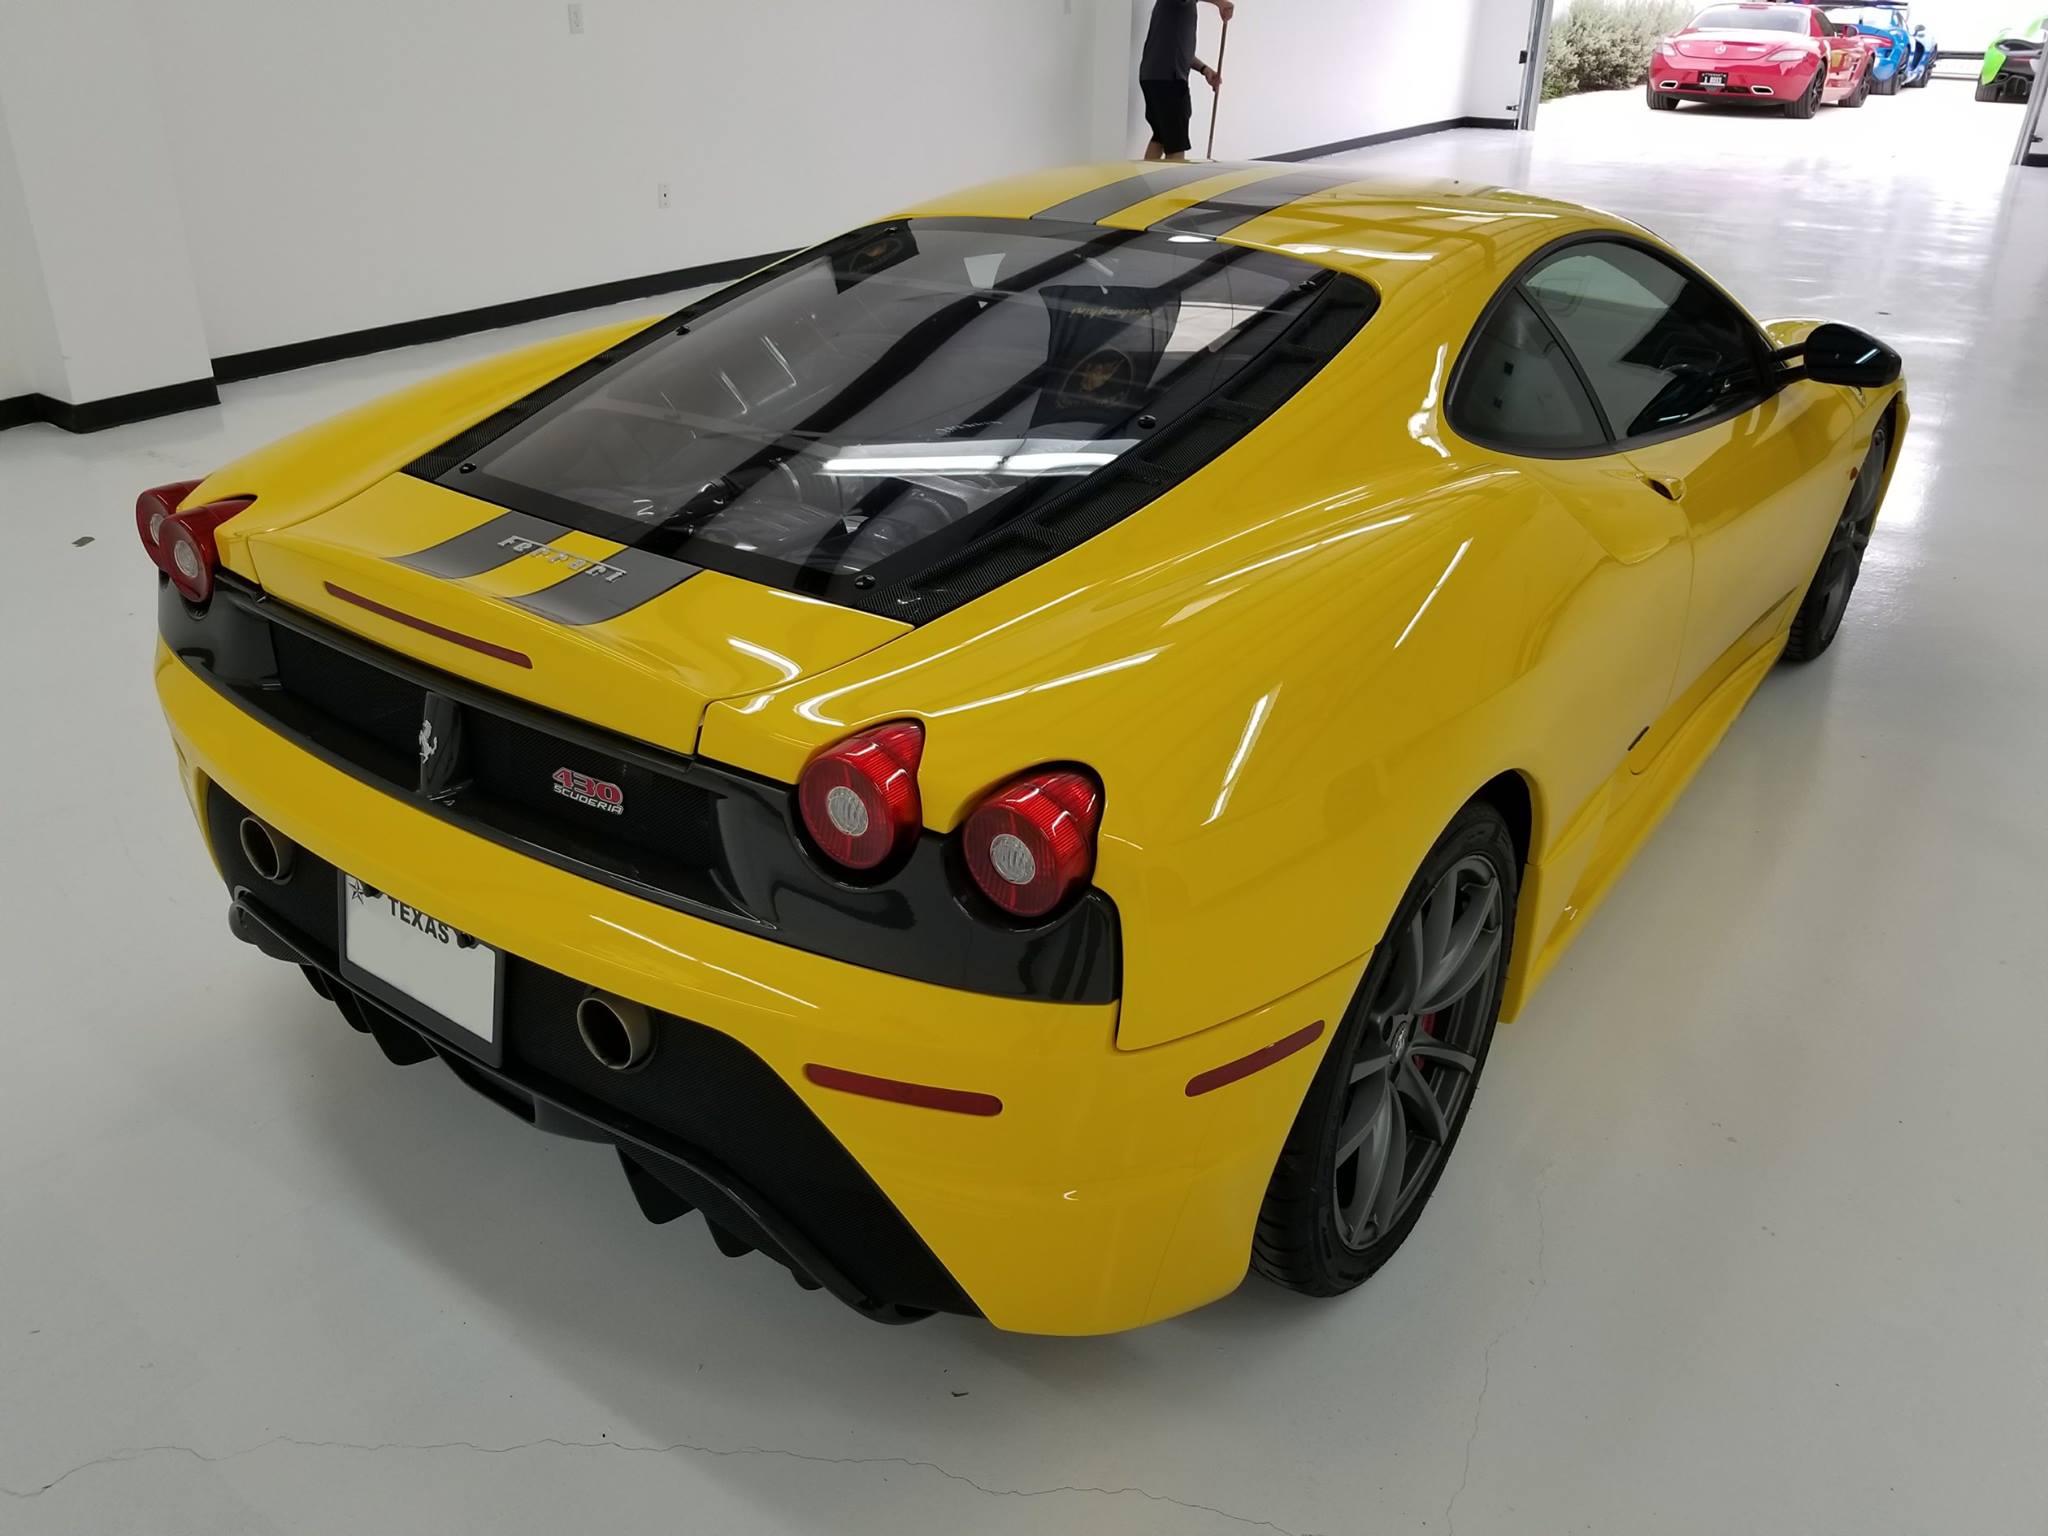
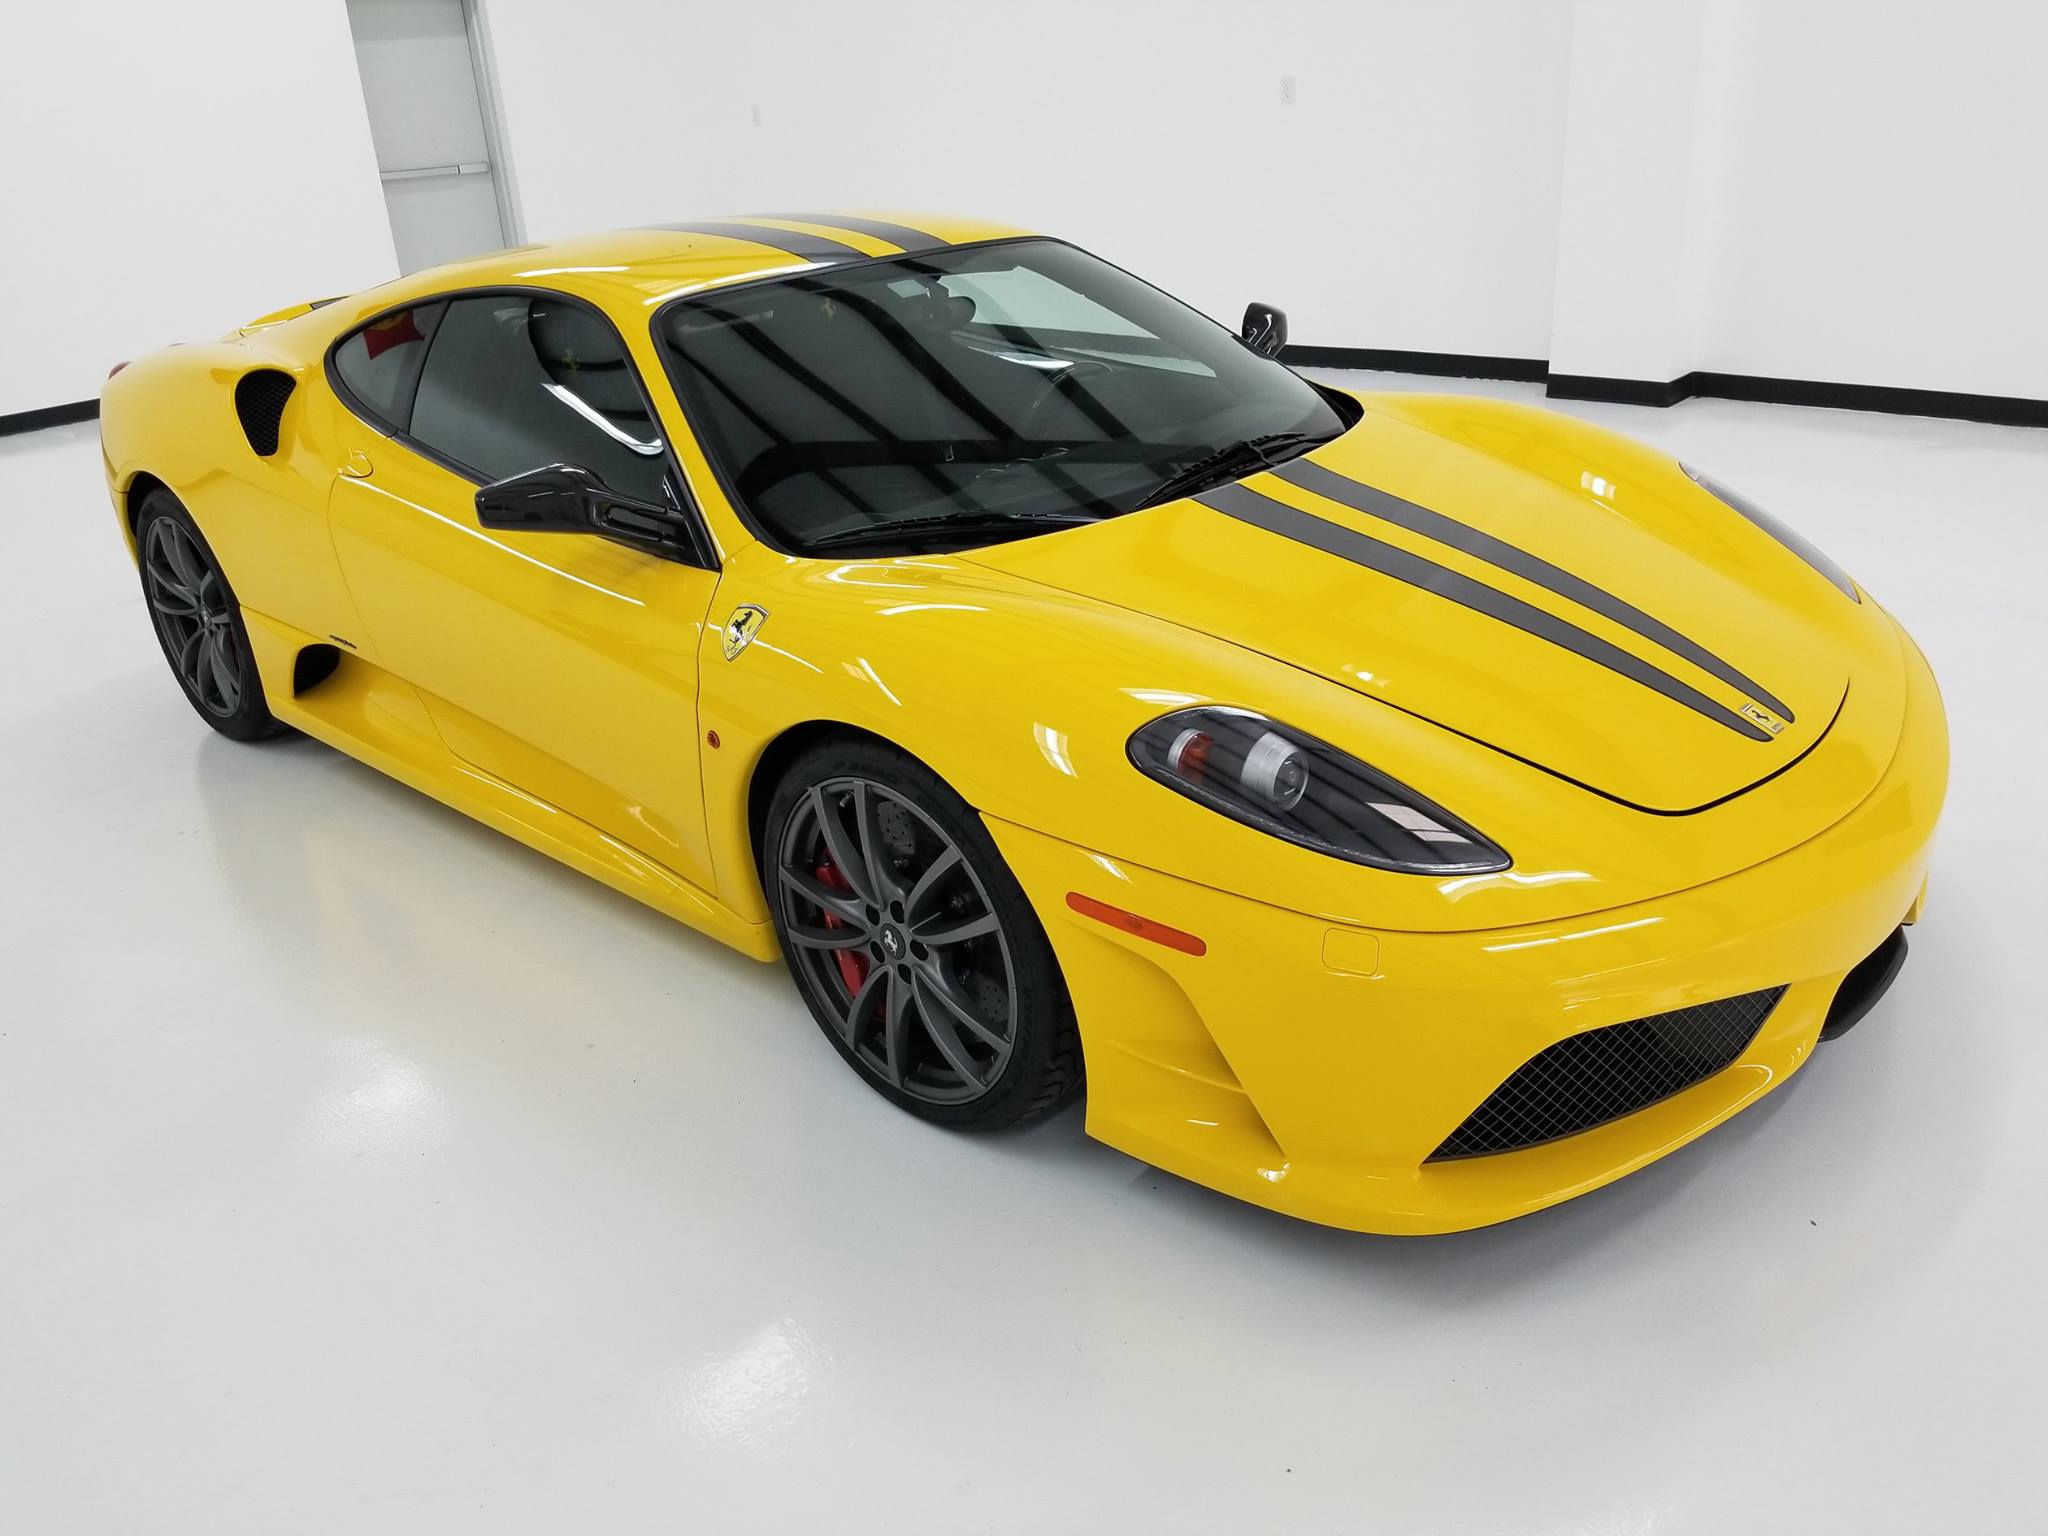
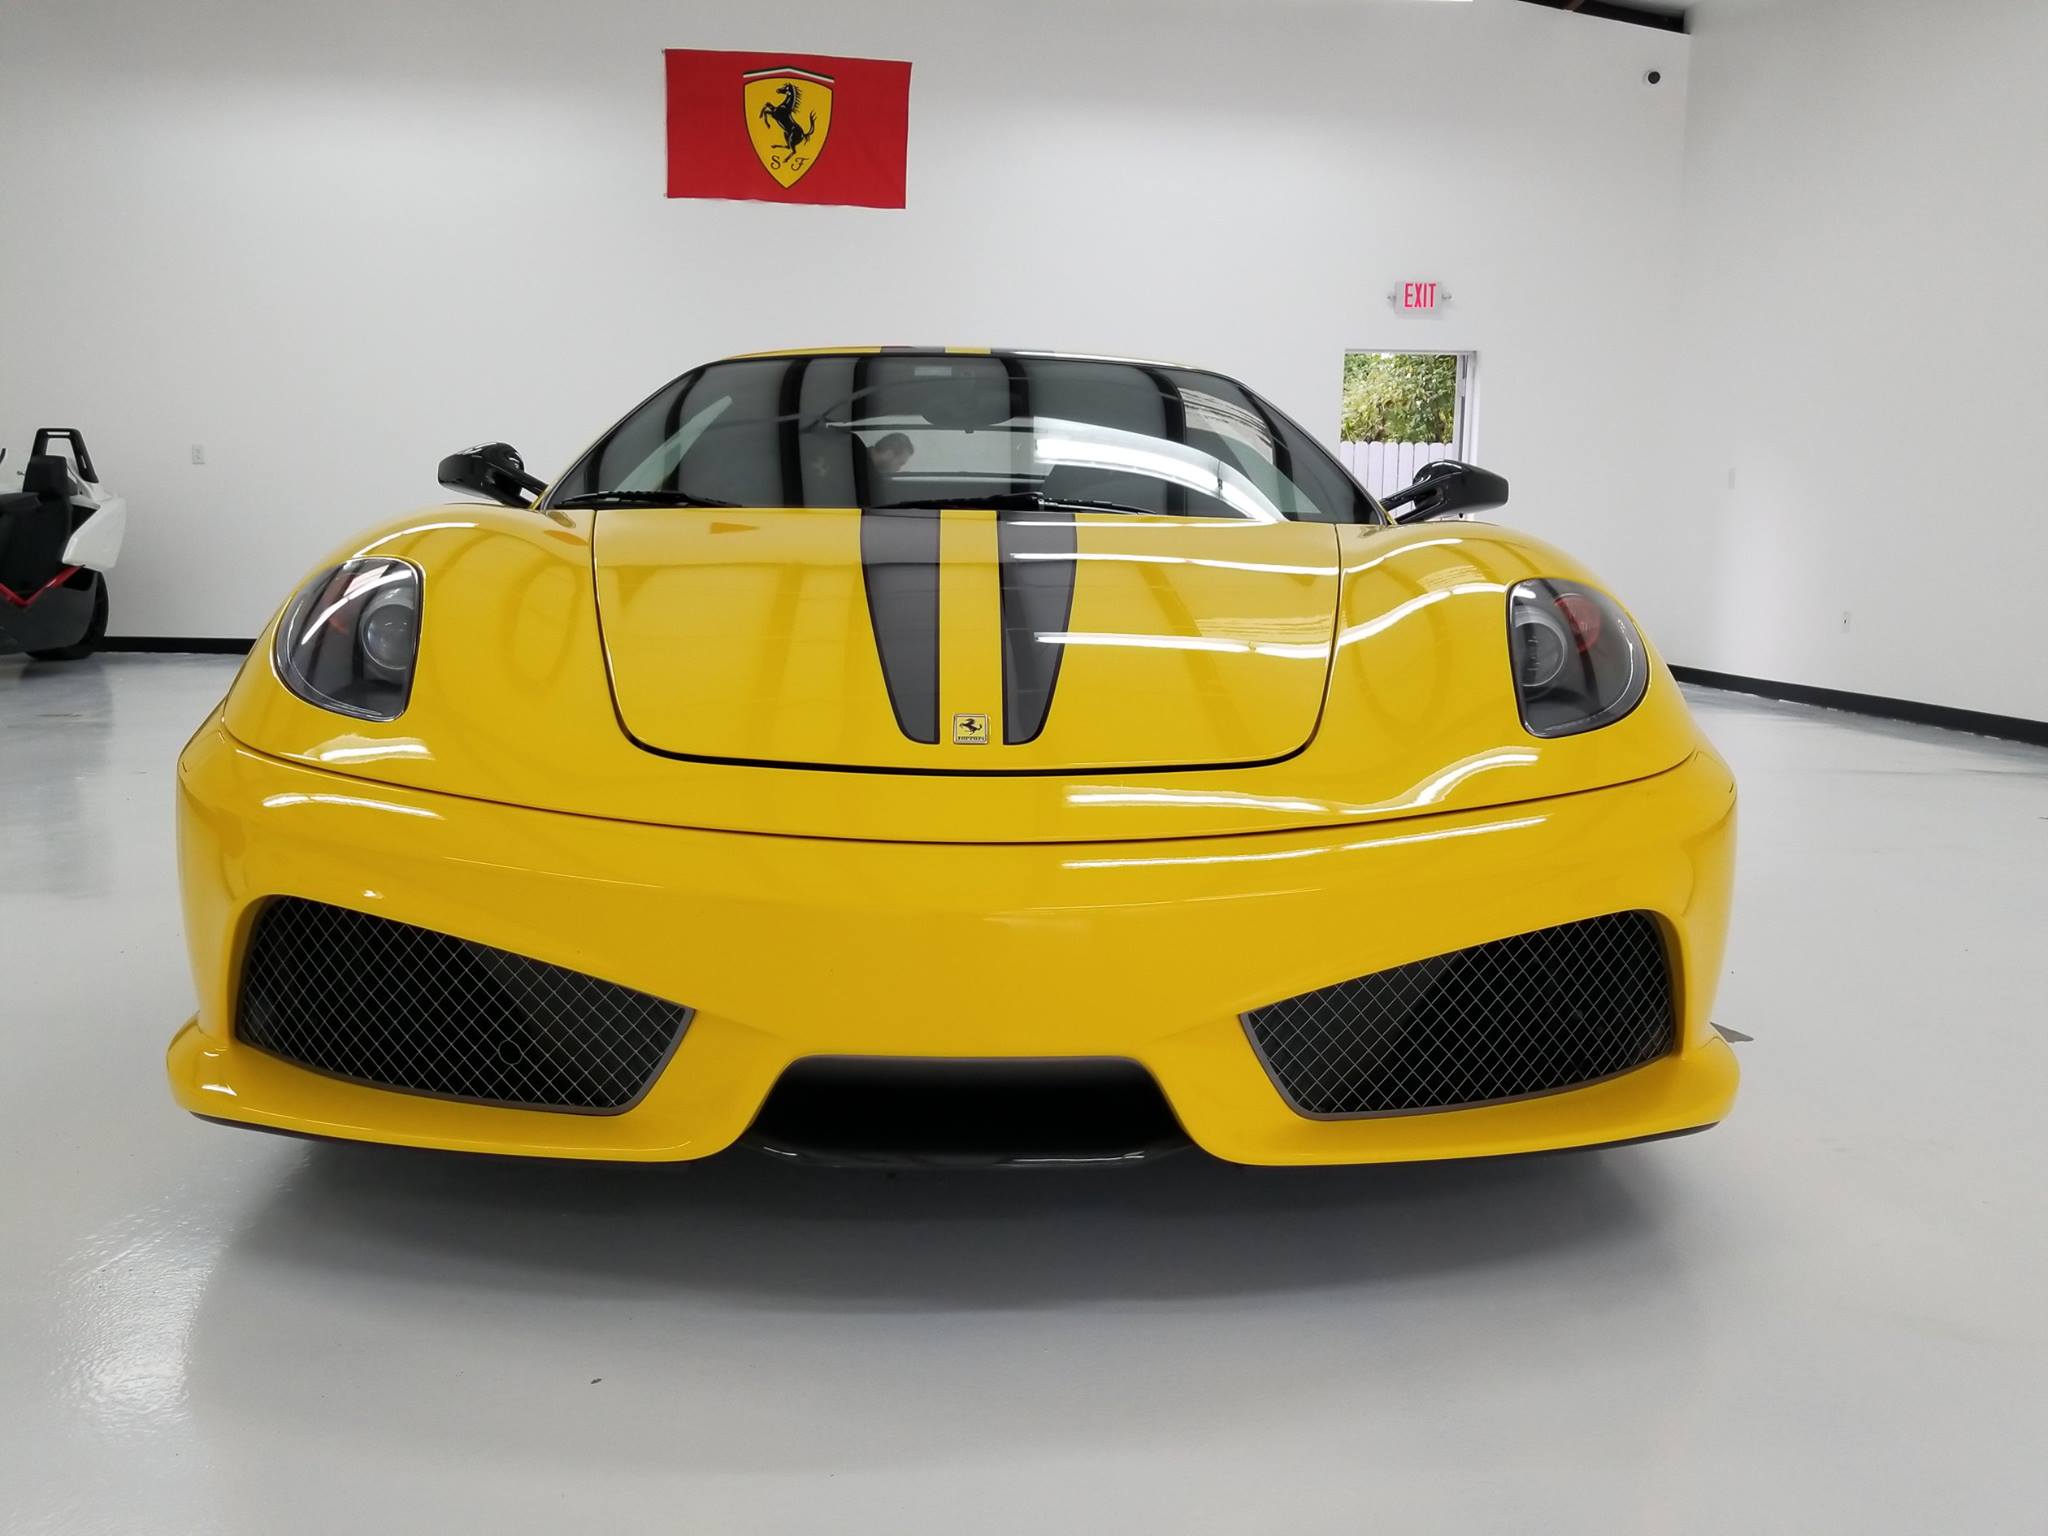
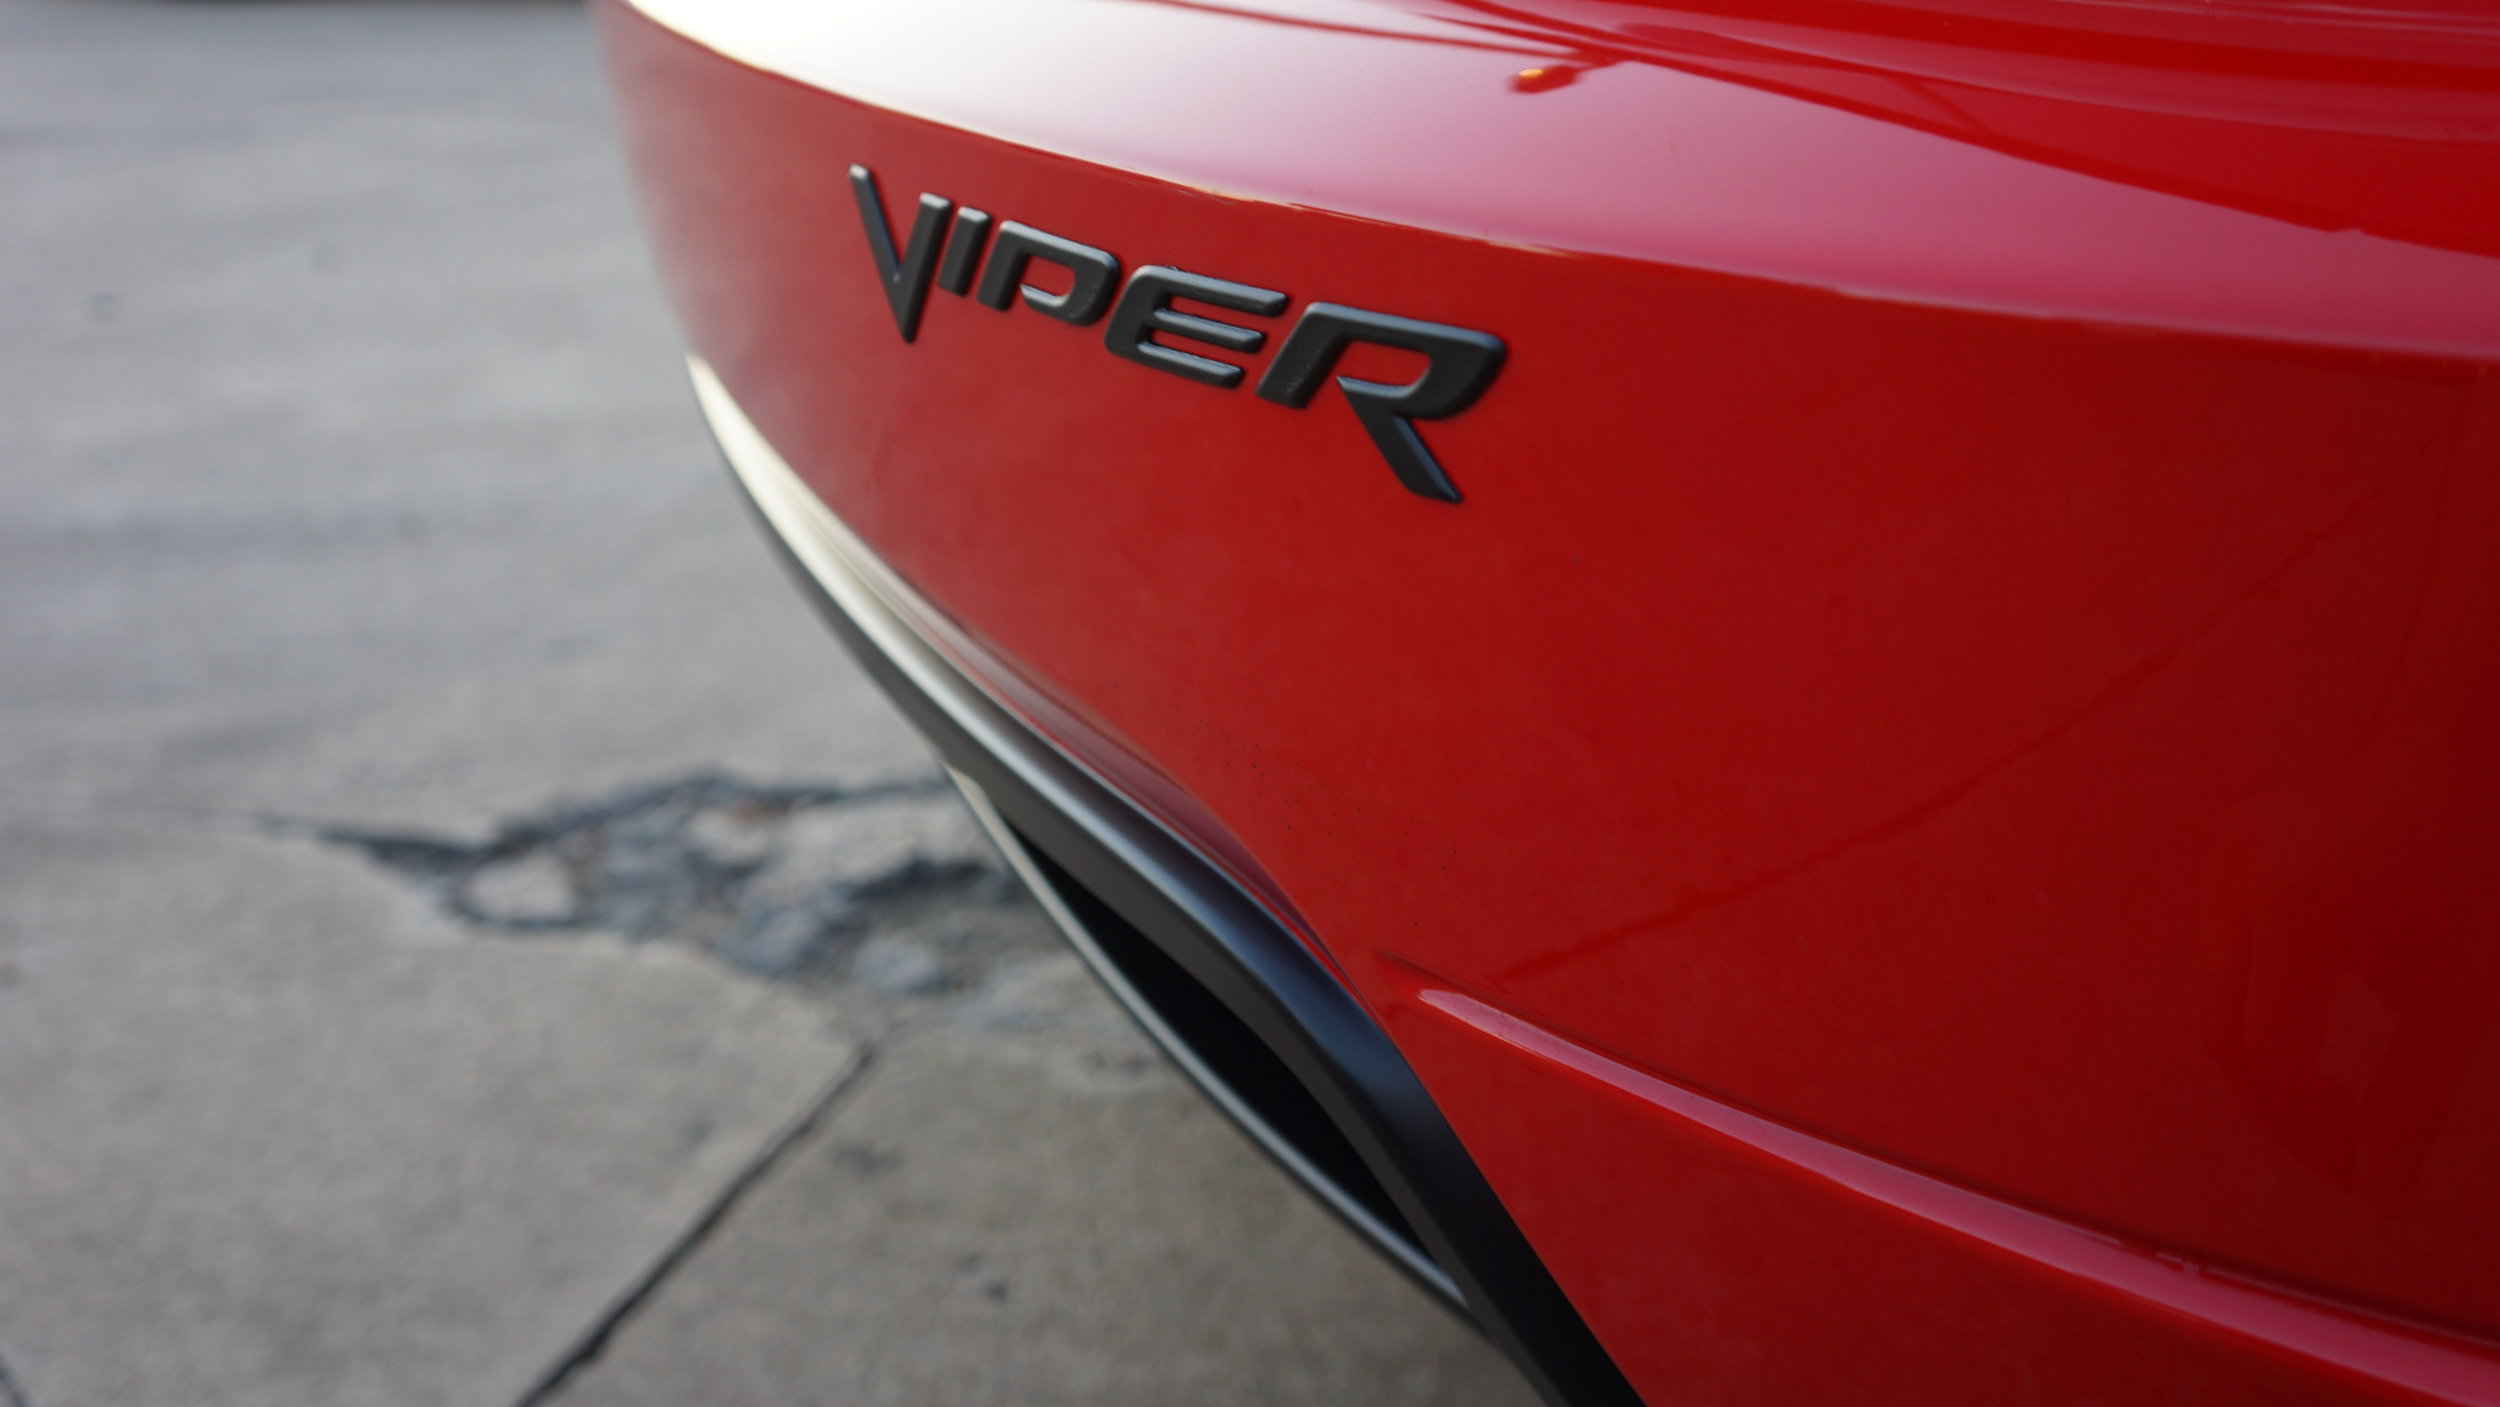
STEP 1: exterior
Remember LFS.
Take 8 exterior pictures.
All pictures must show the entire car.
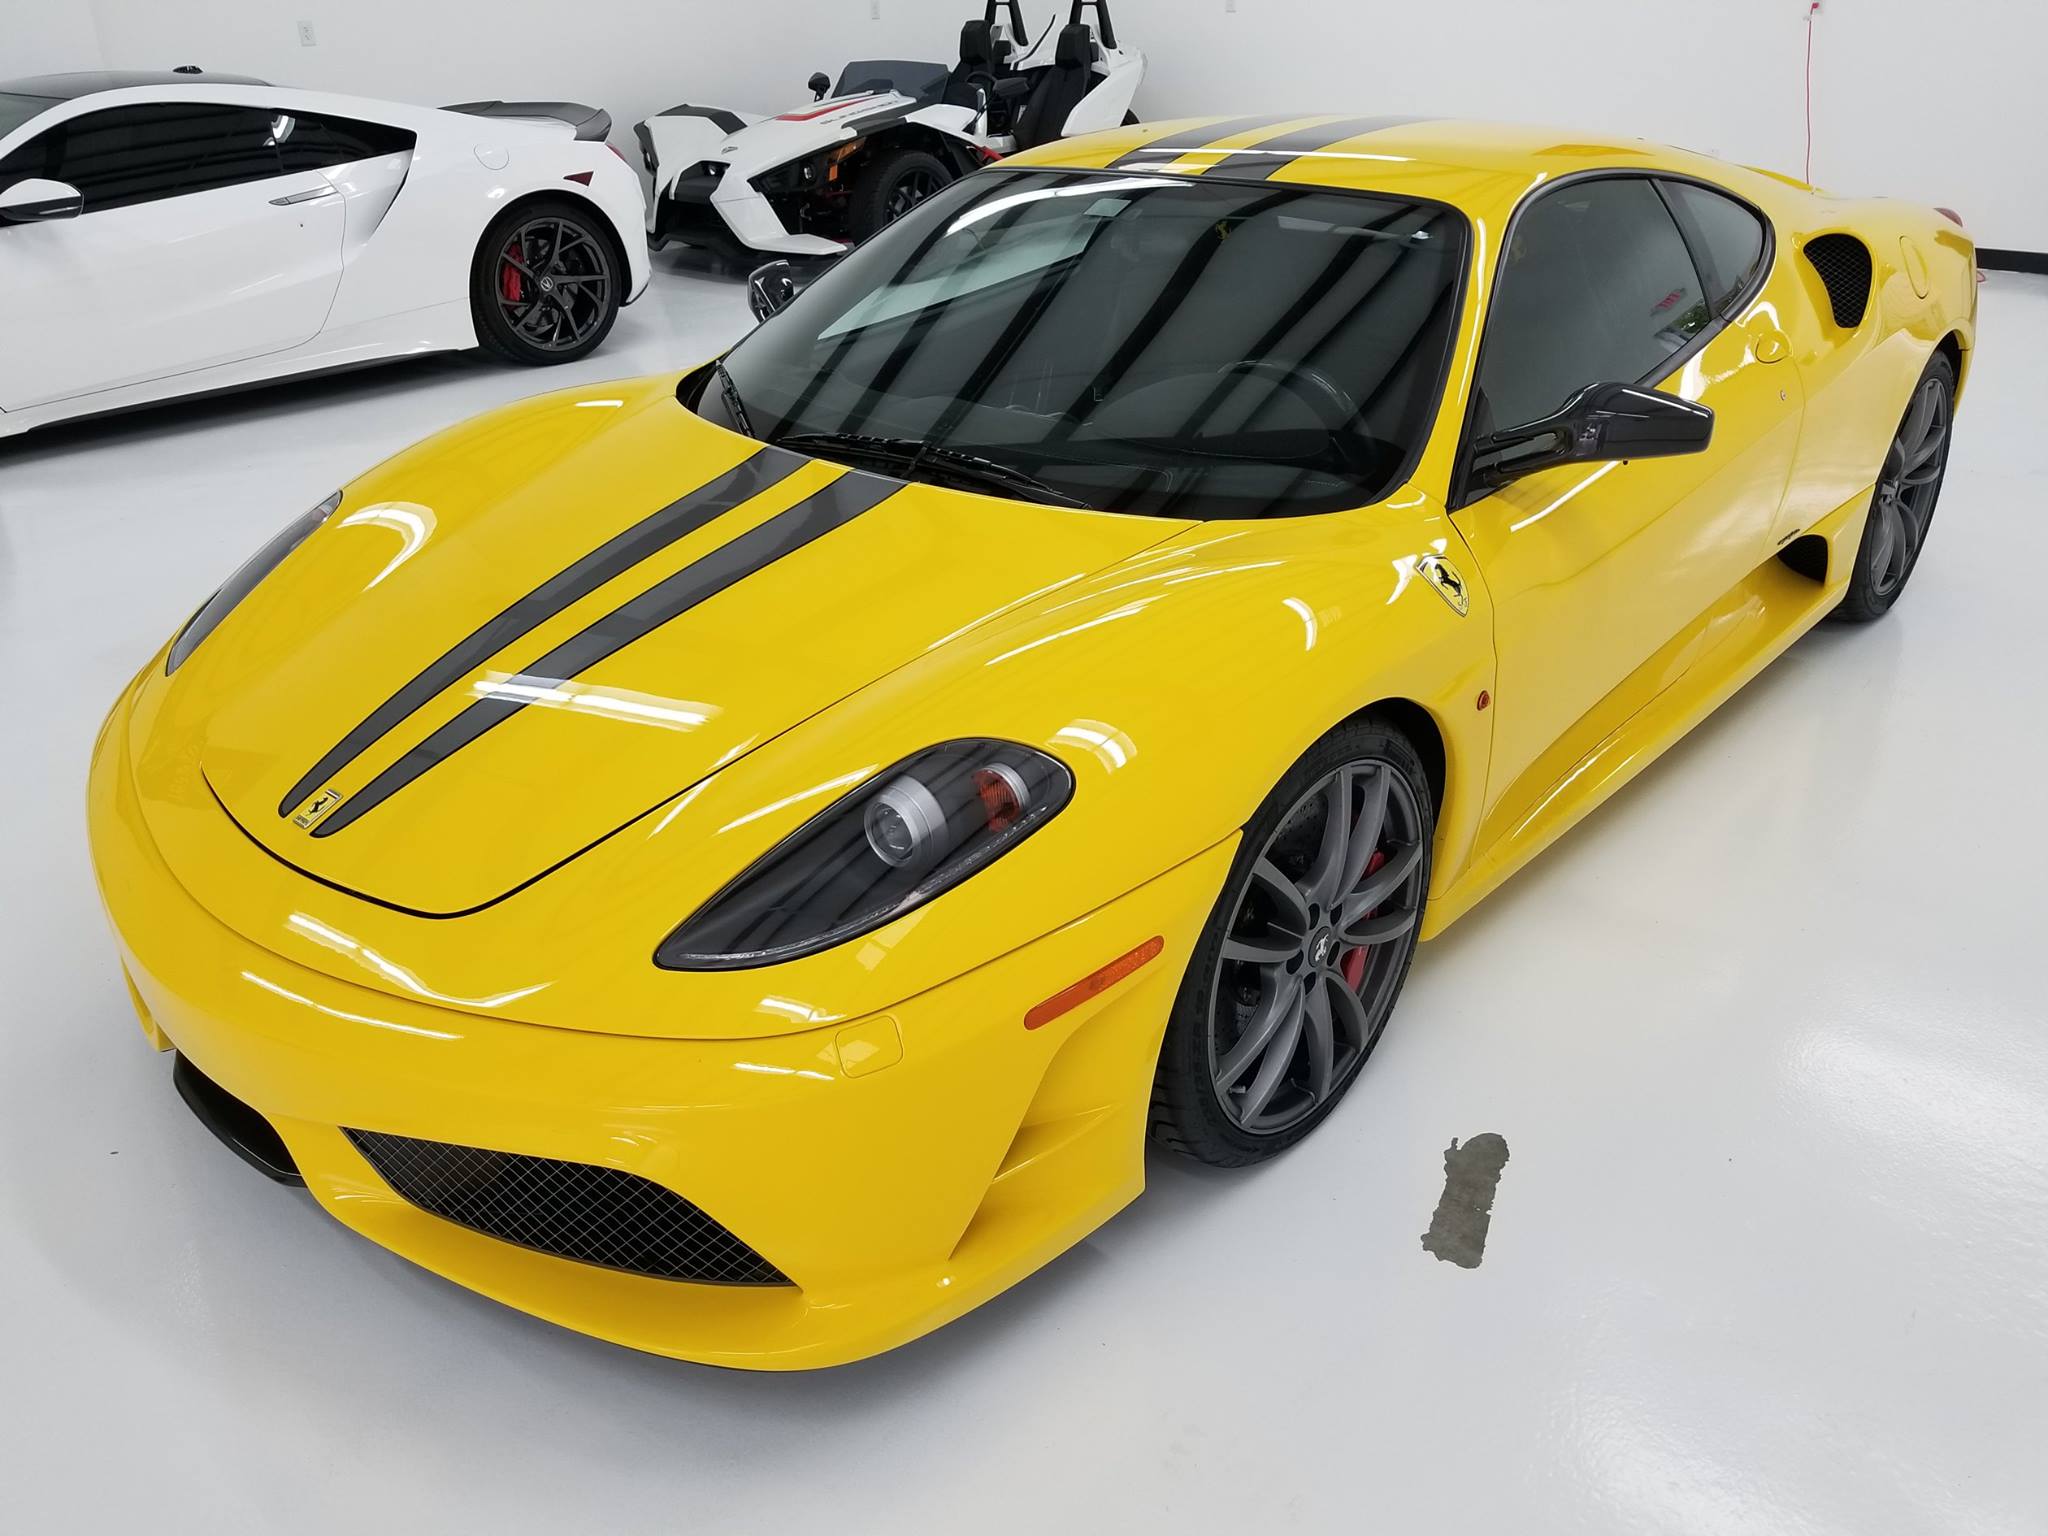
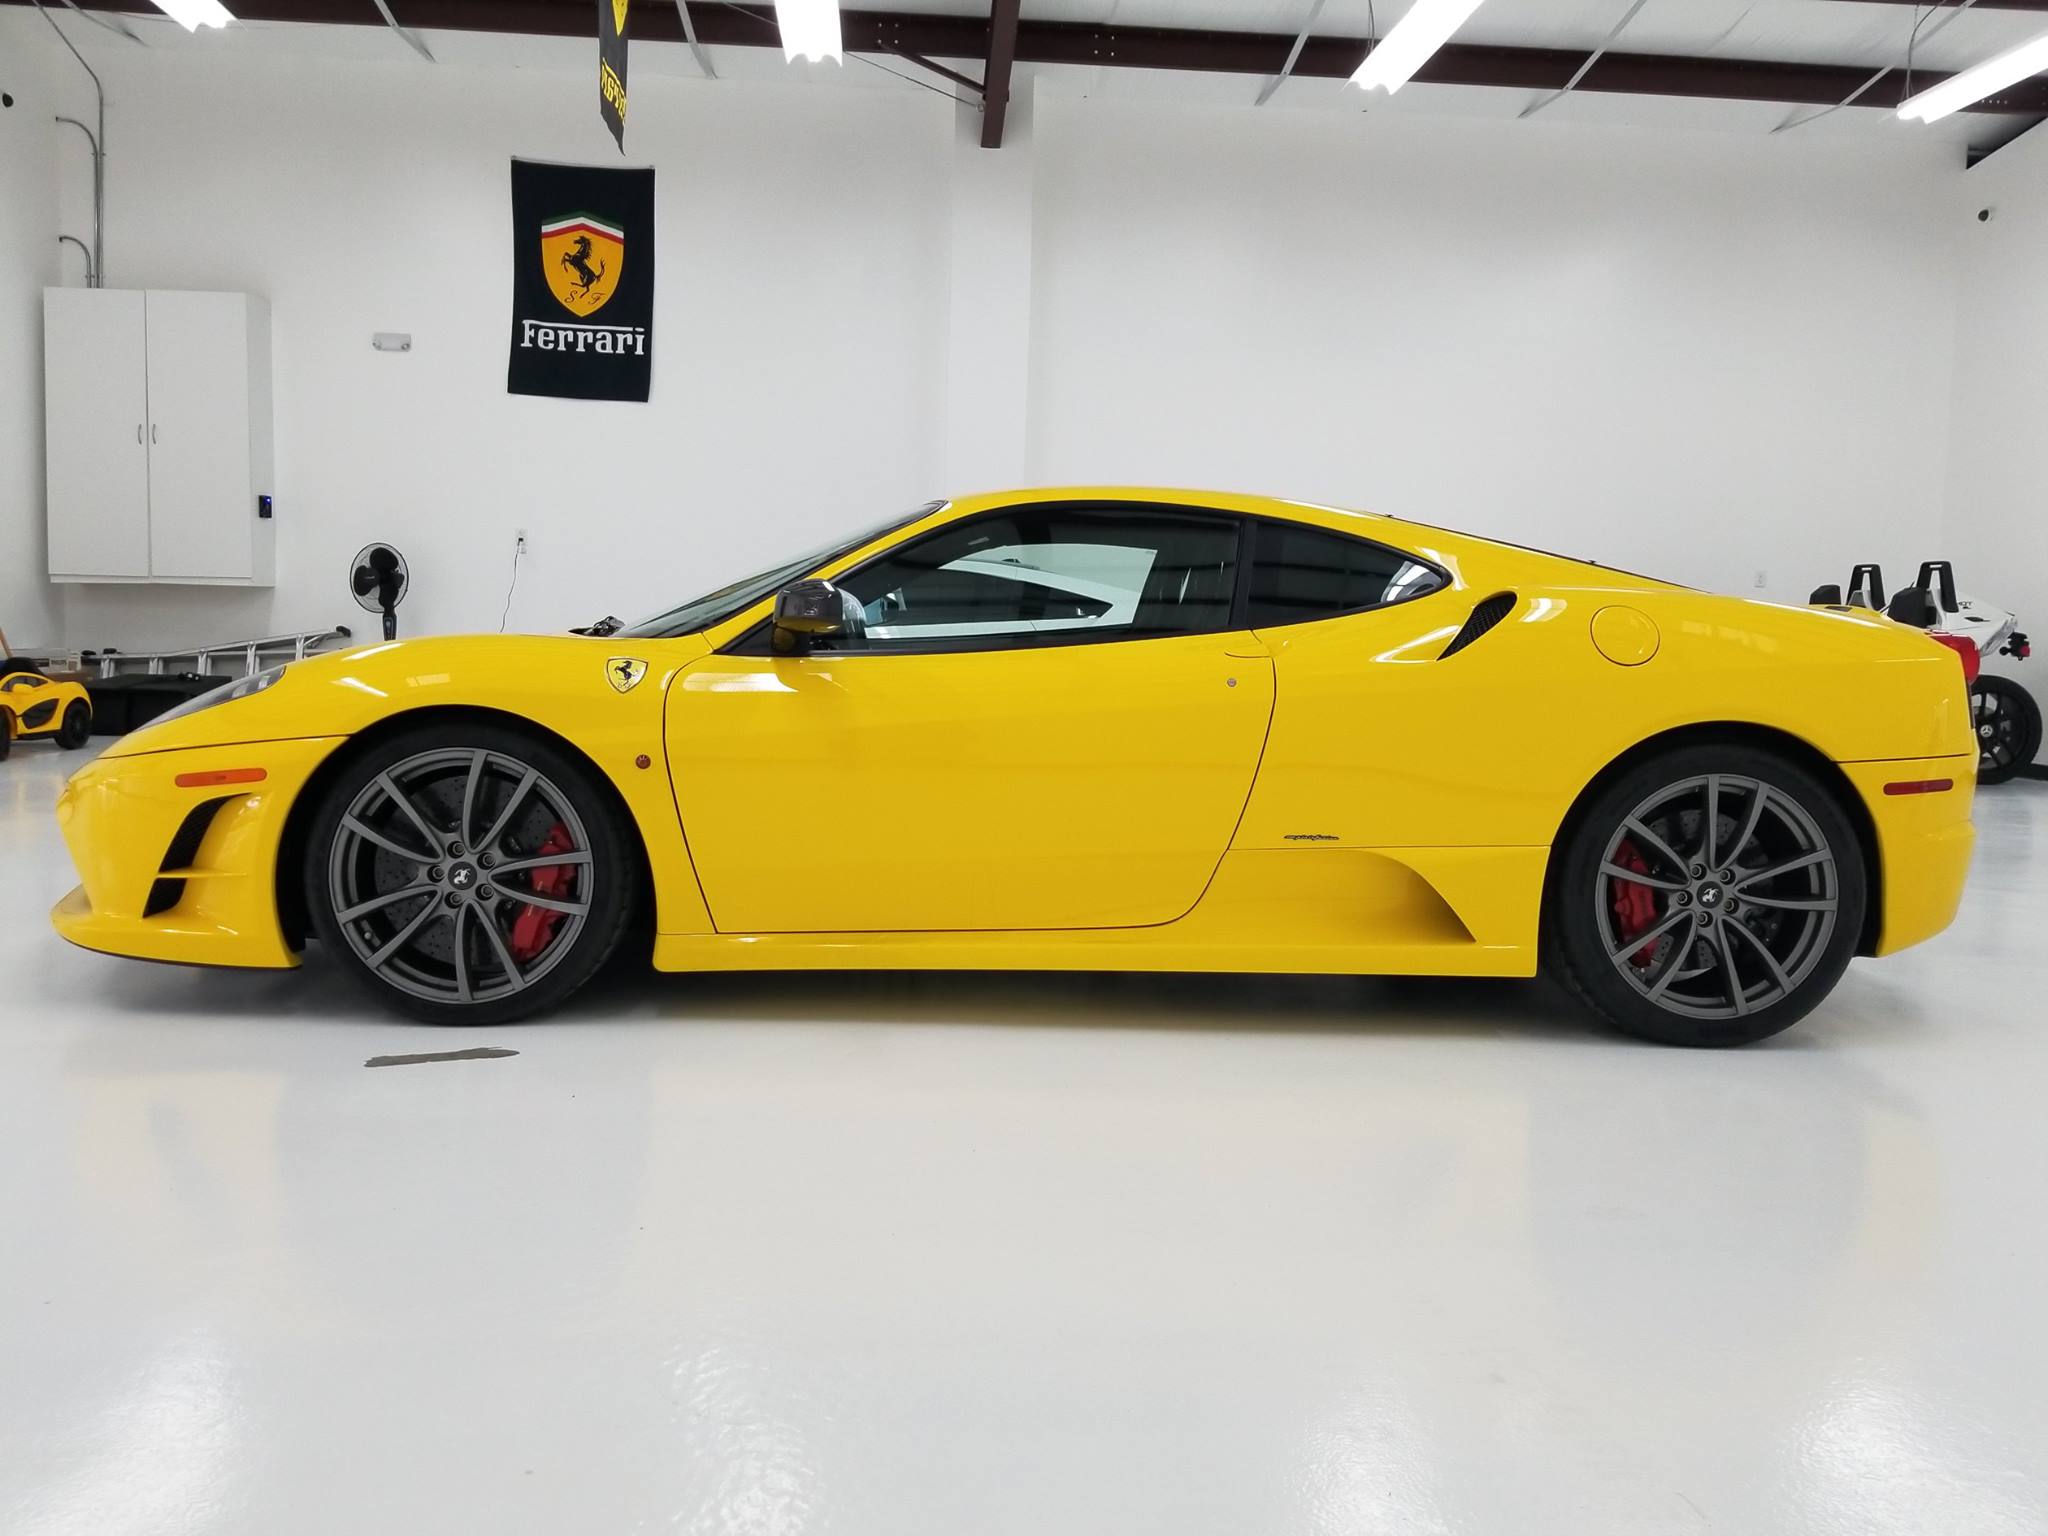
Start from front driver angle, then start moving around the car.
For angle pictures, hold the phone at your eye level and for straight pictures, hold the phone at mid height of the car. Adjust up or down until you find the perfect view. Make sure your phone is straight horizontally.

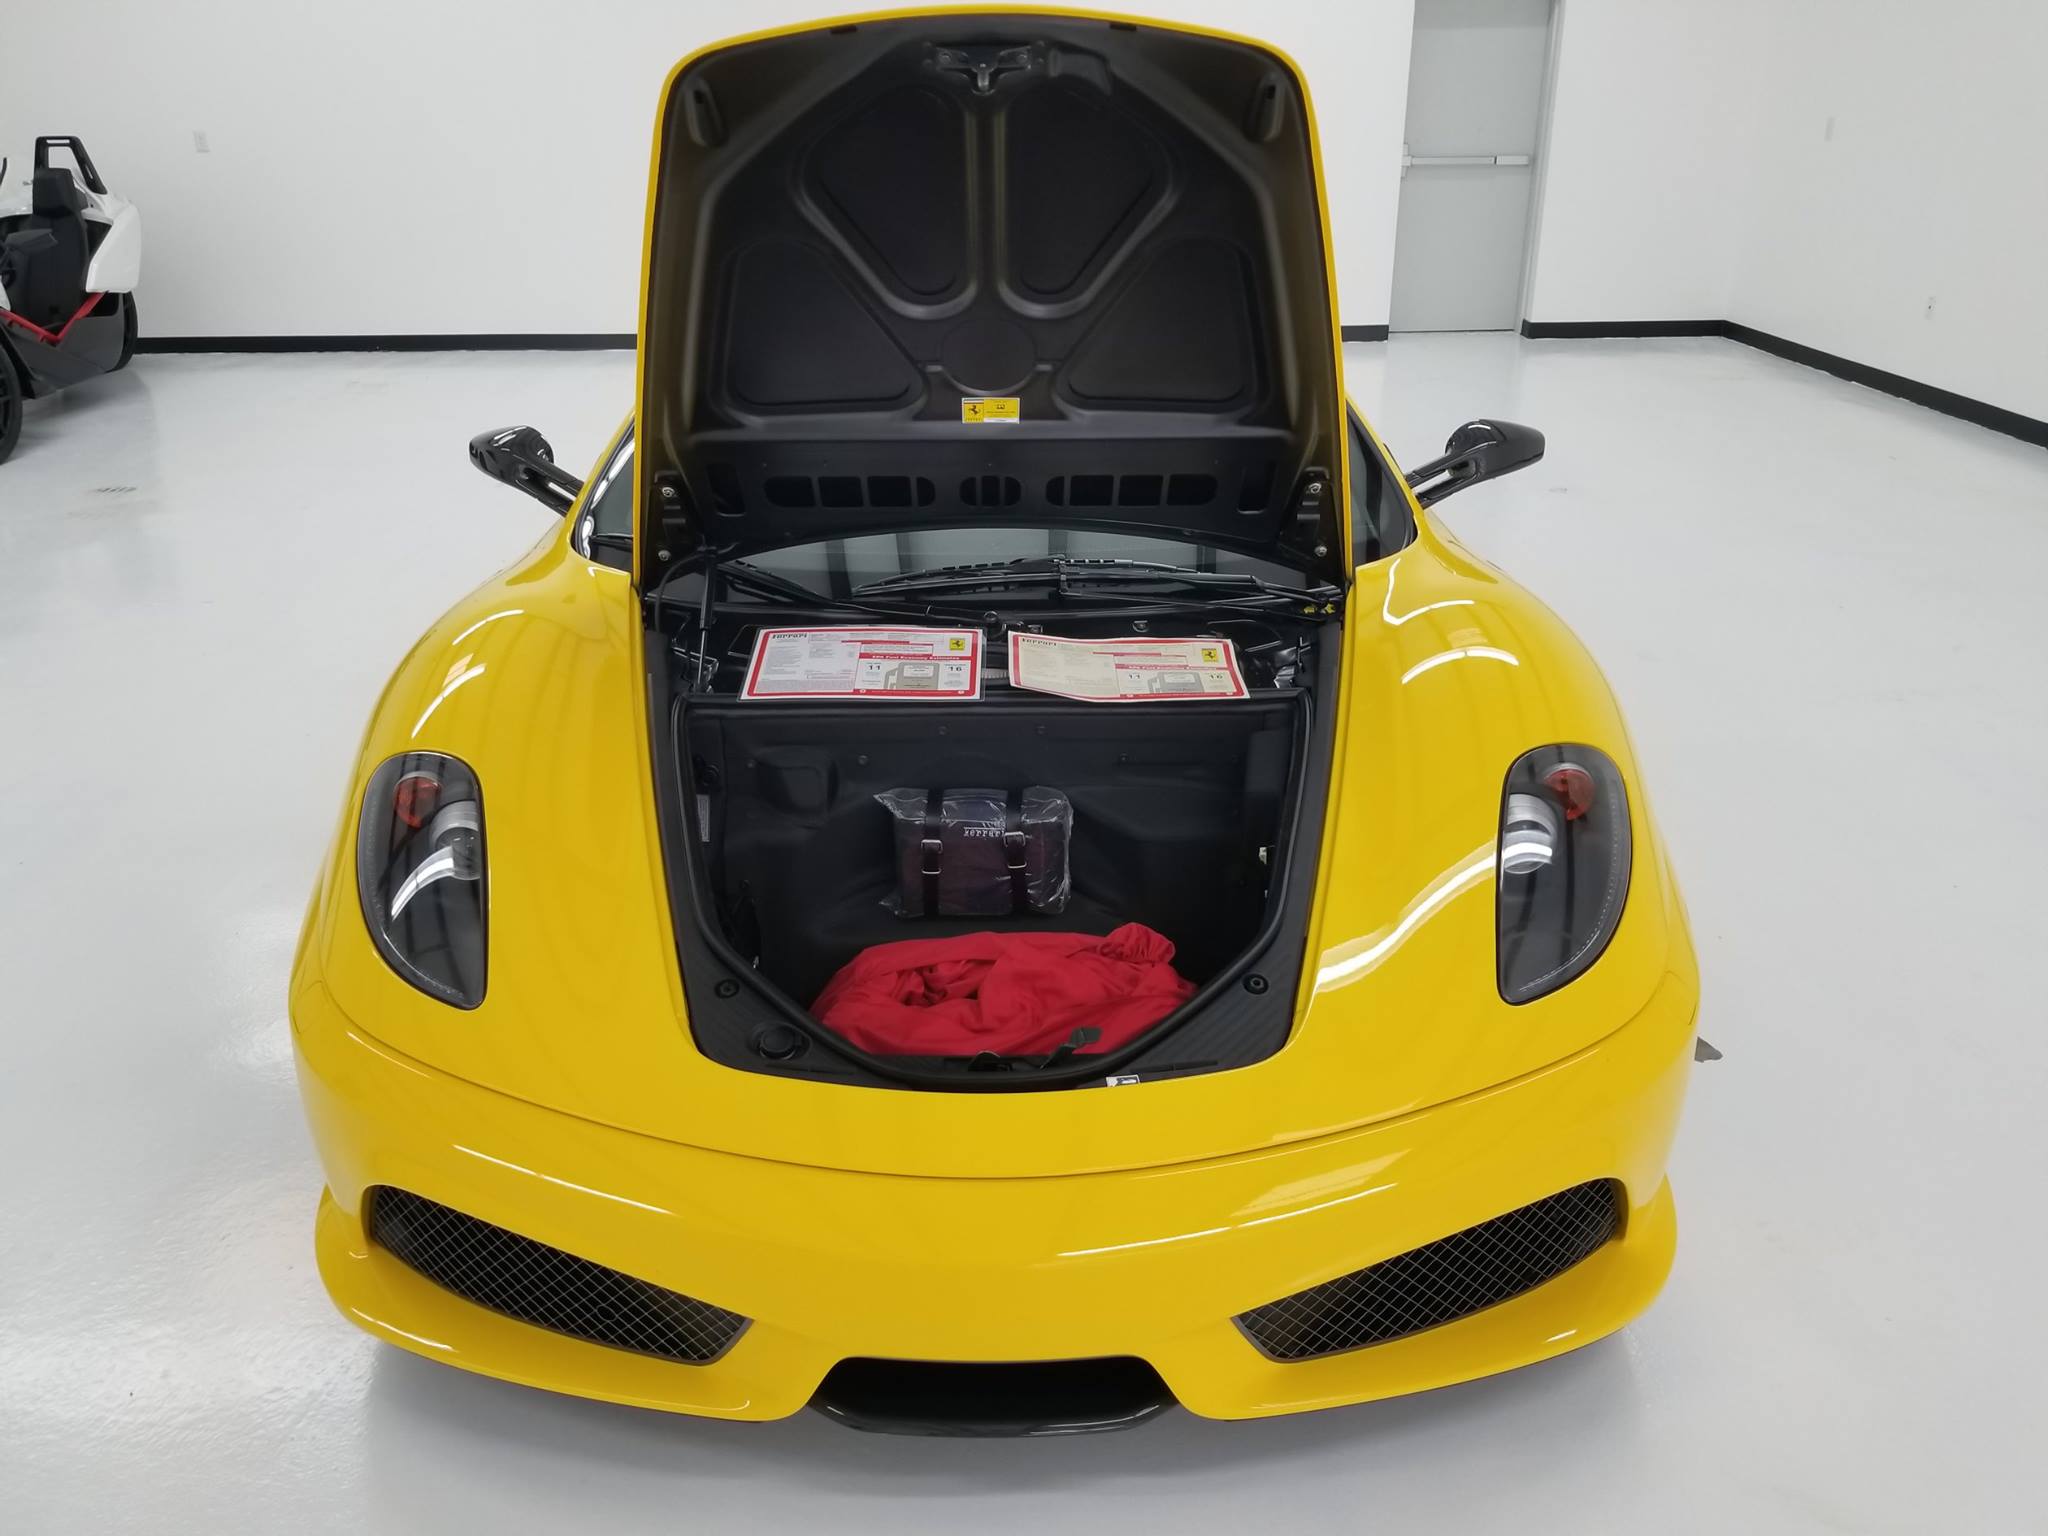
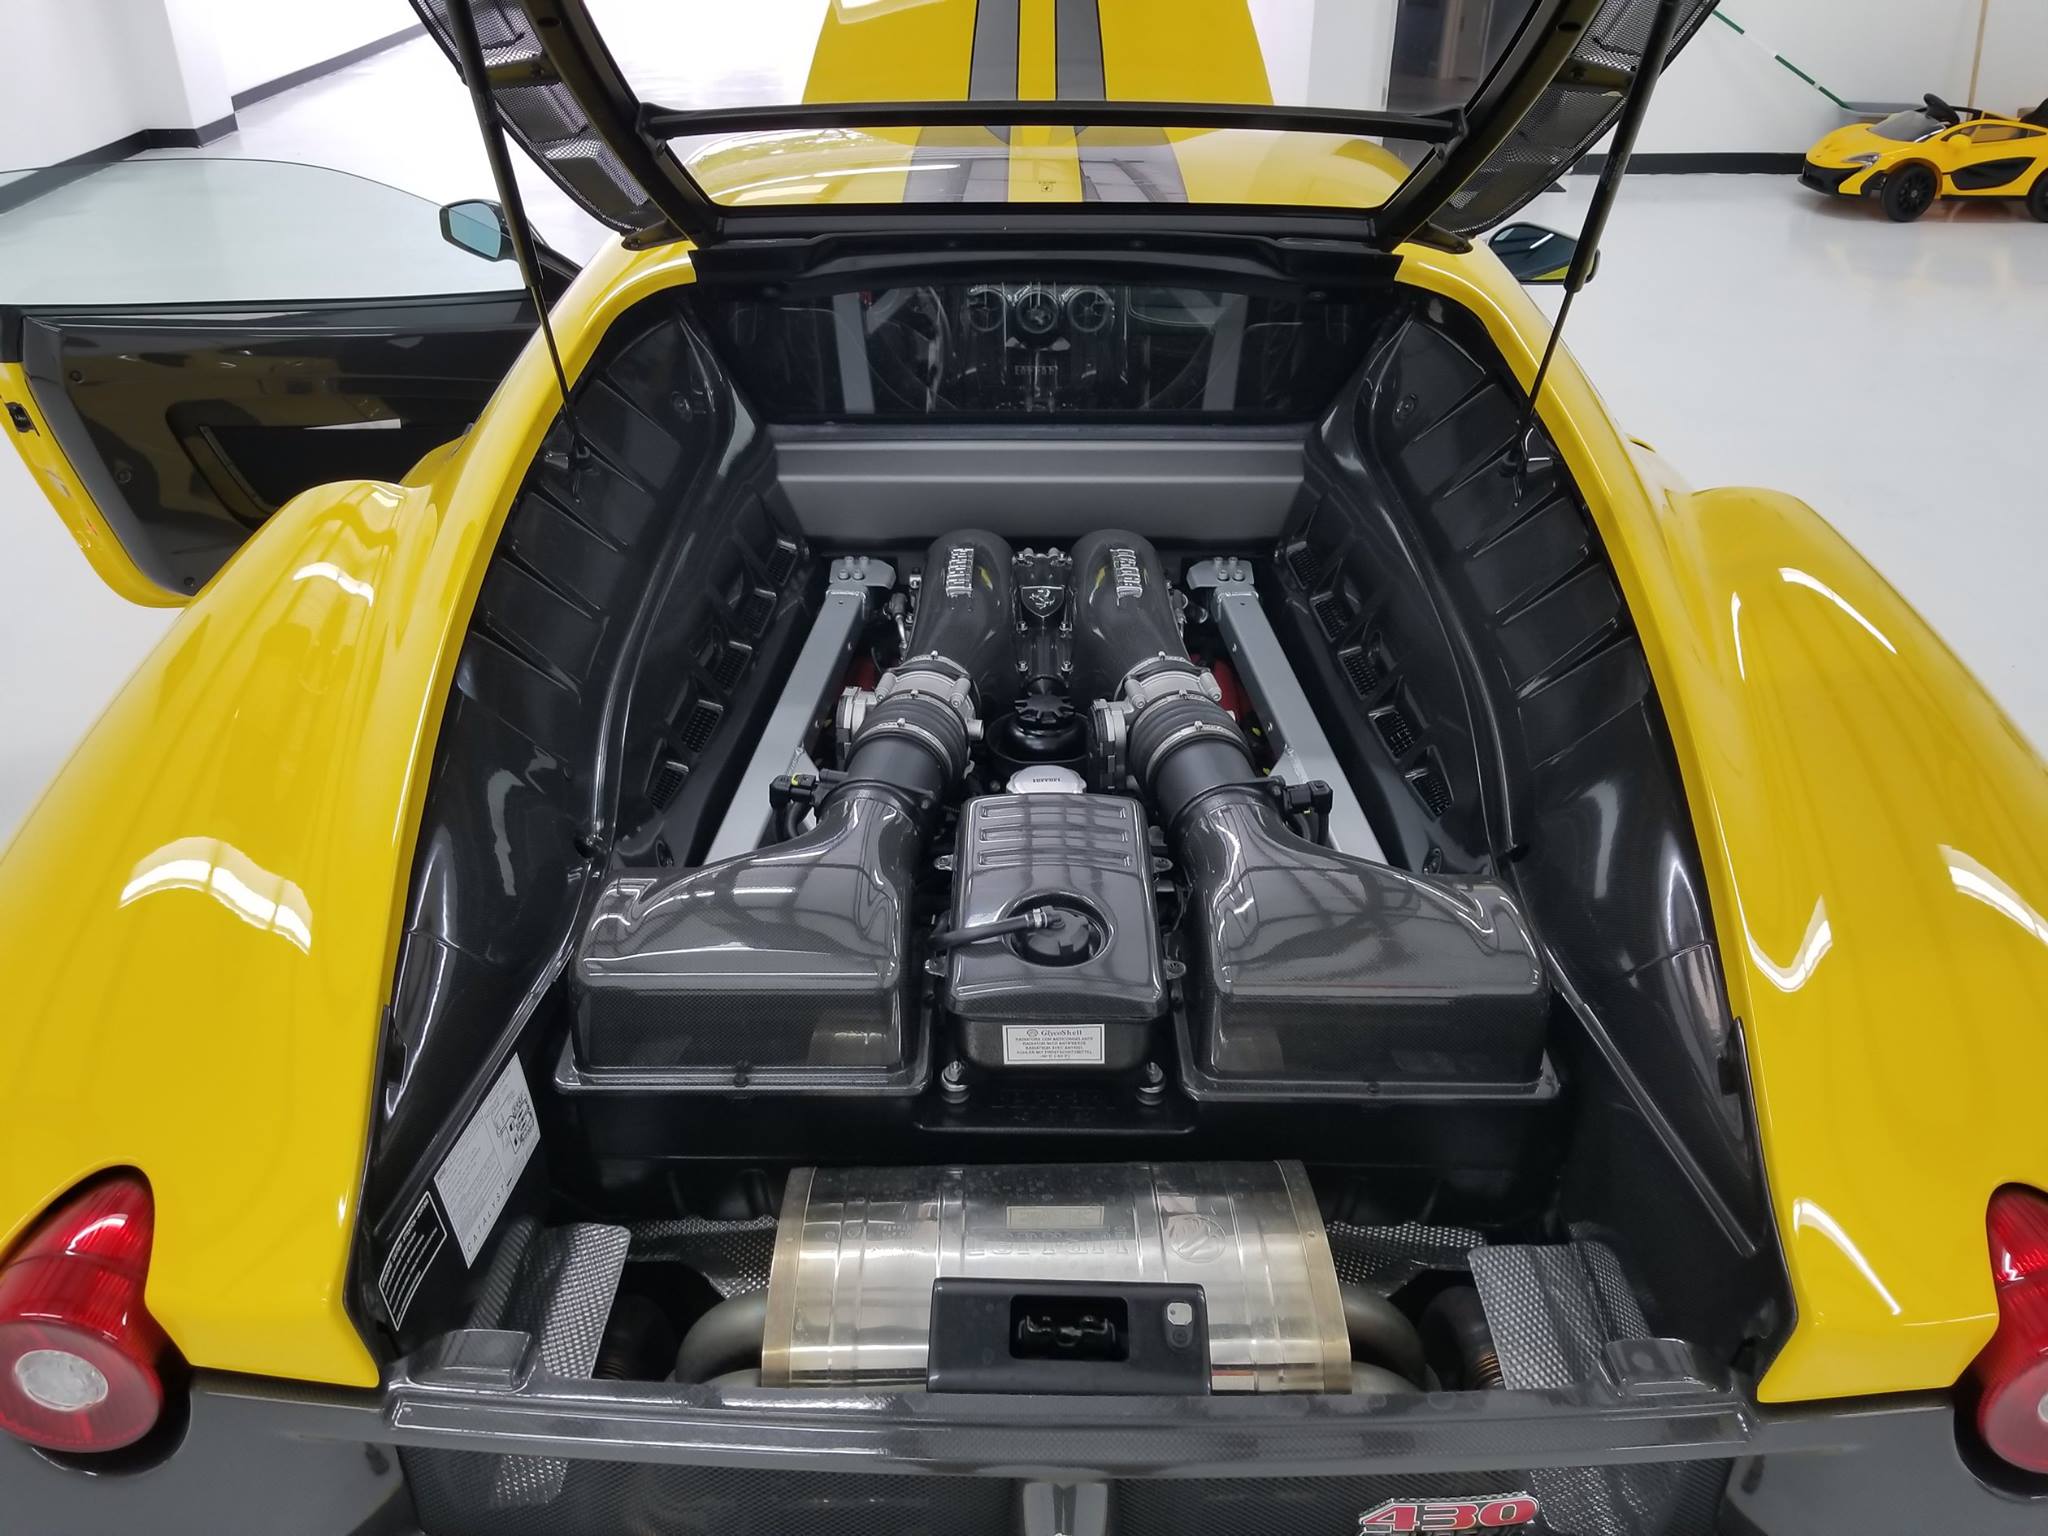
STEP 2: Hood/Trunk
Remember LFS.
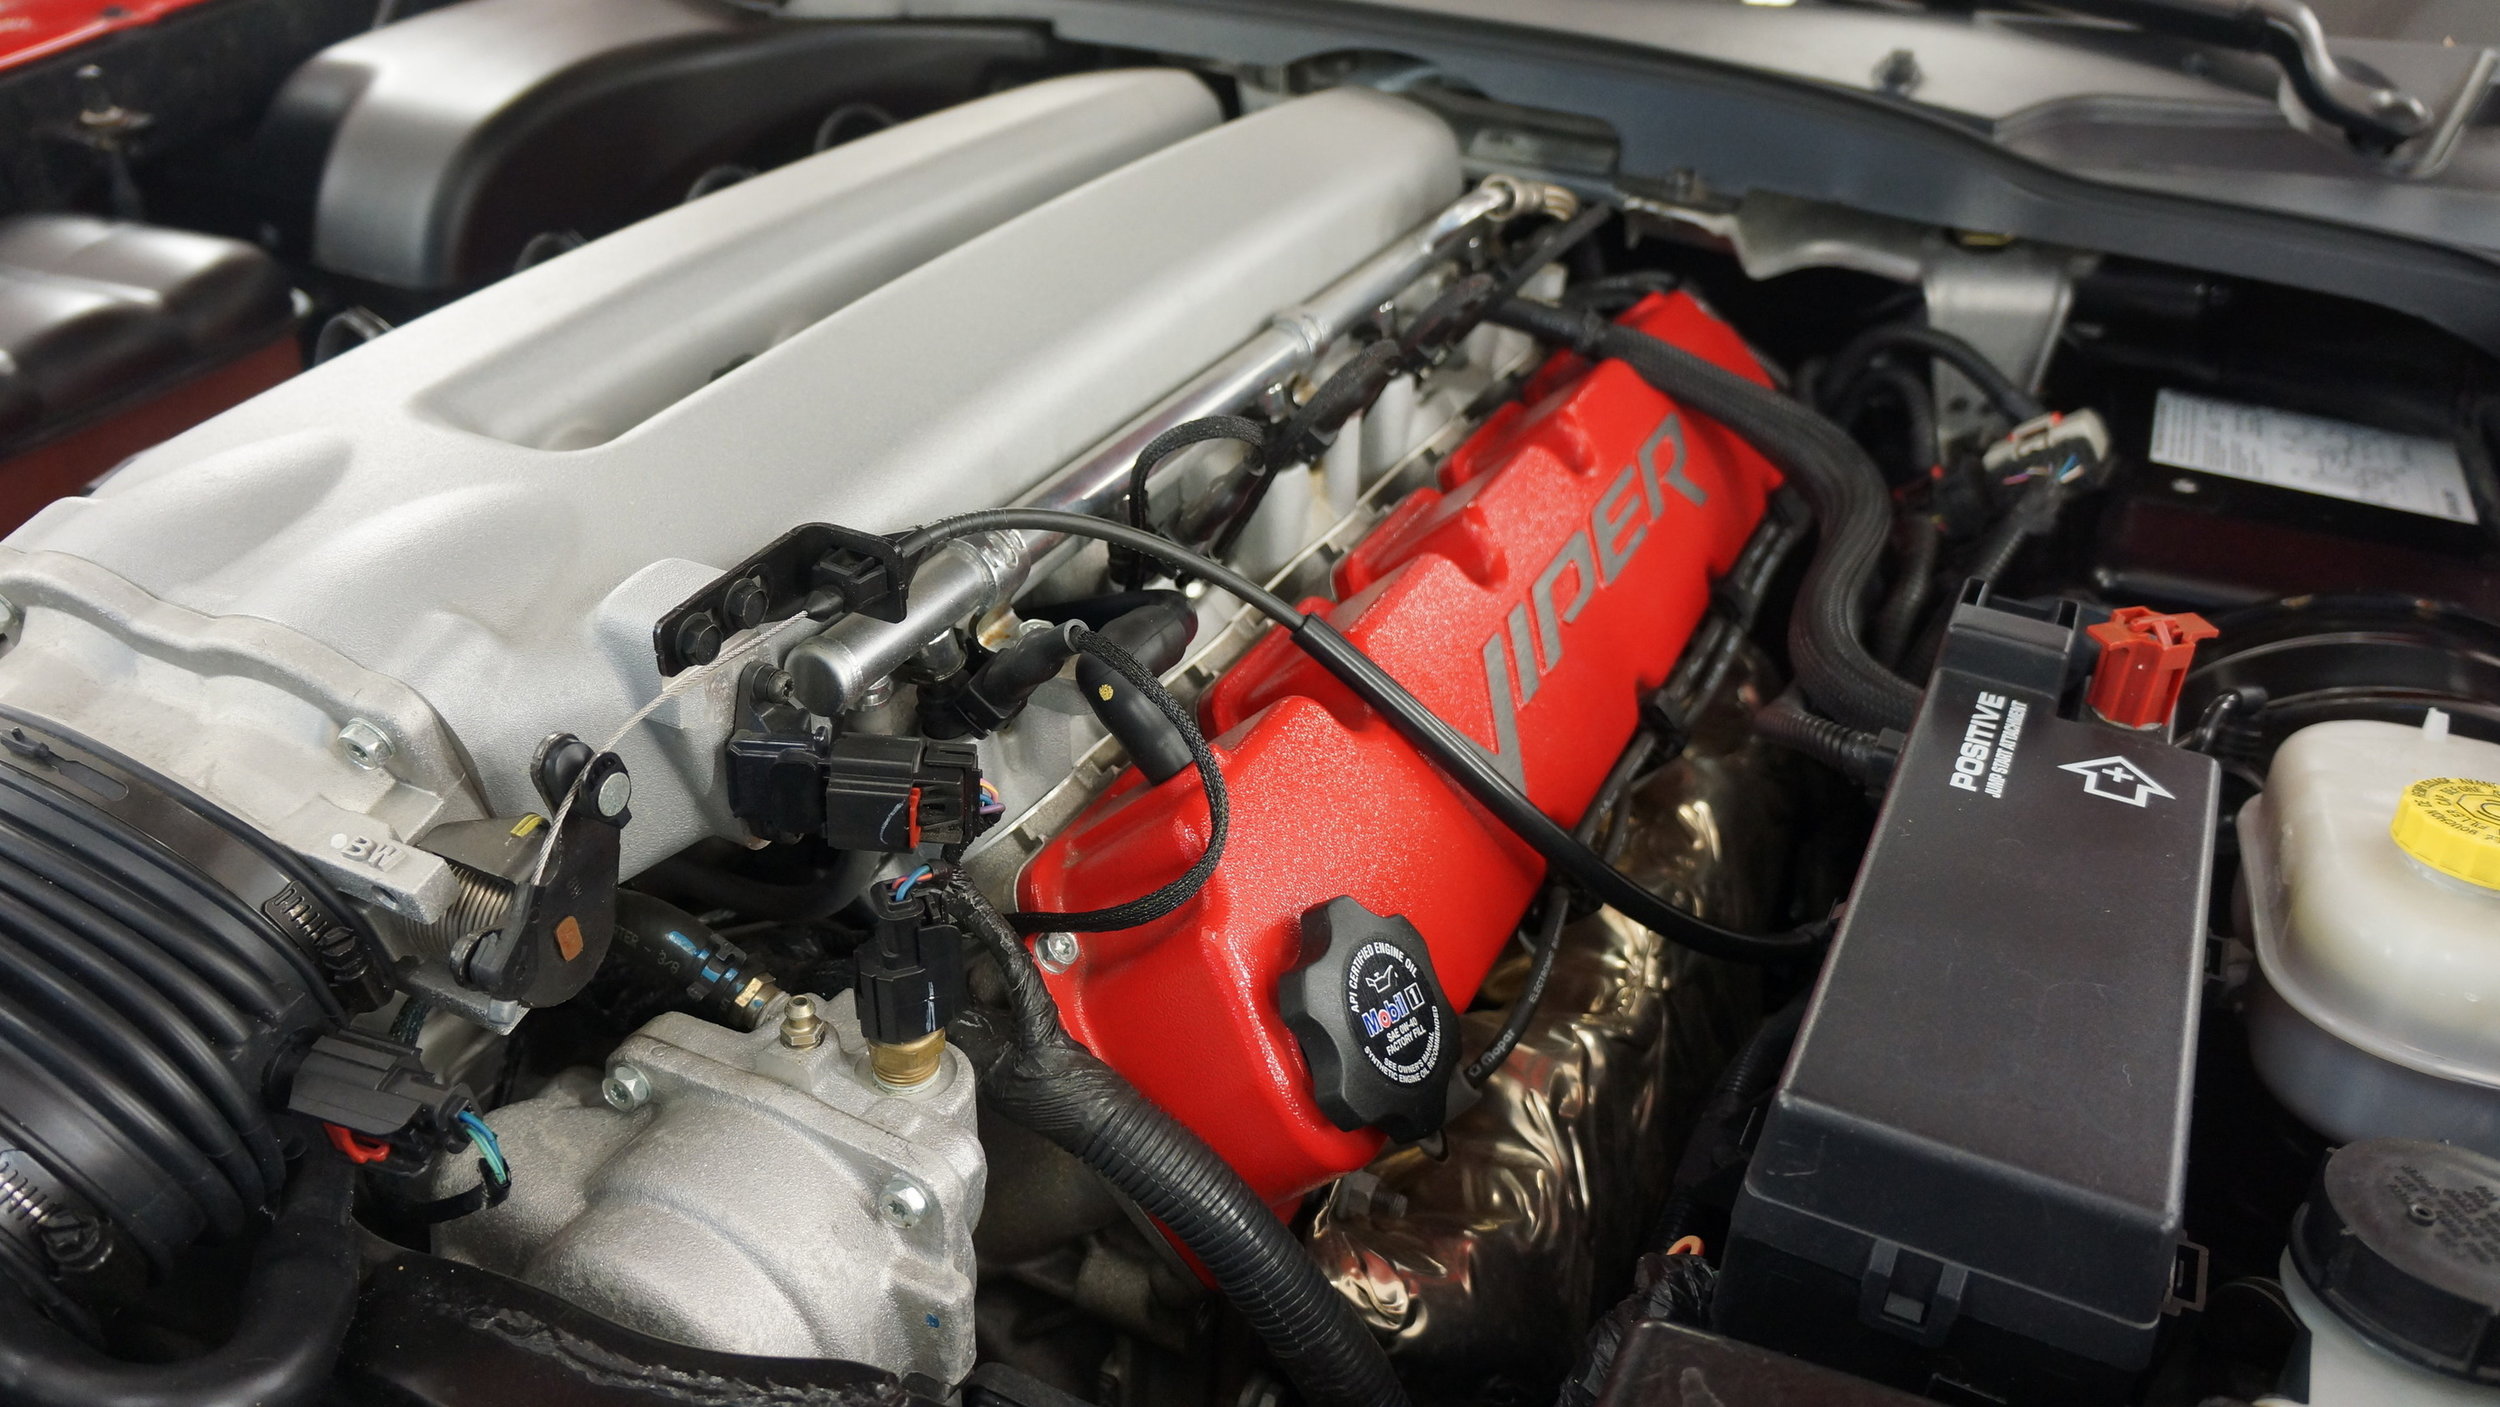
1 shot of the engine bay.
1 shot with the trunk open.
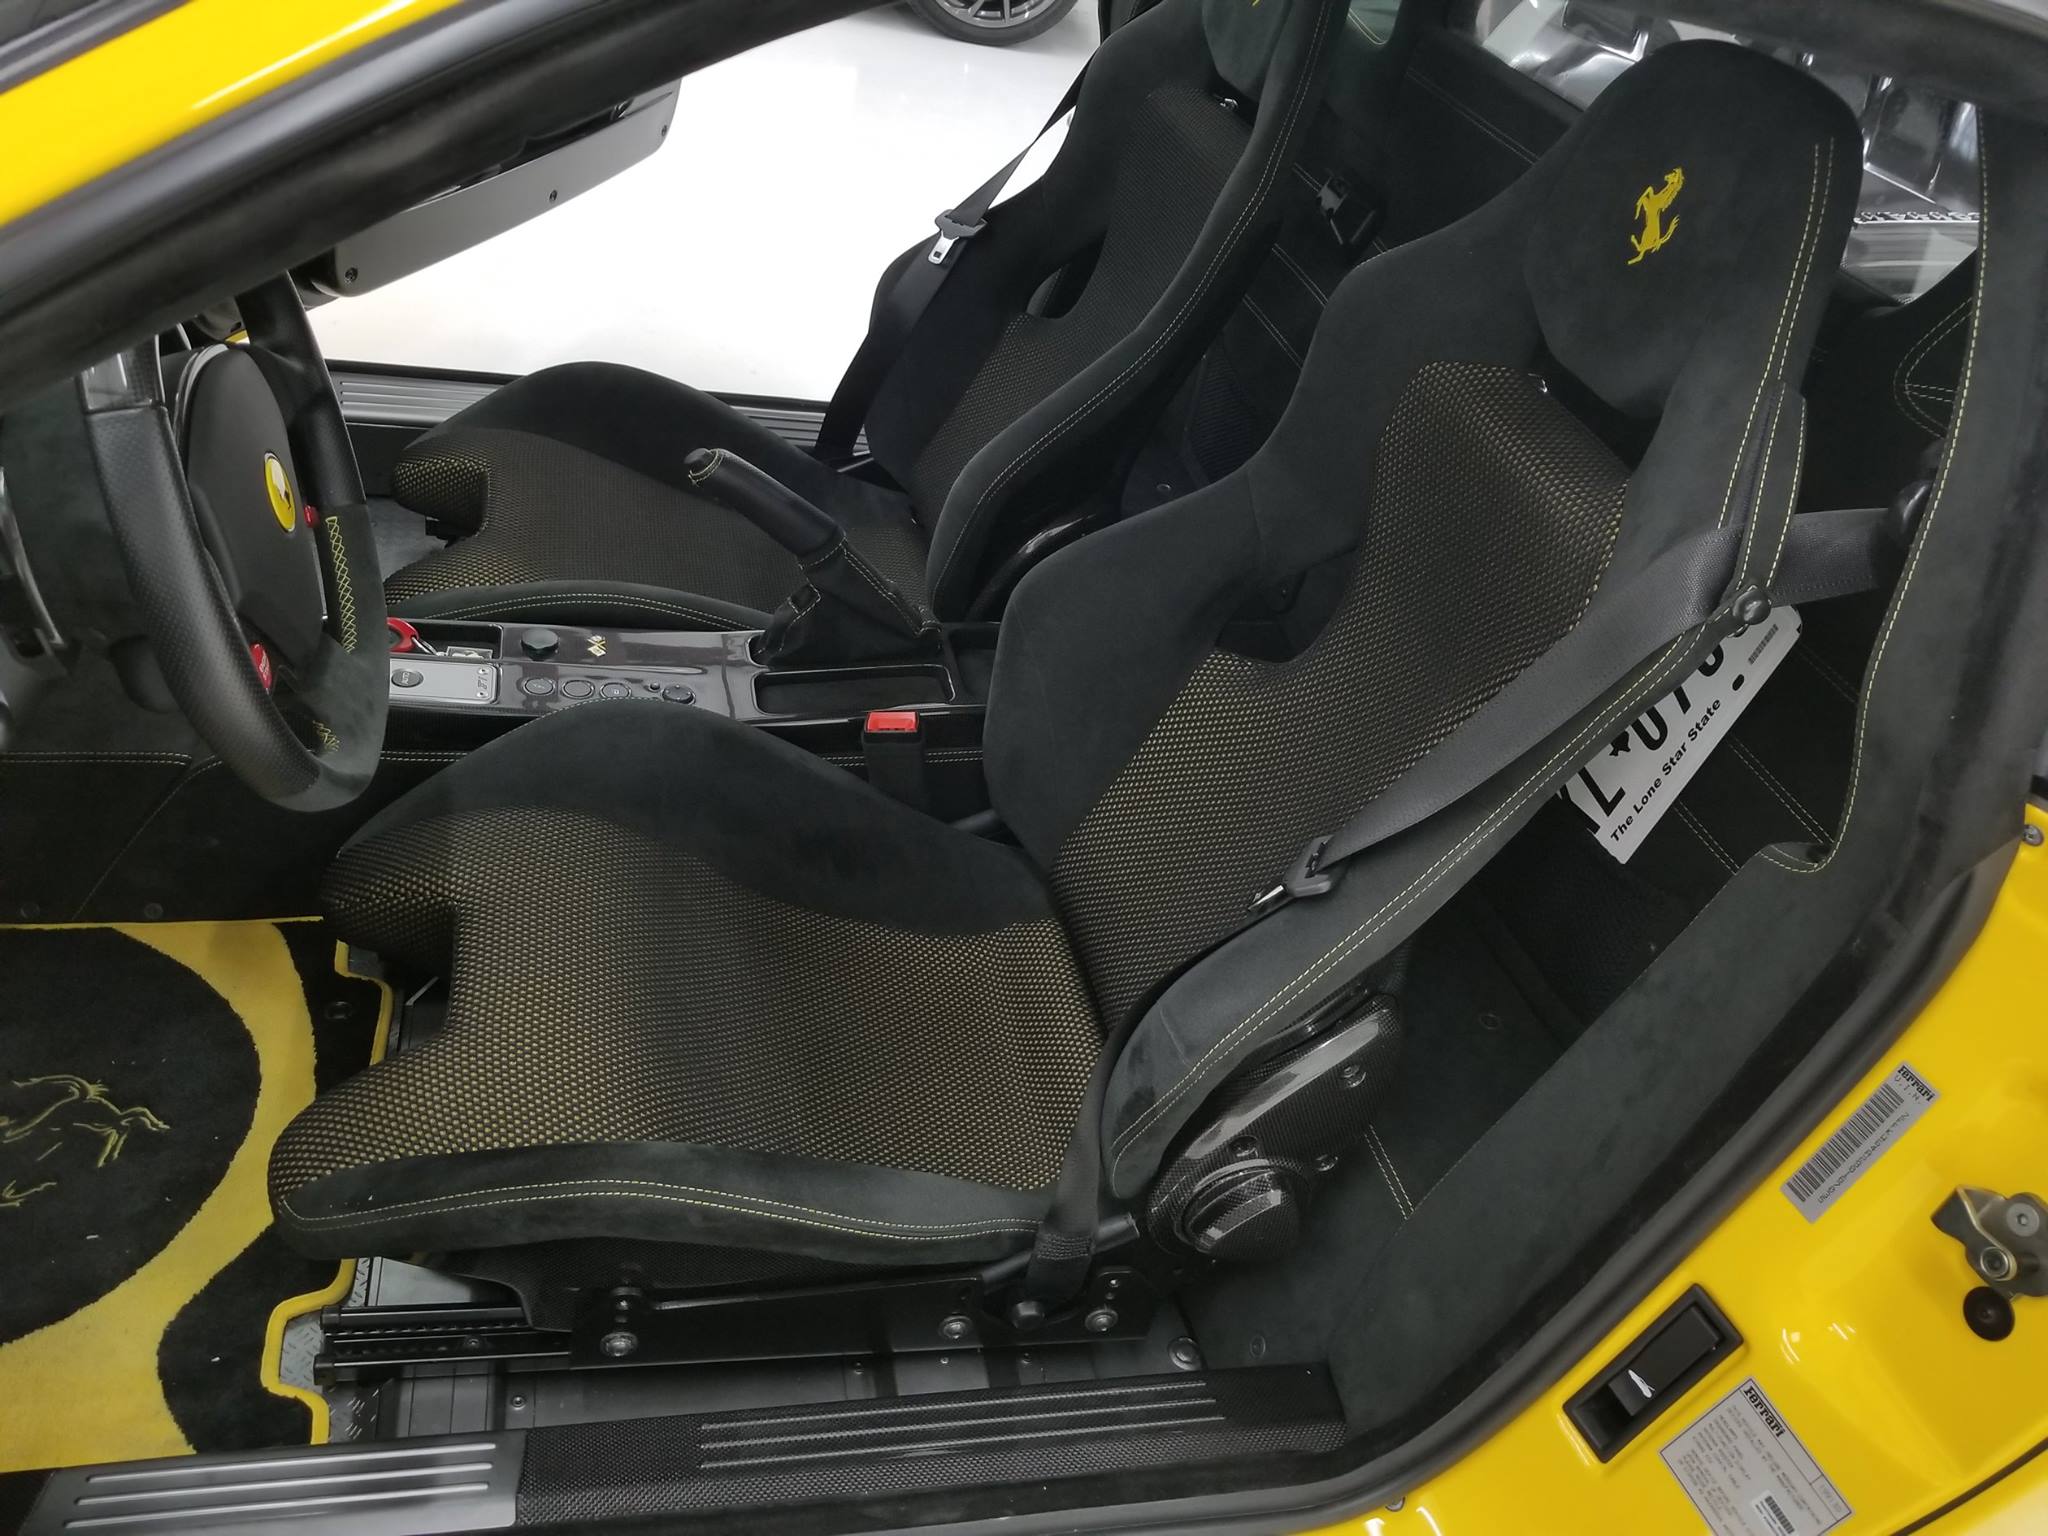
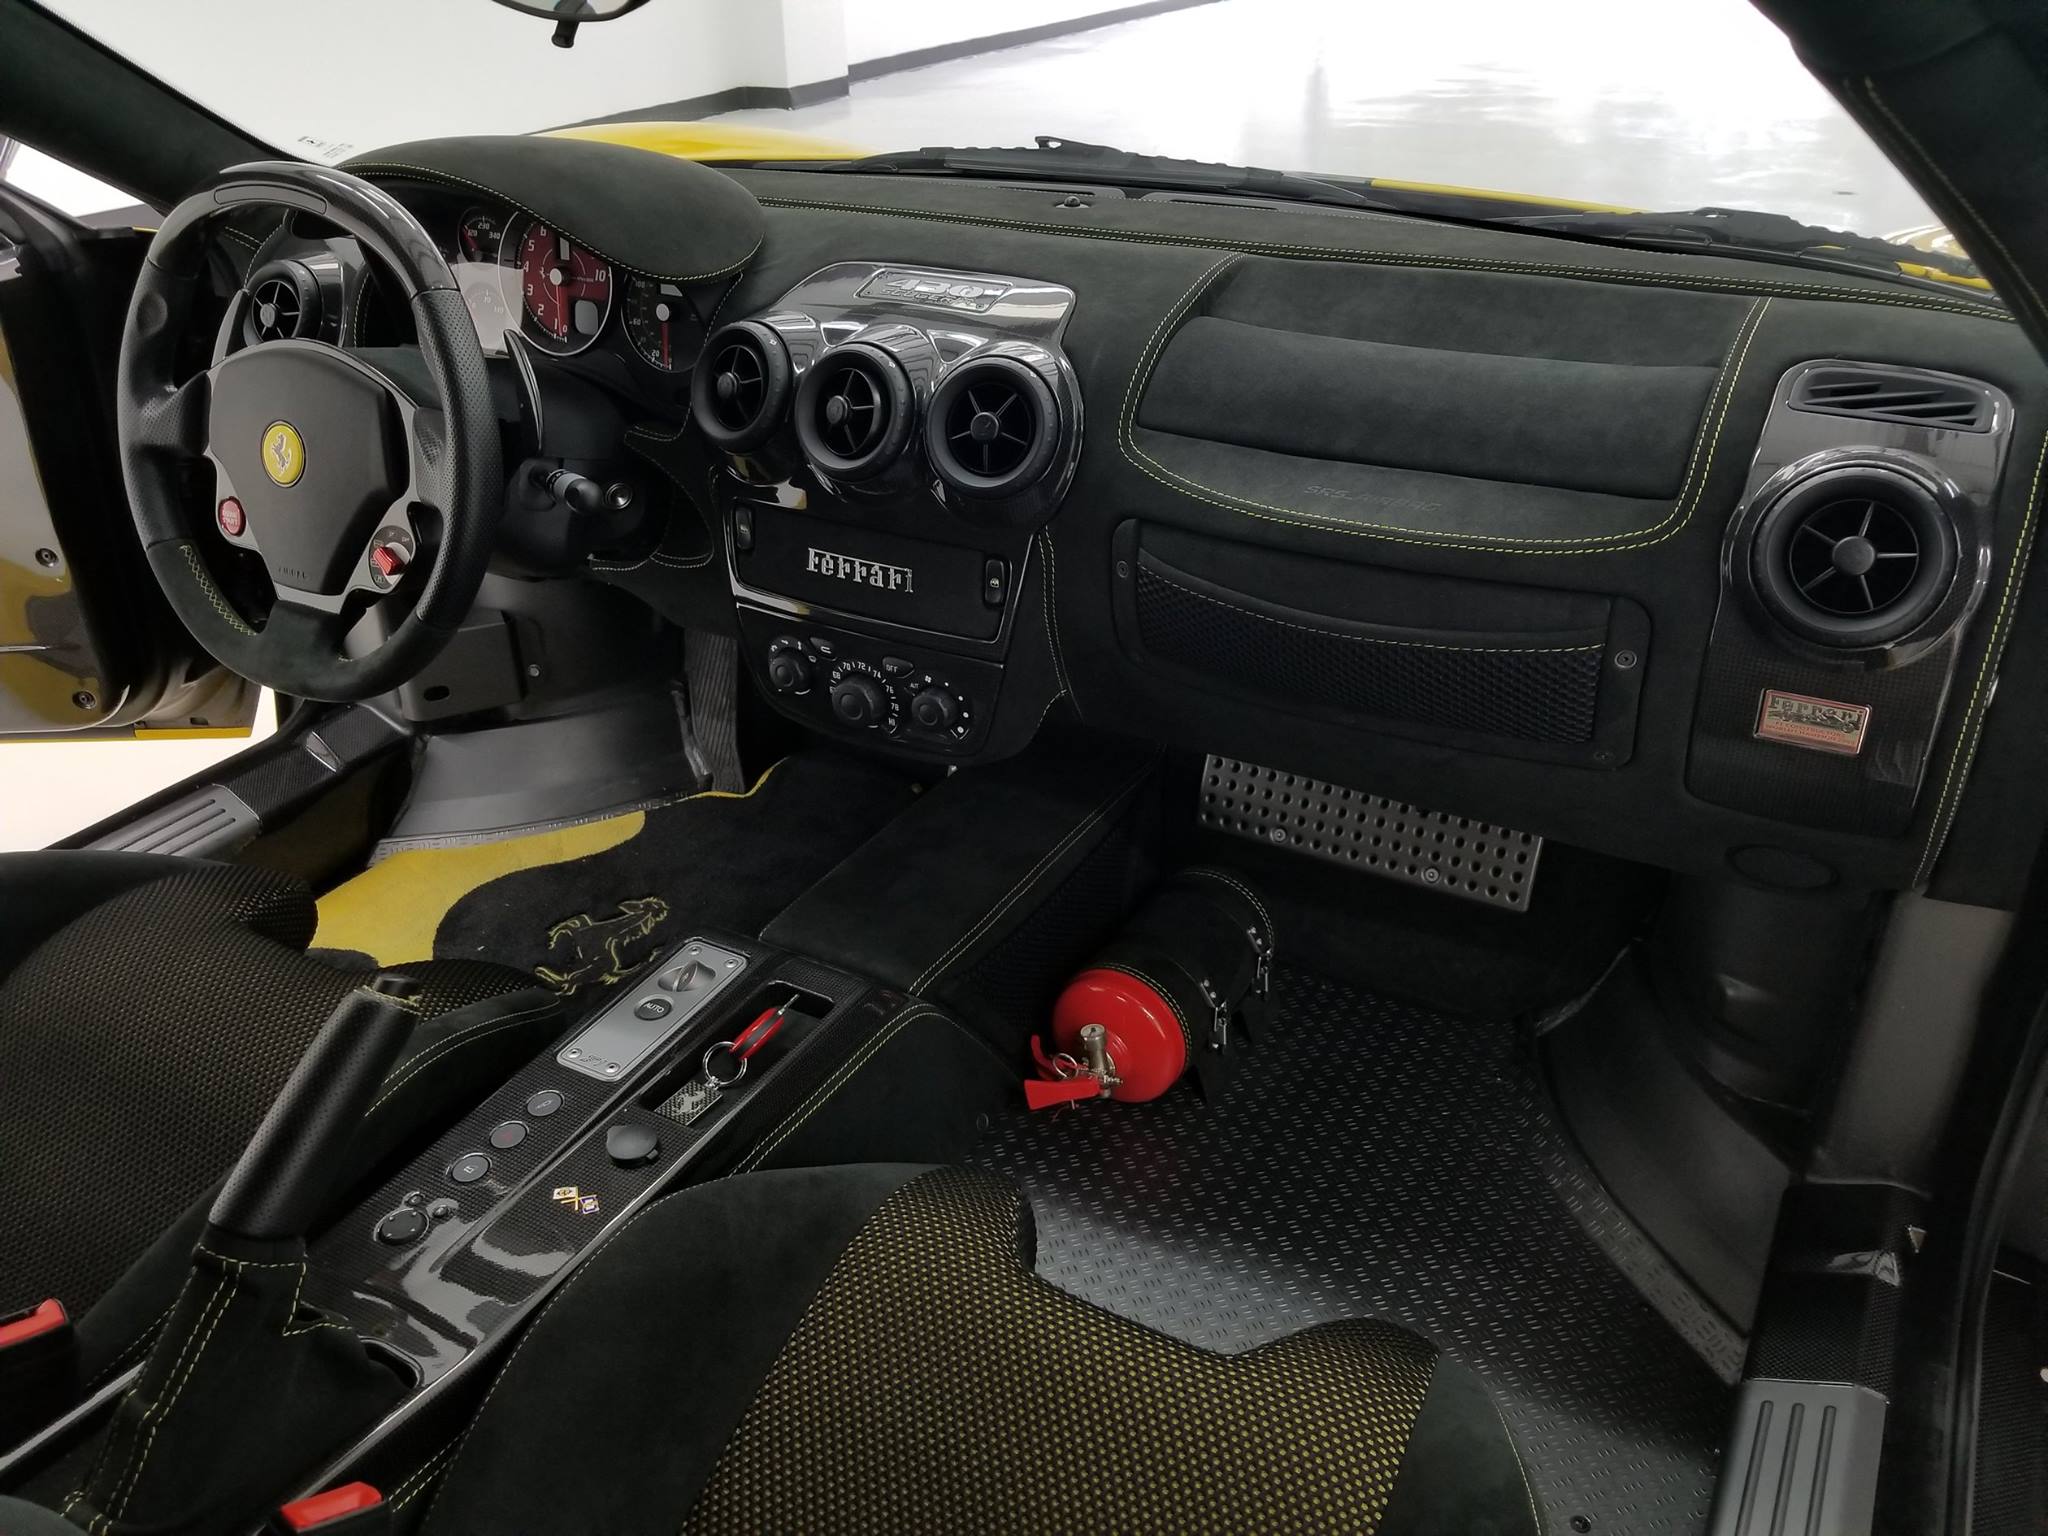
STEP 3: Interior
Remember LFS.
Extremely important to keep track of light balance and camera focus. you want these pictures to be a little bit more brighter than exterior to show the dark areas. Later you can adjust the bright areas using snapseed app.
Every picture needs to be as detailed and sharp as possible.
1 picture with driver's door open, showing dashboard/seats like below, repeat for all doors.
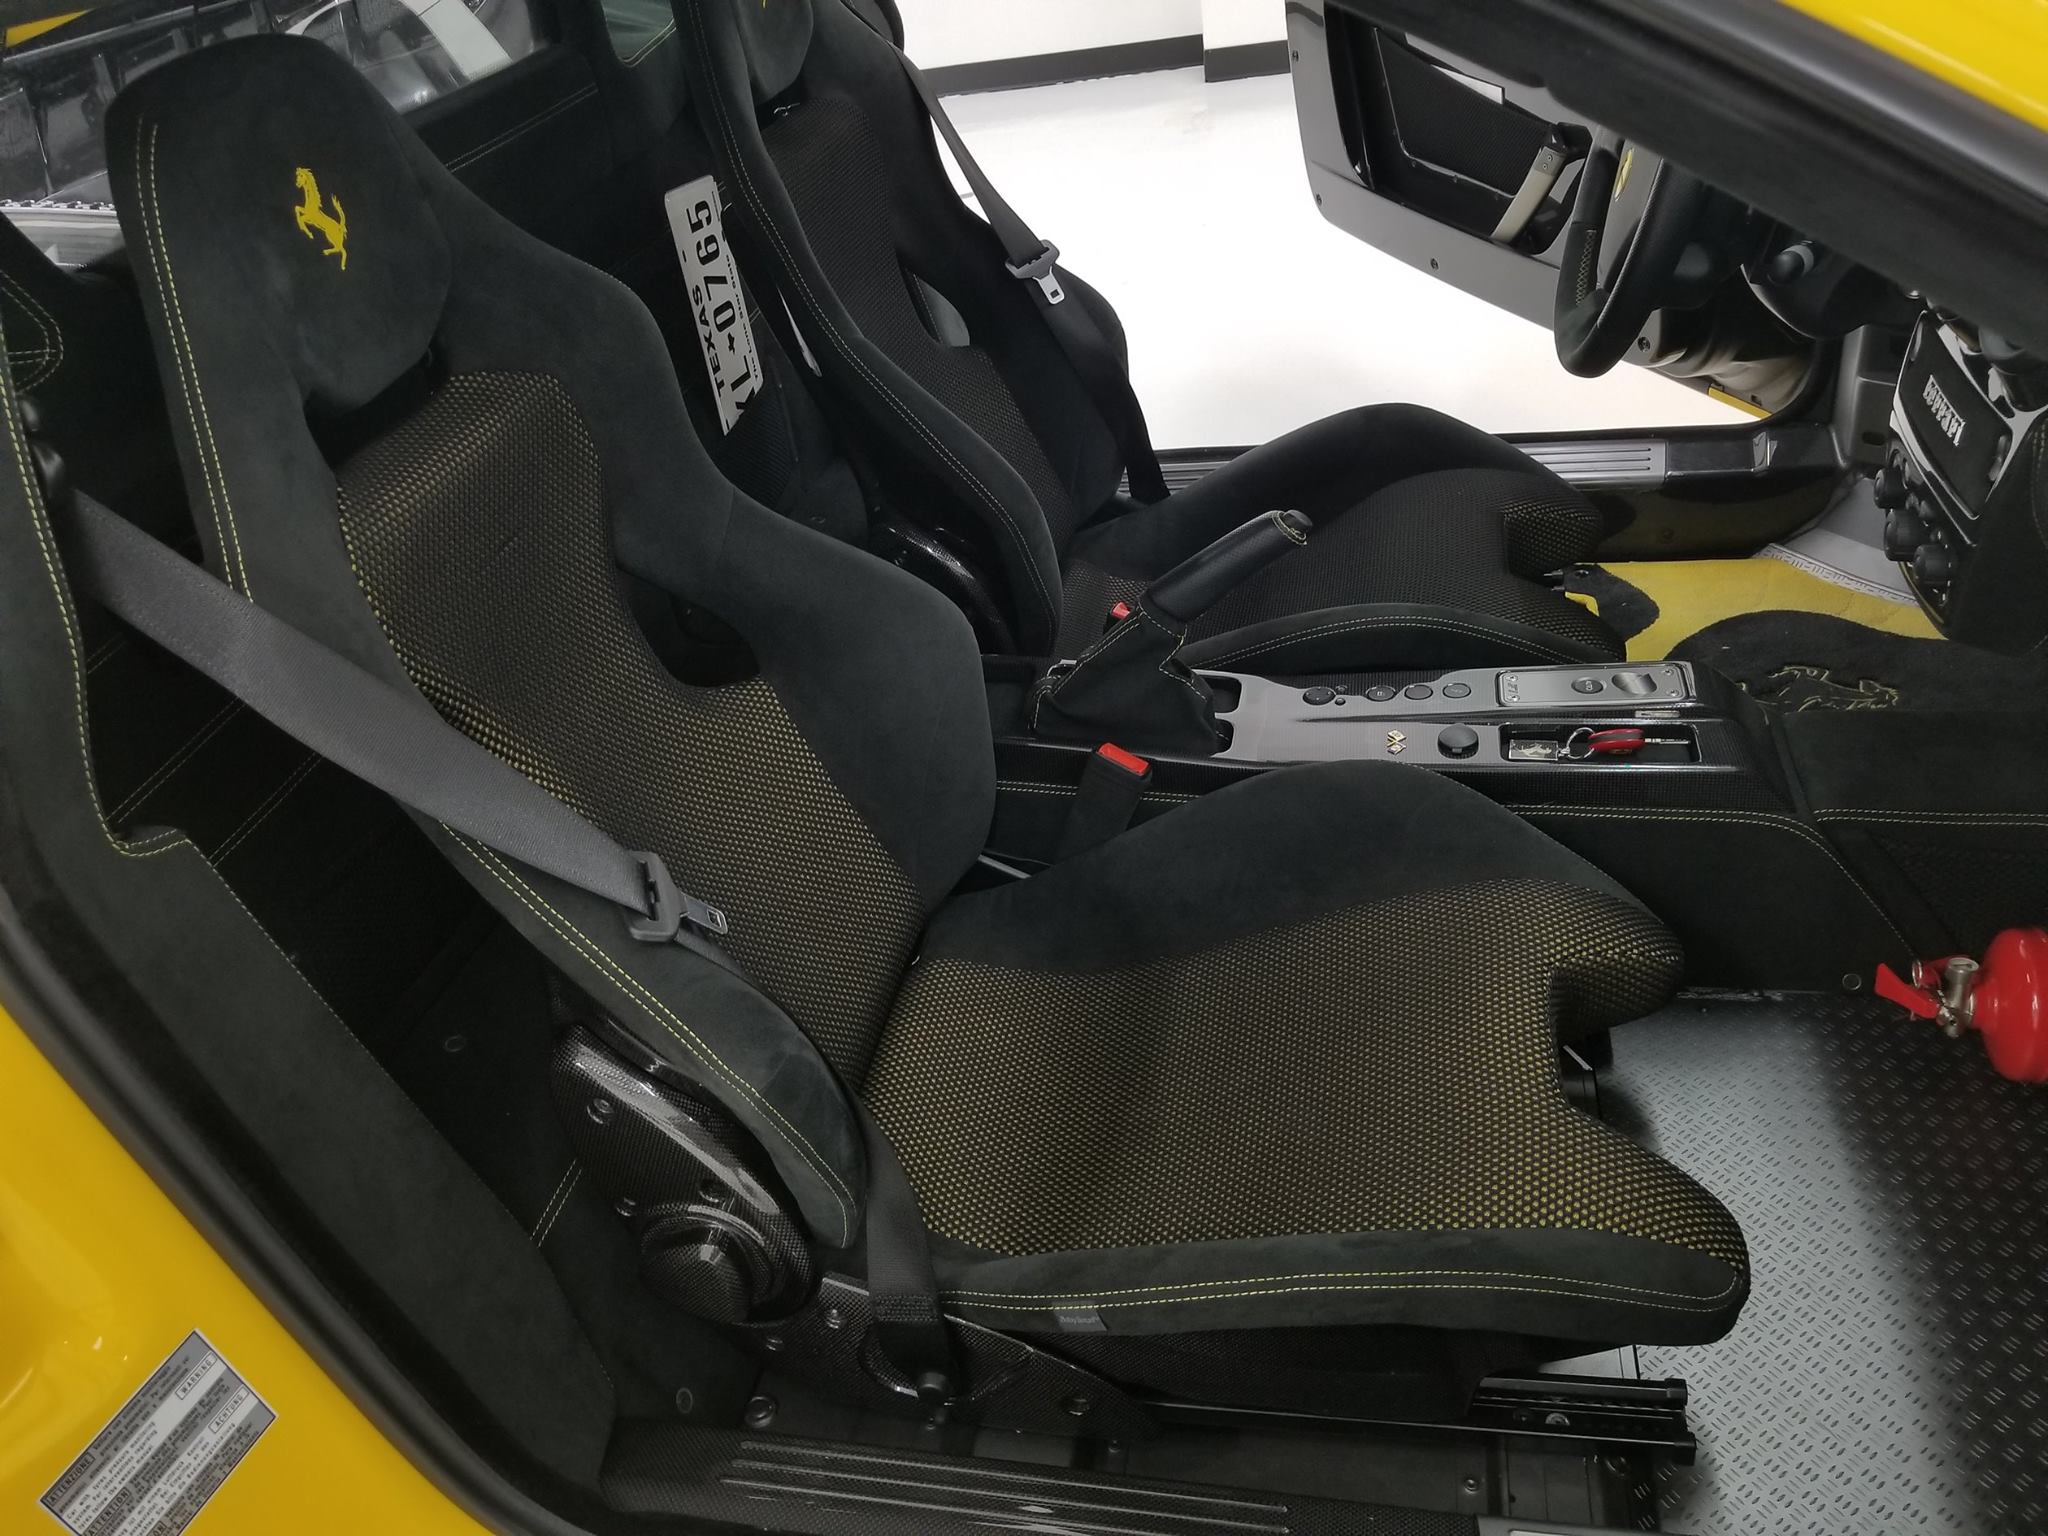
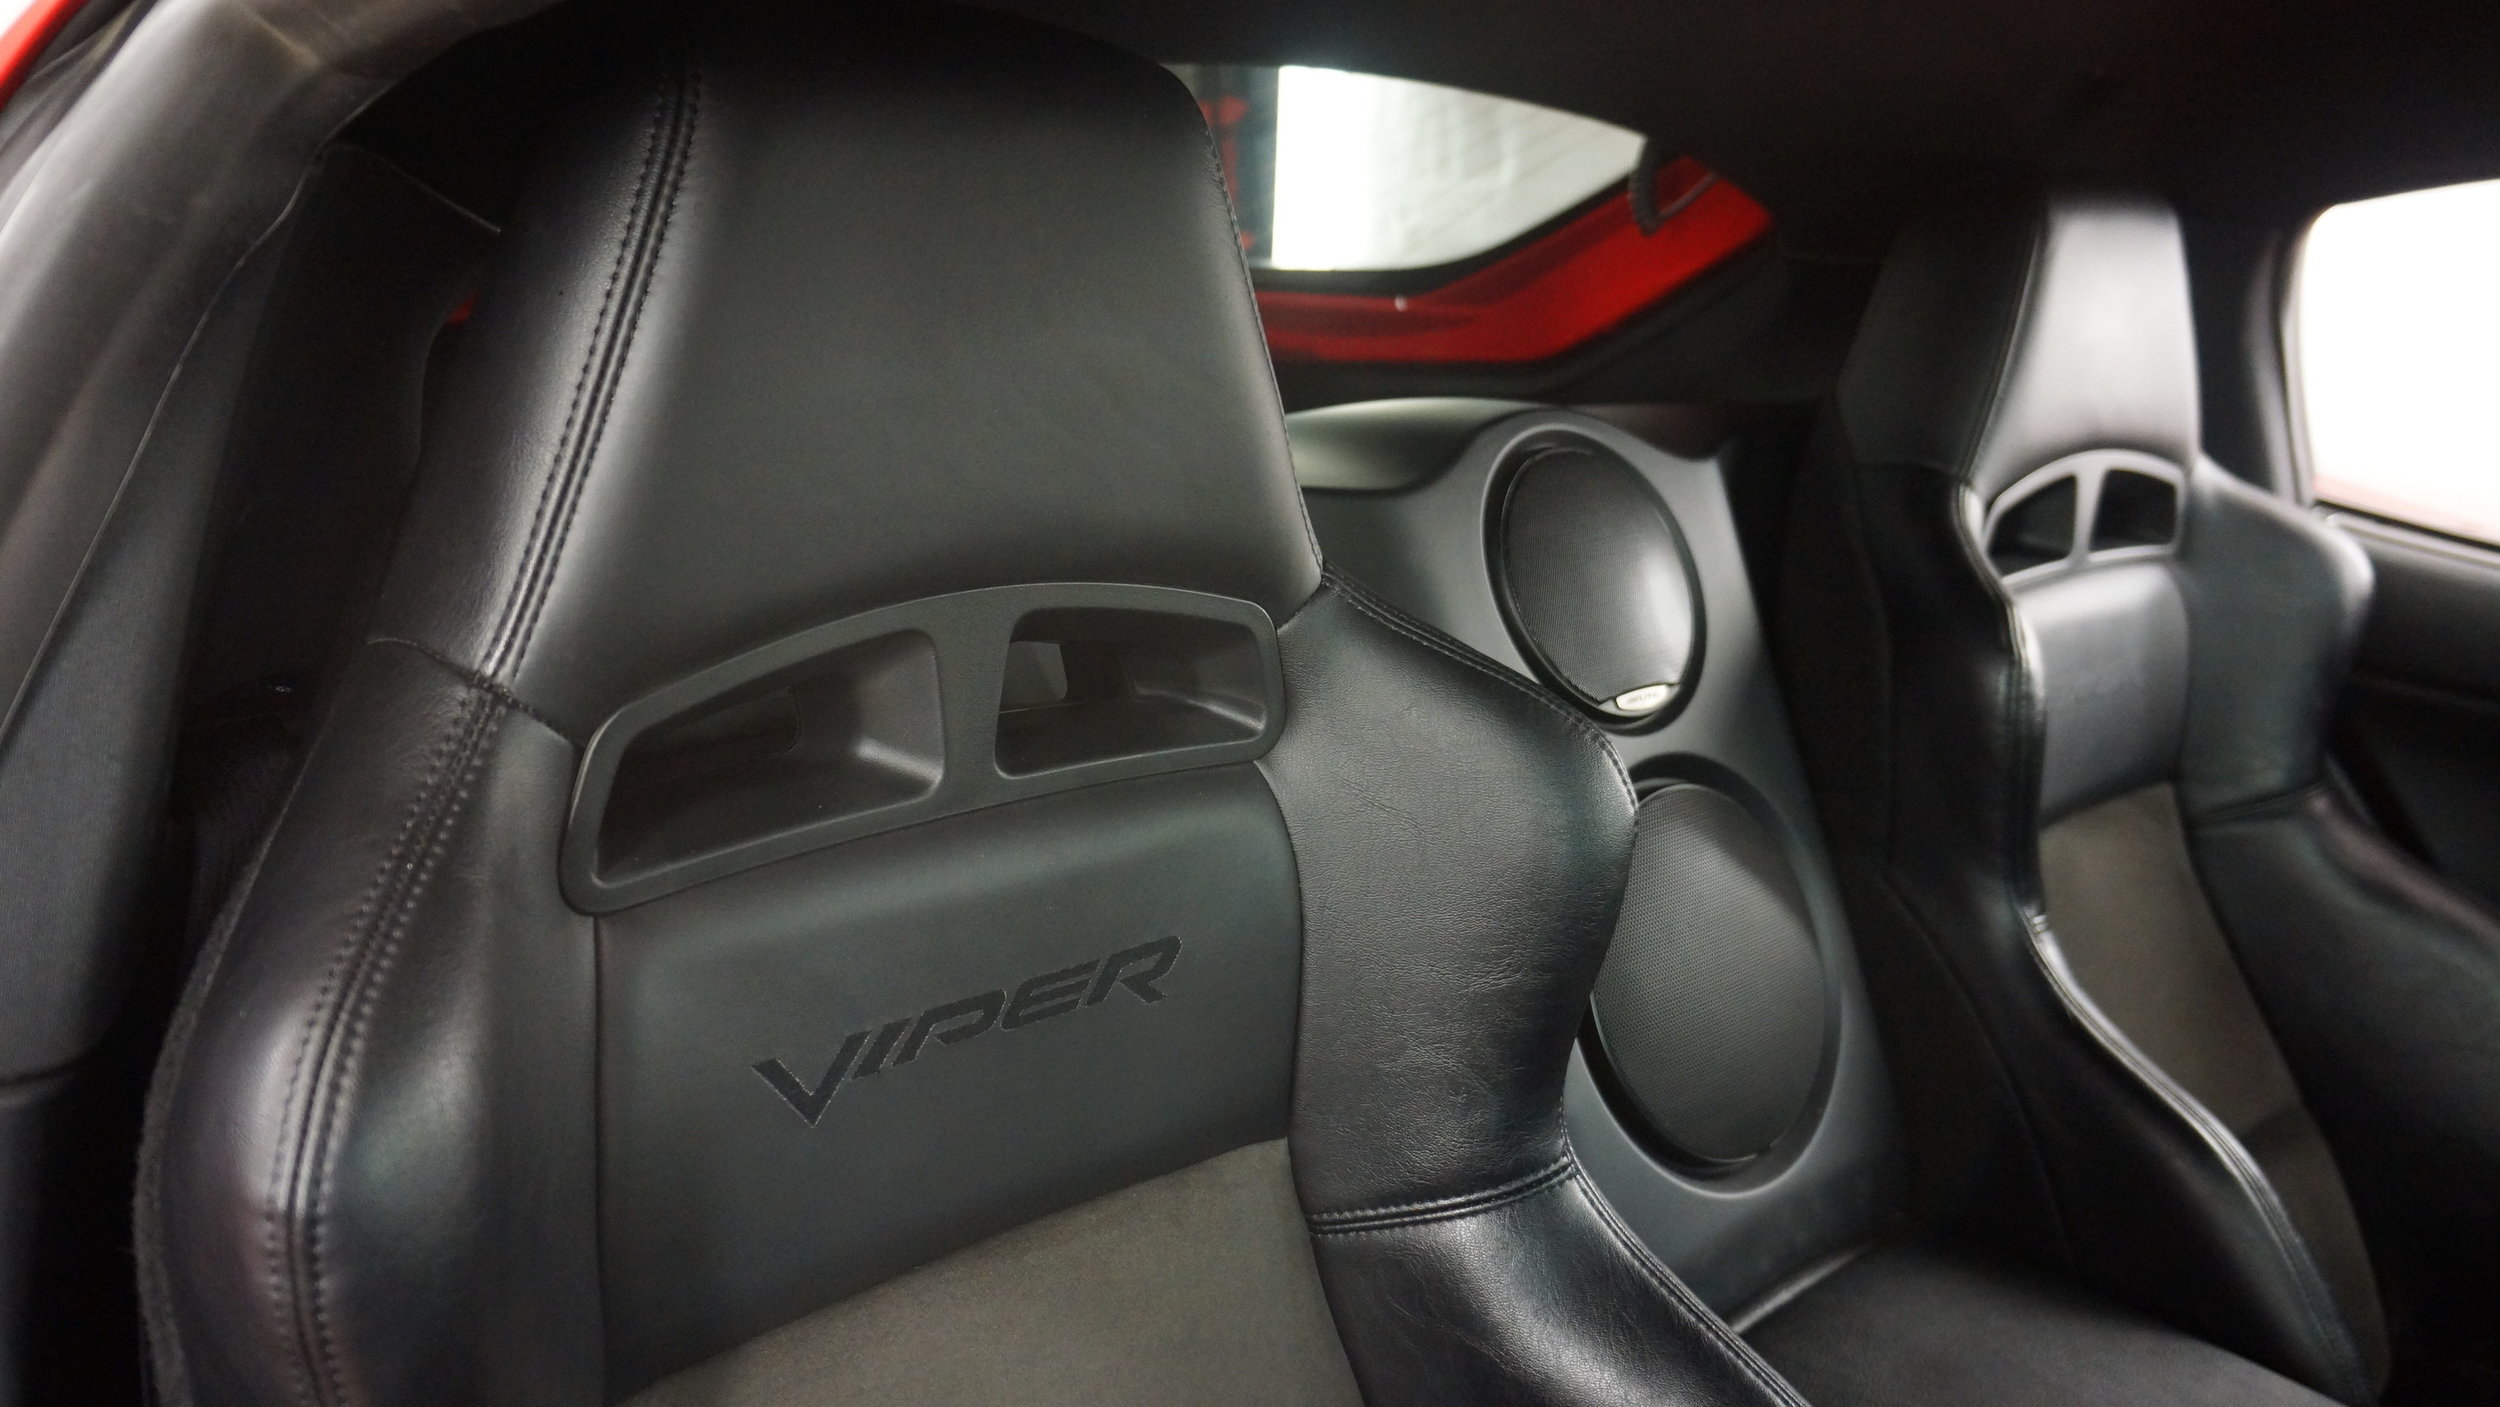
1 picture of each seat from sides.
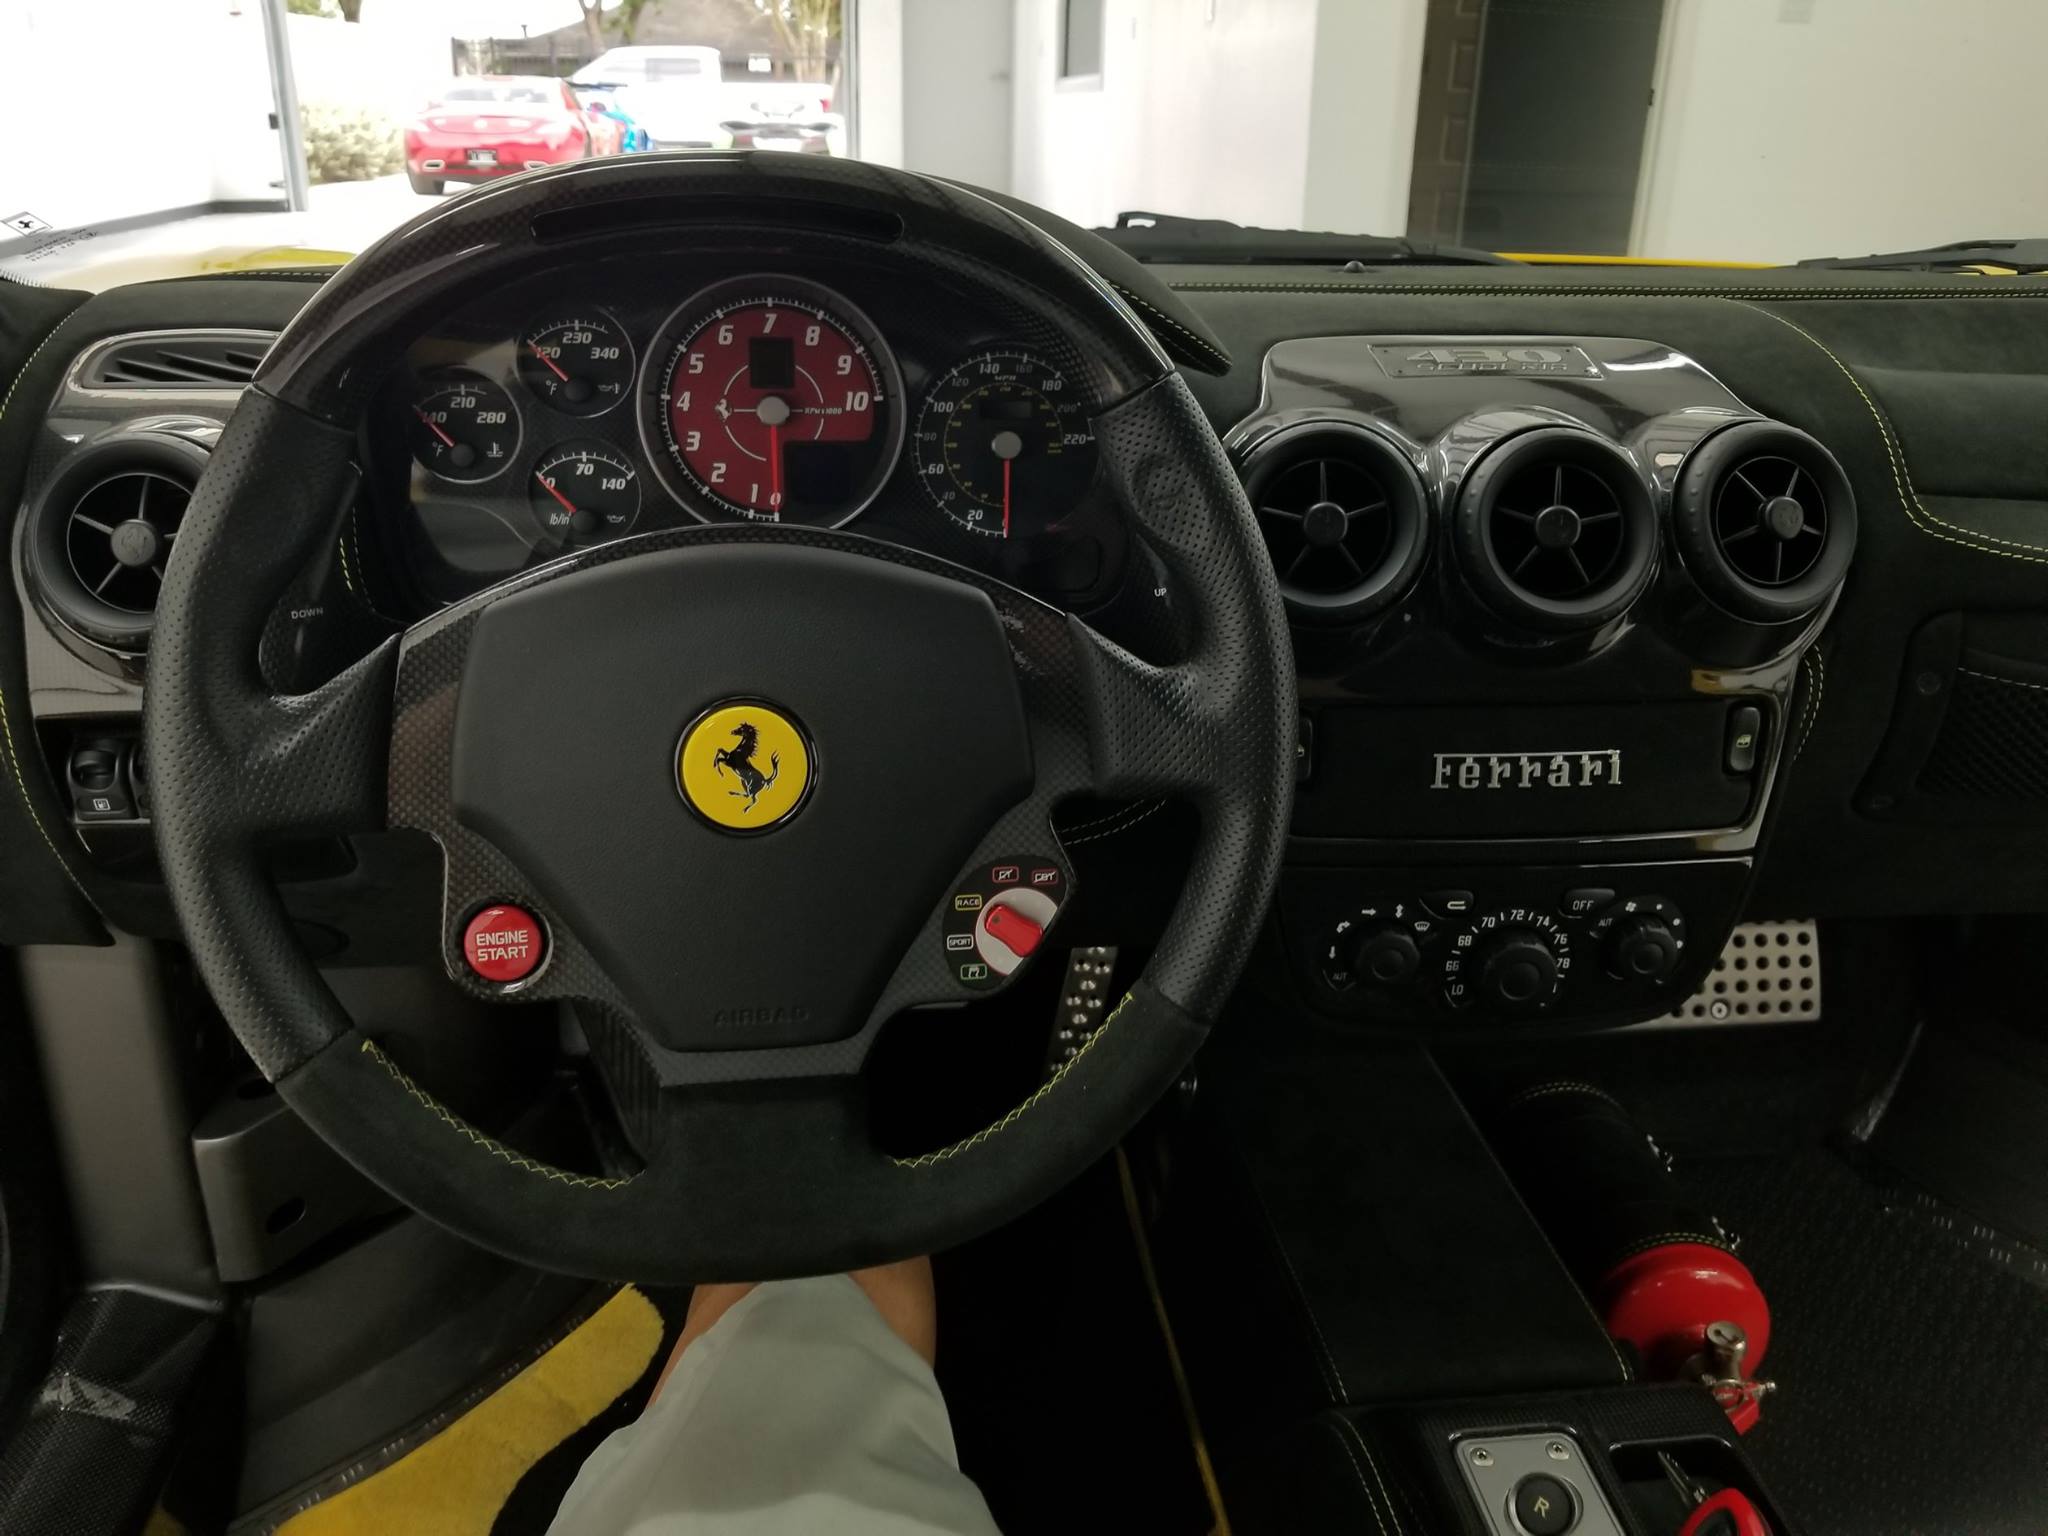
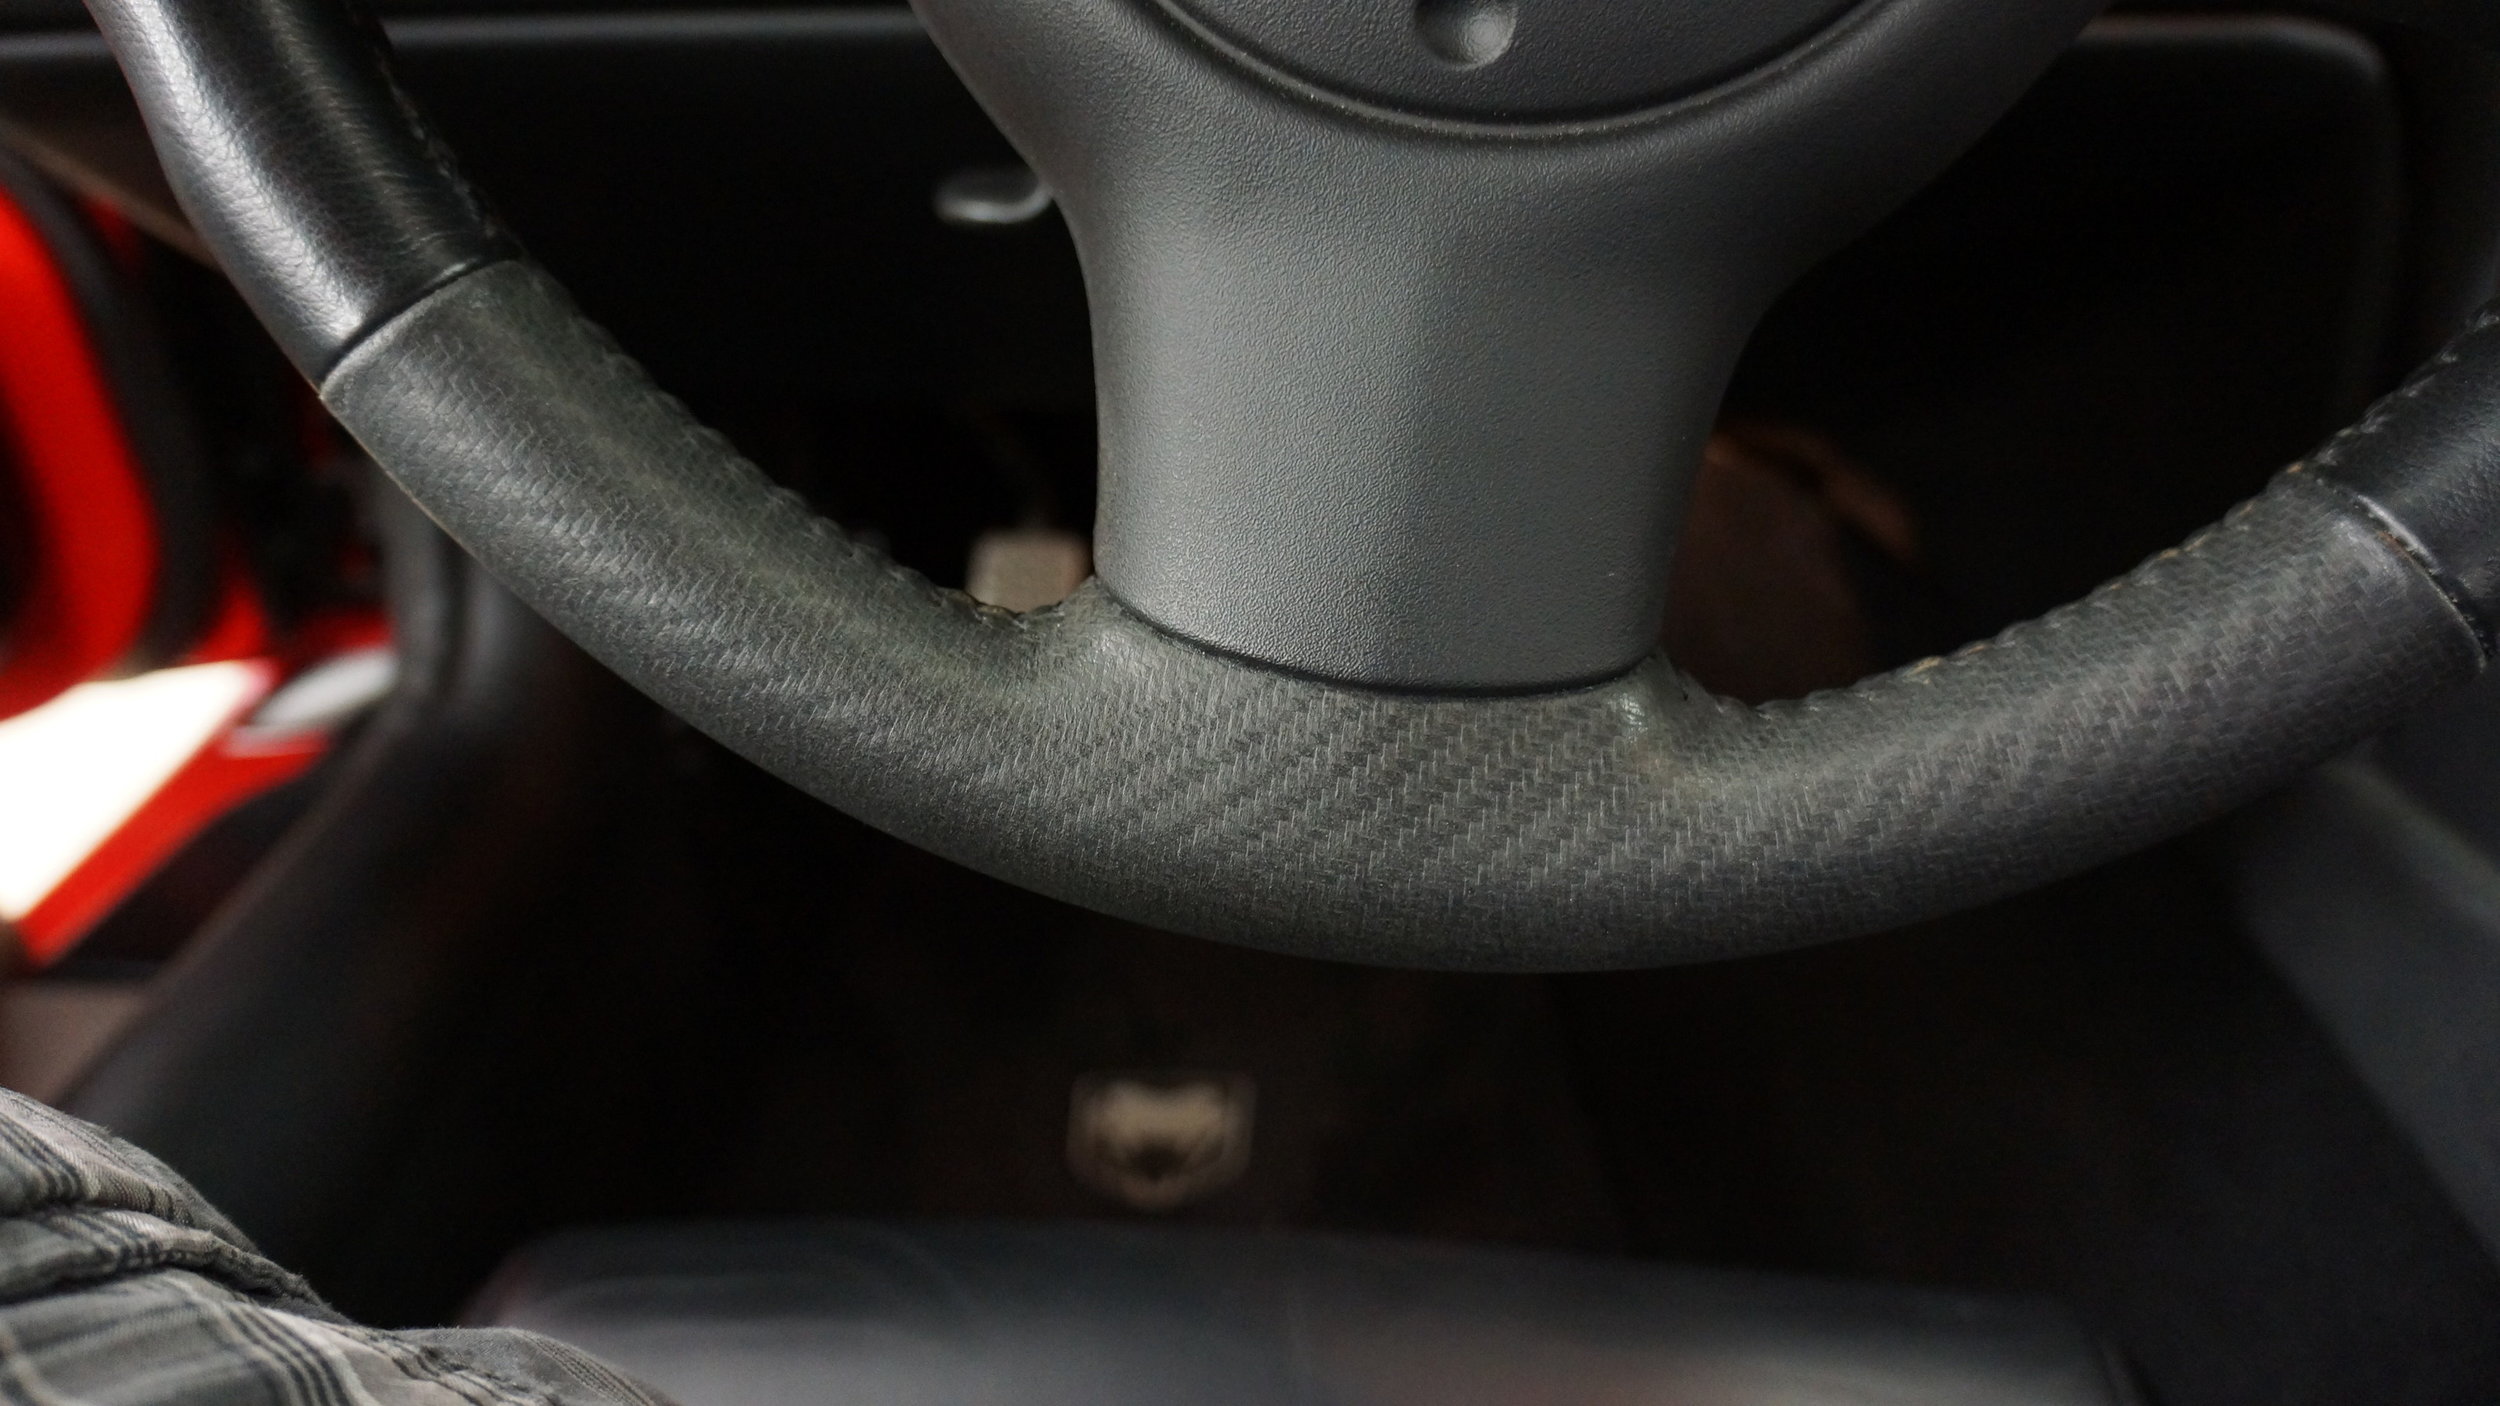
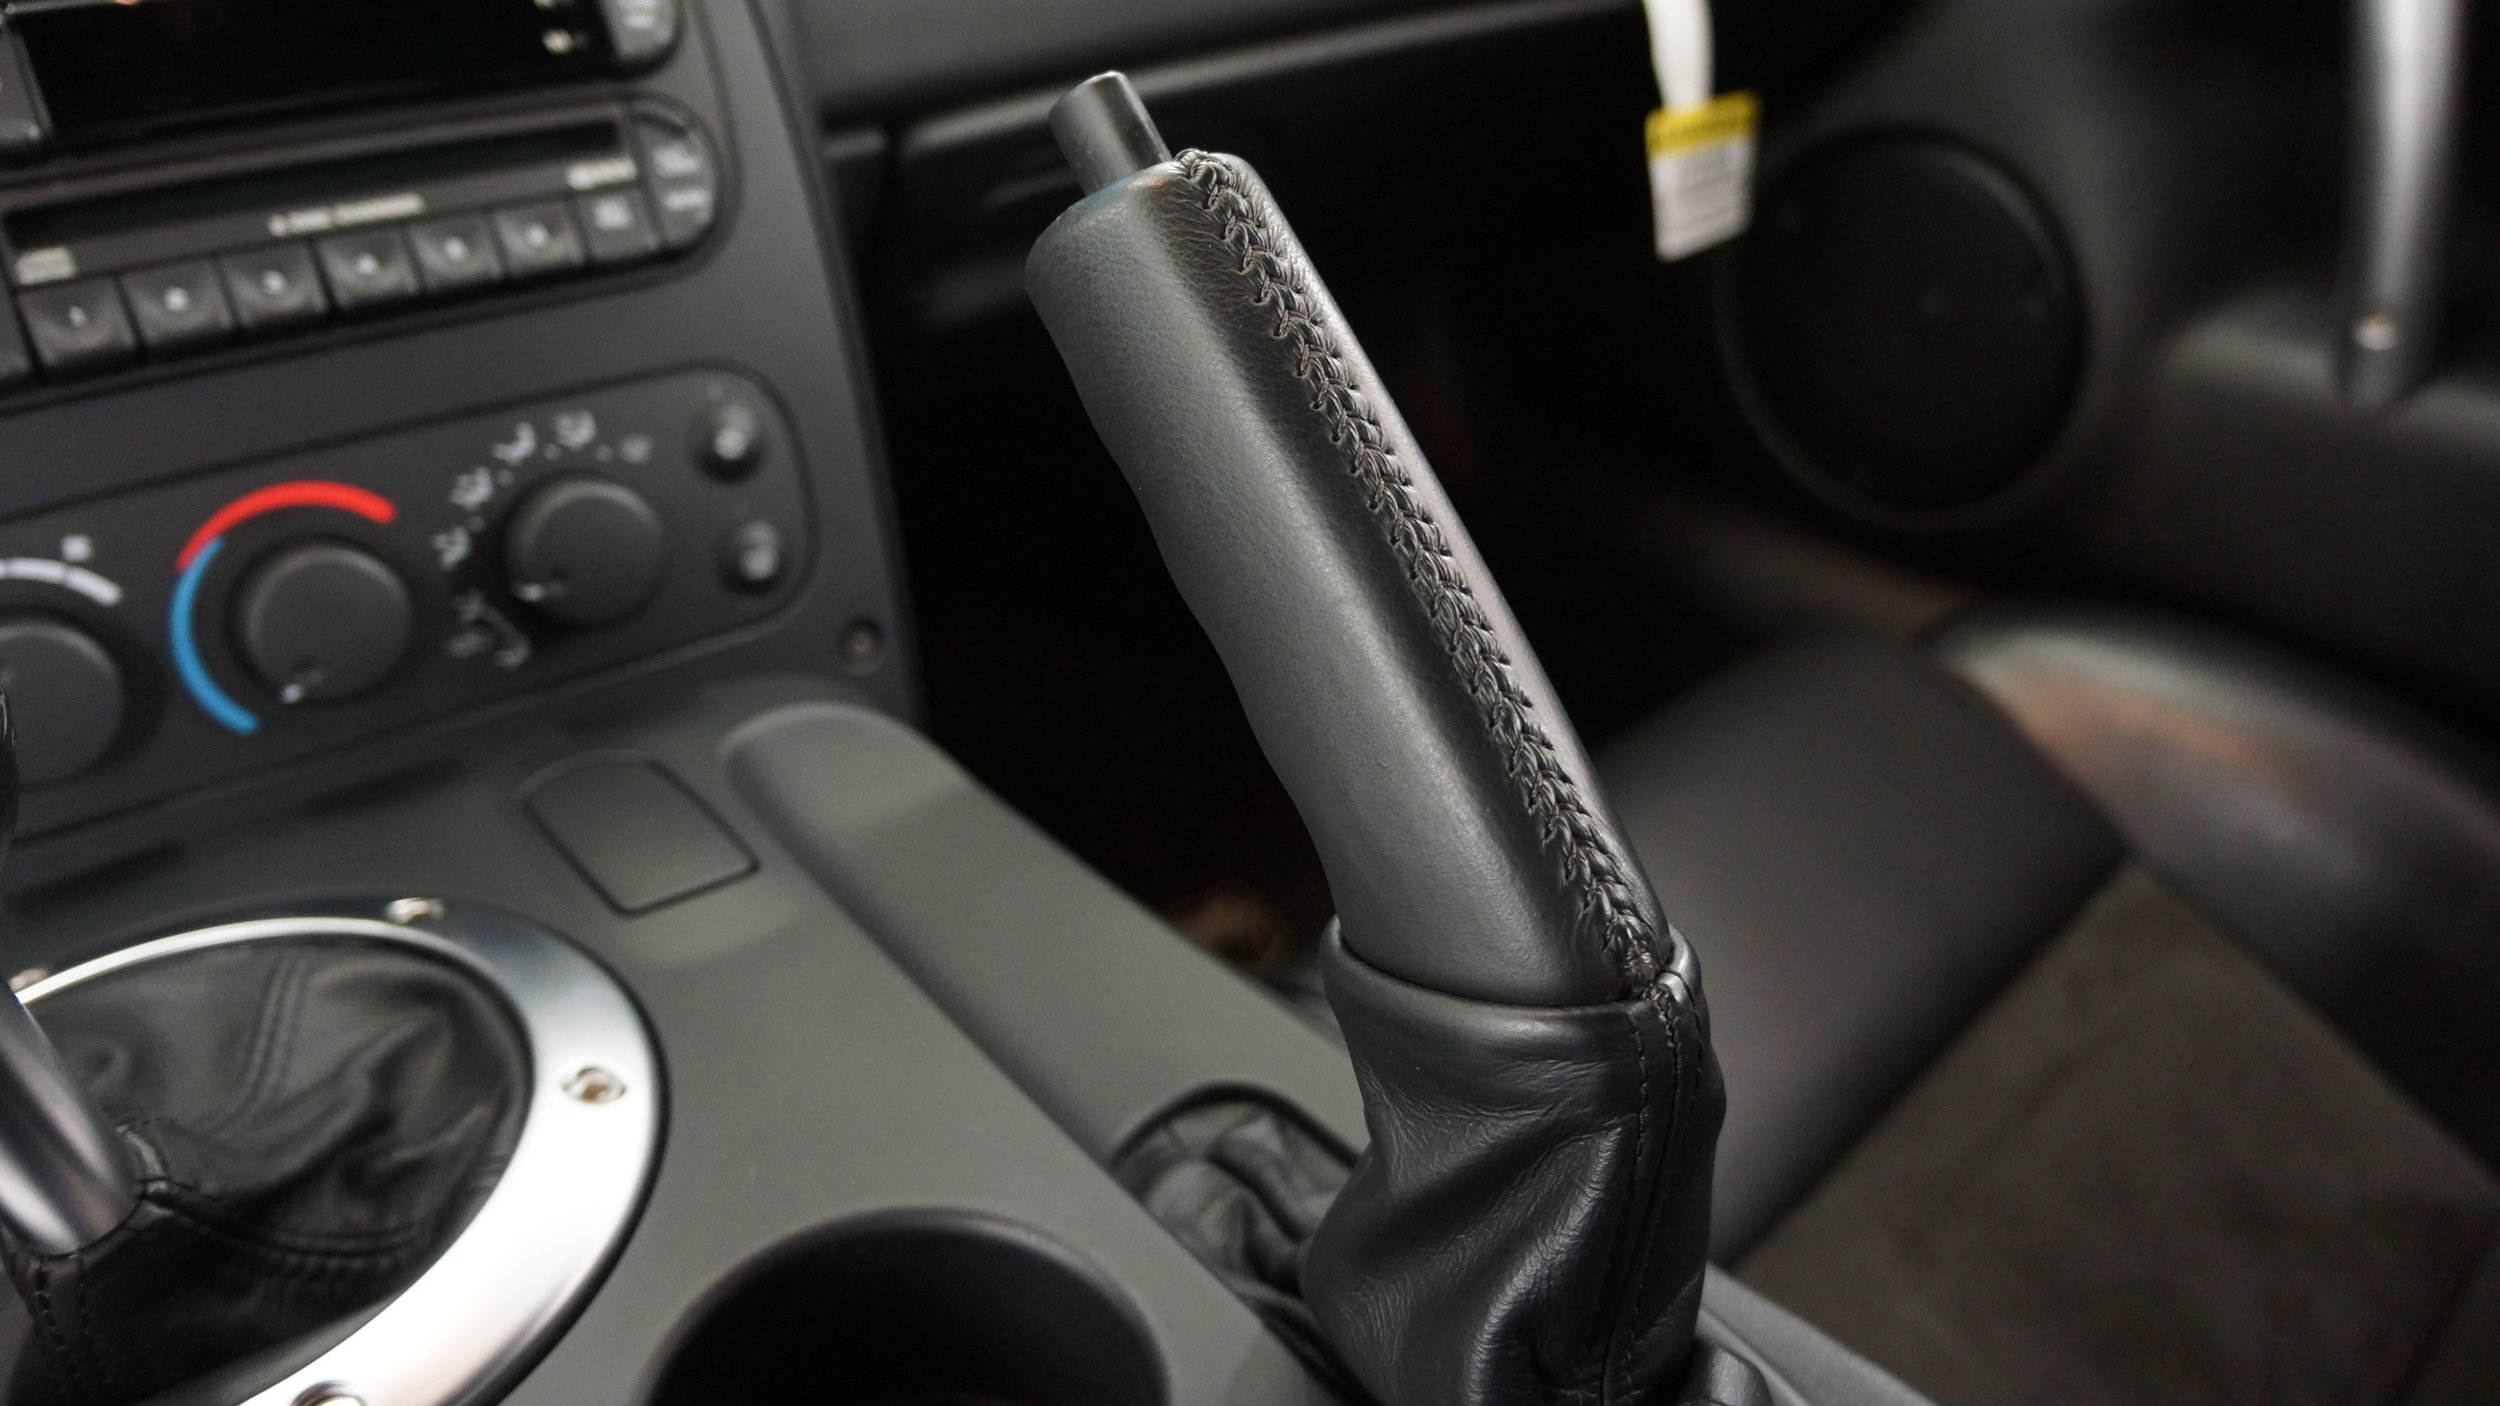
1 picture of the driver's cockpit view showing the steering wheel and control panels.
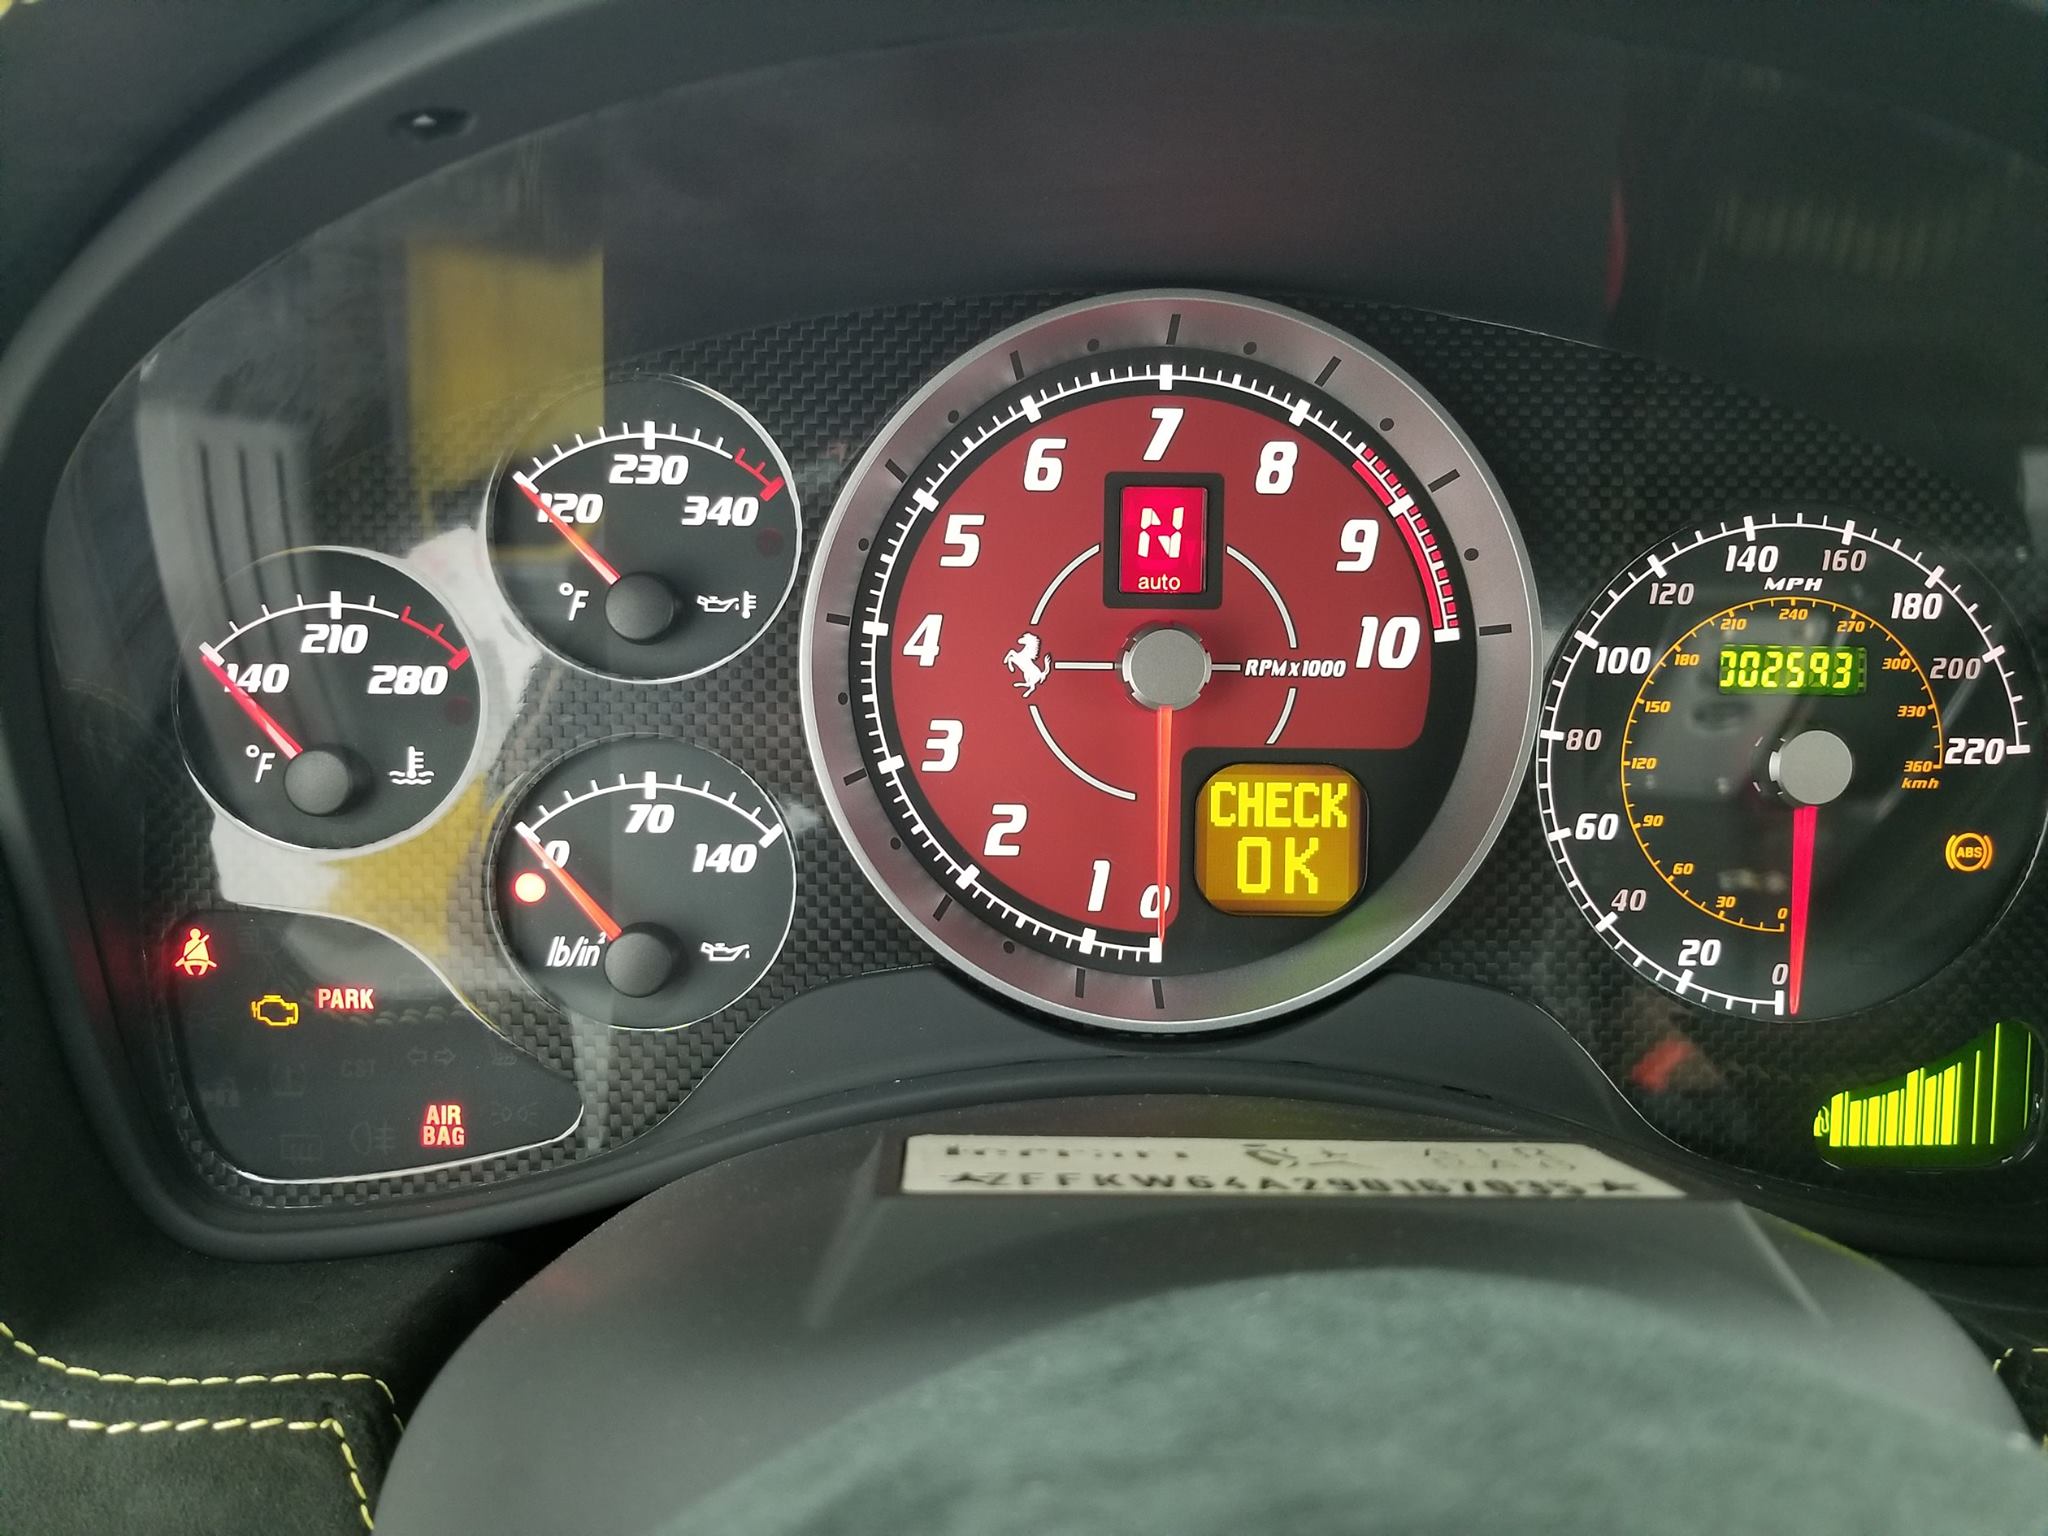
1 picture of the instrument cluster (Speedometer) clearly showing the mileage.
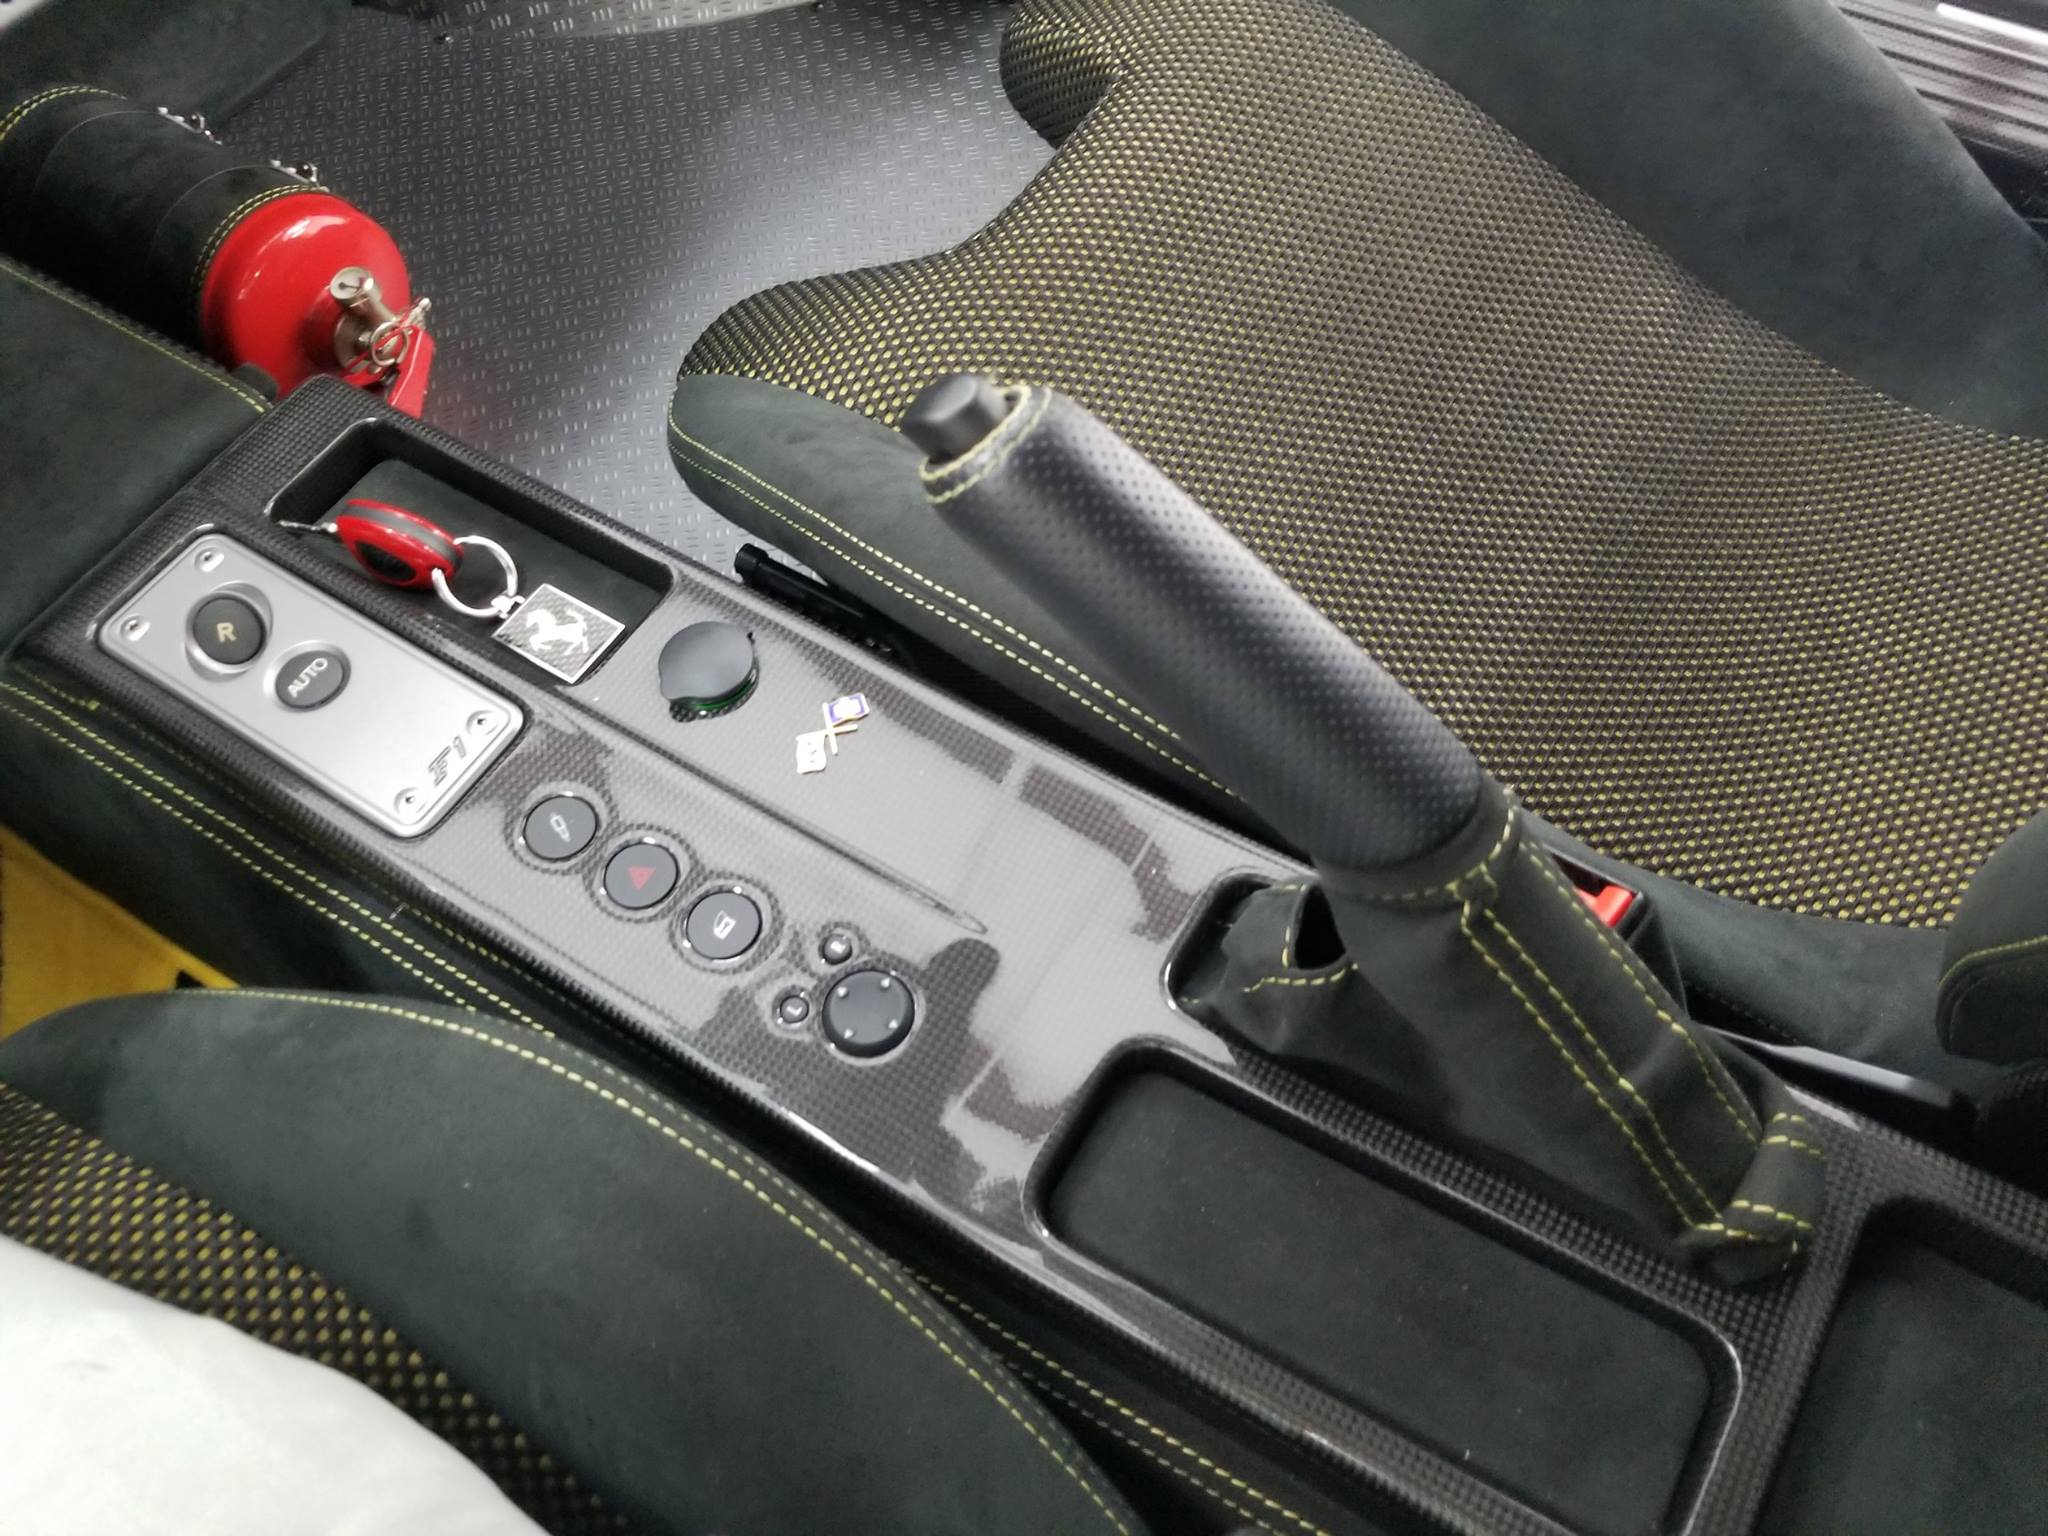
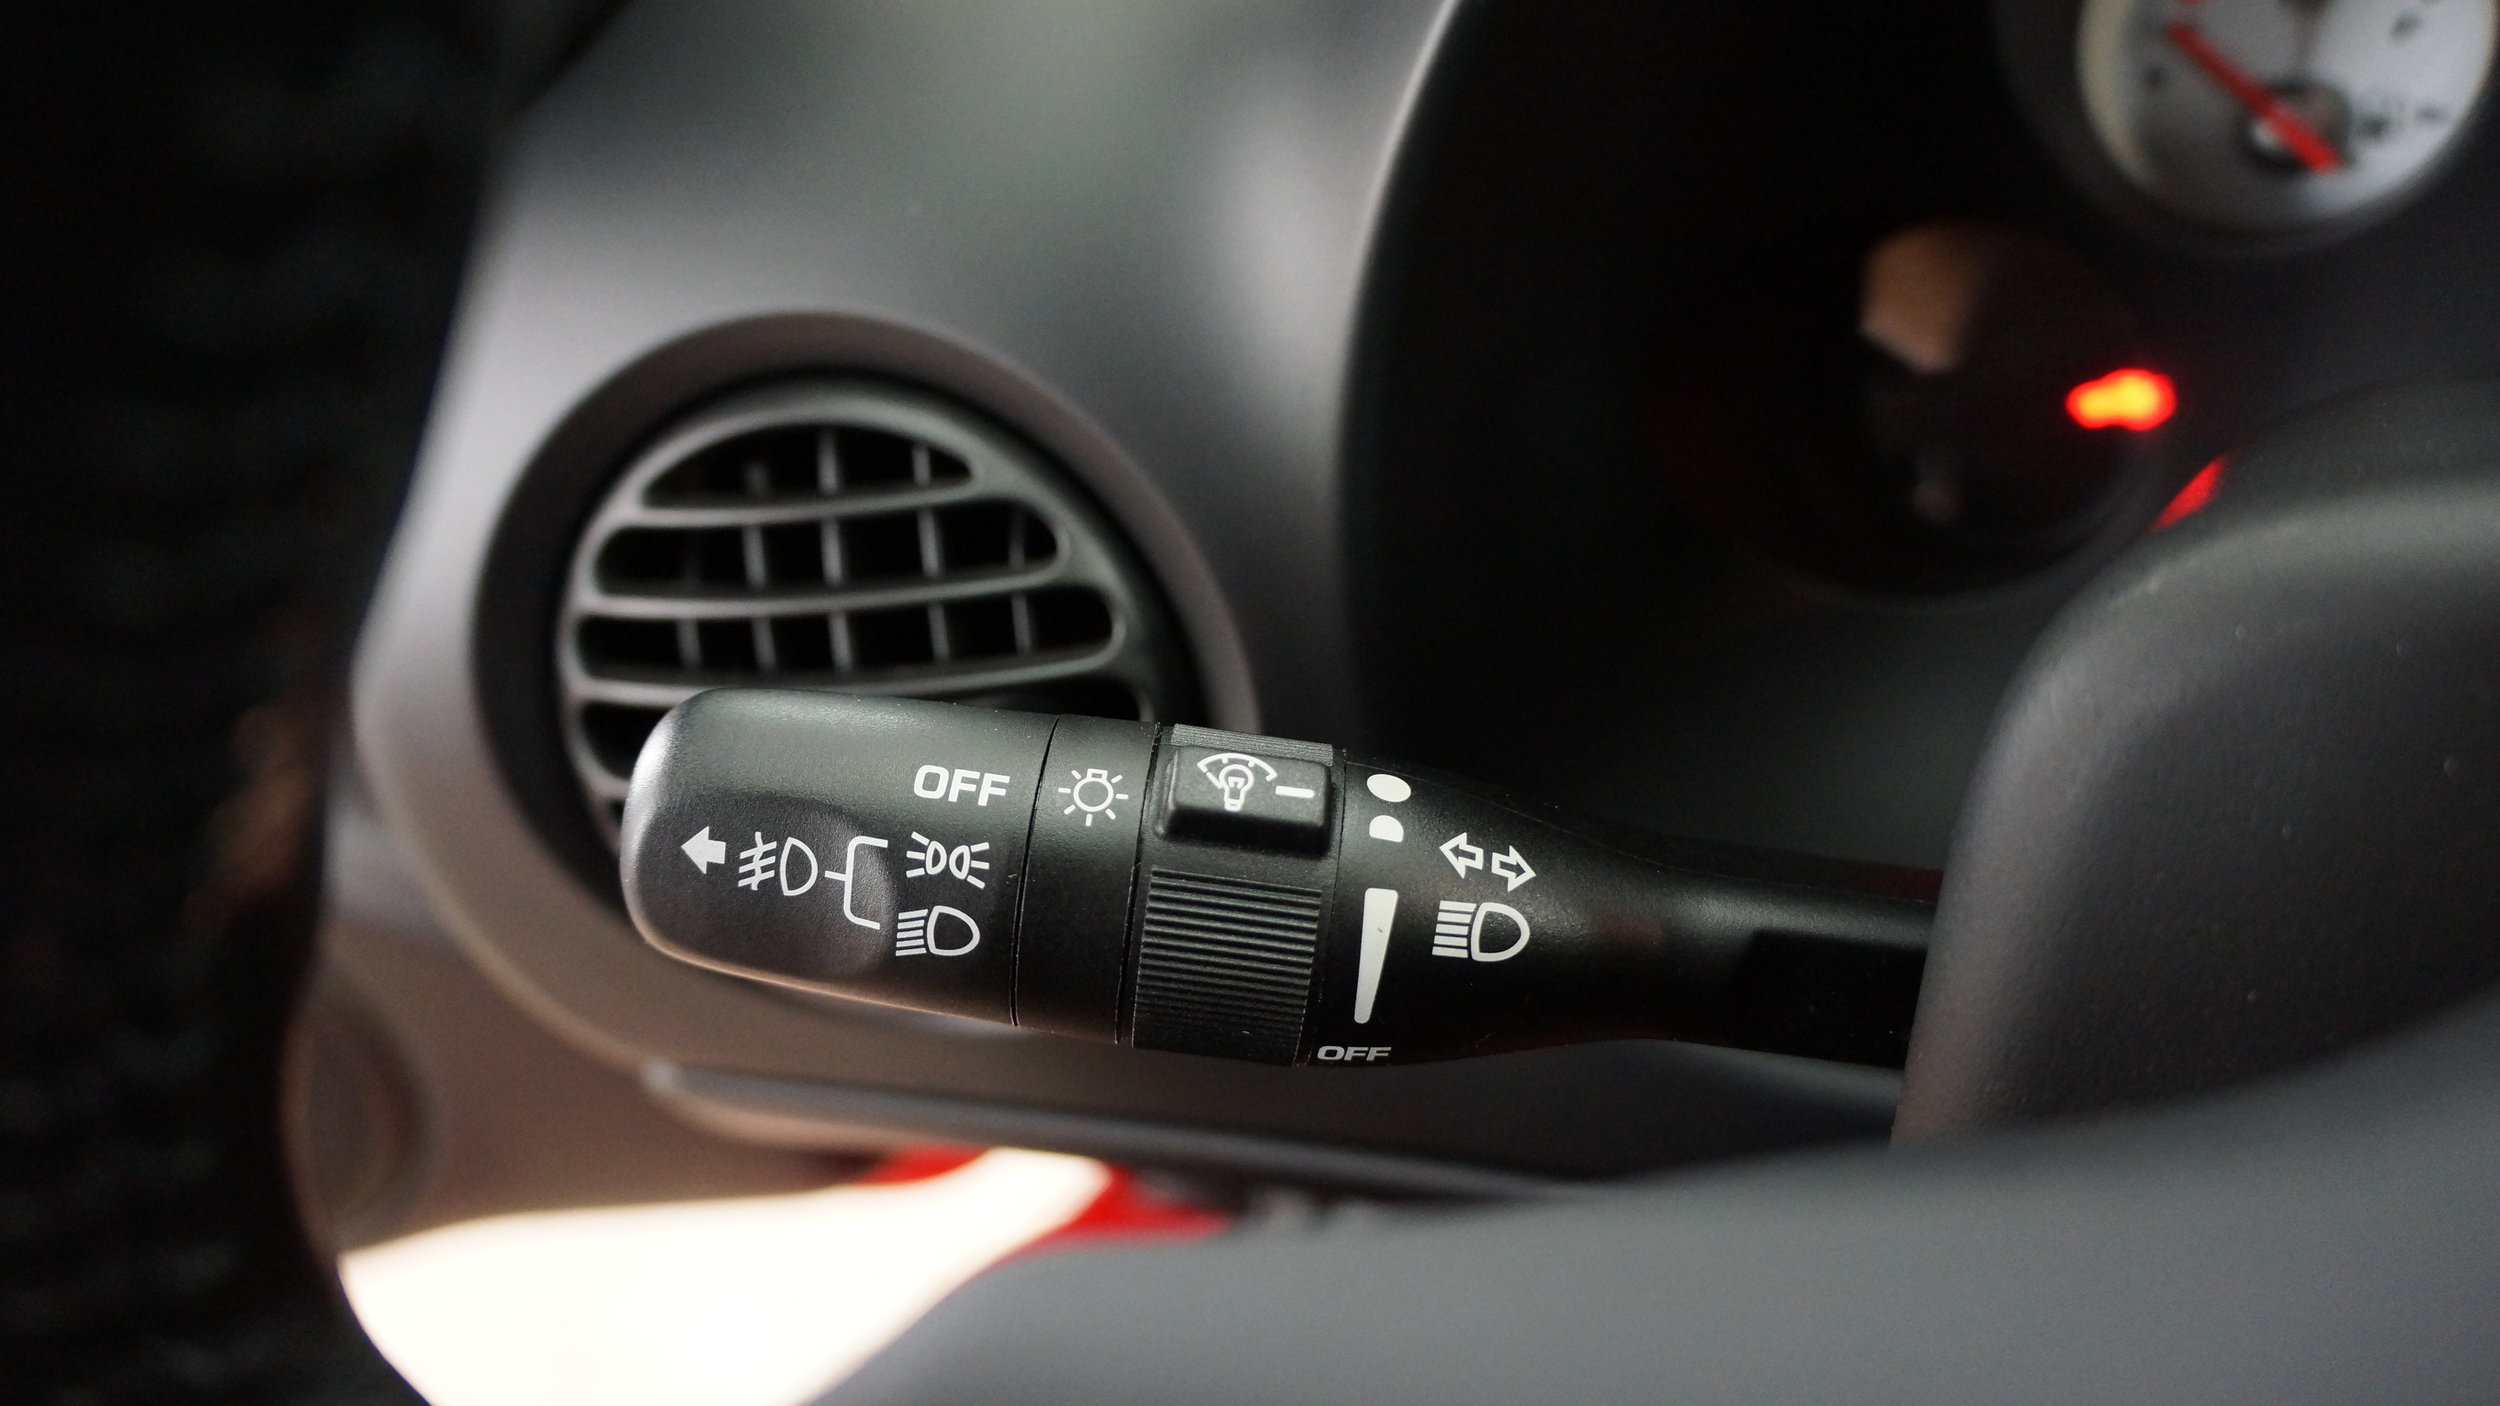
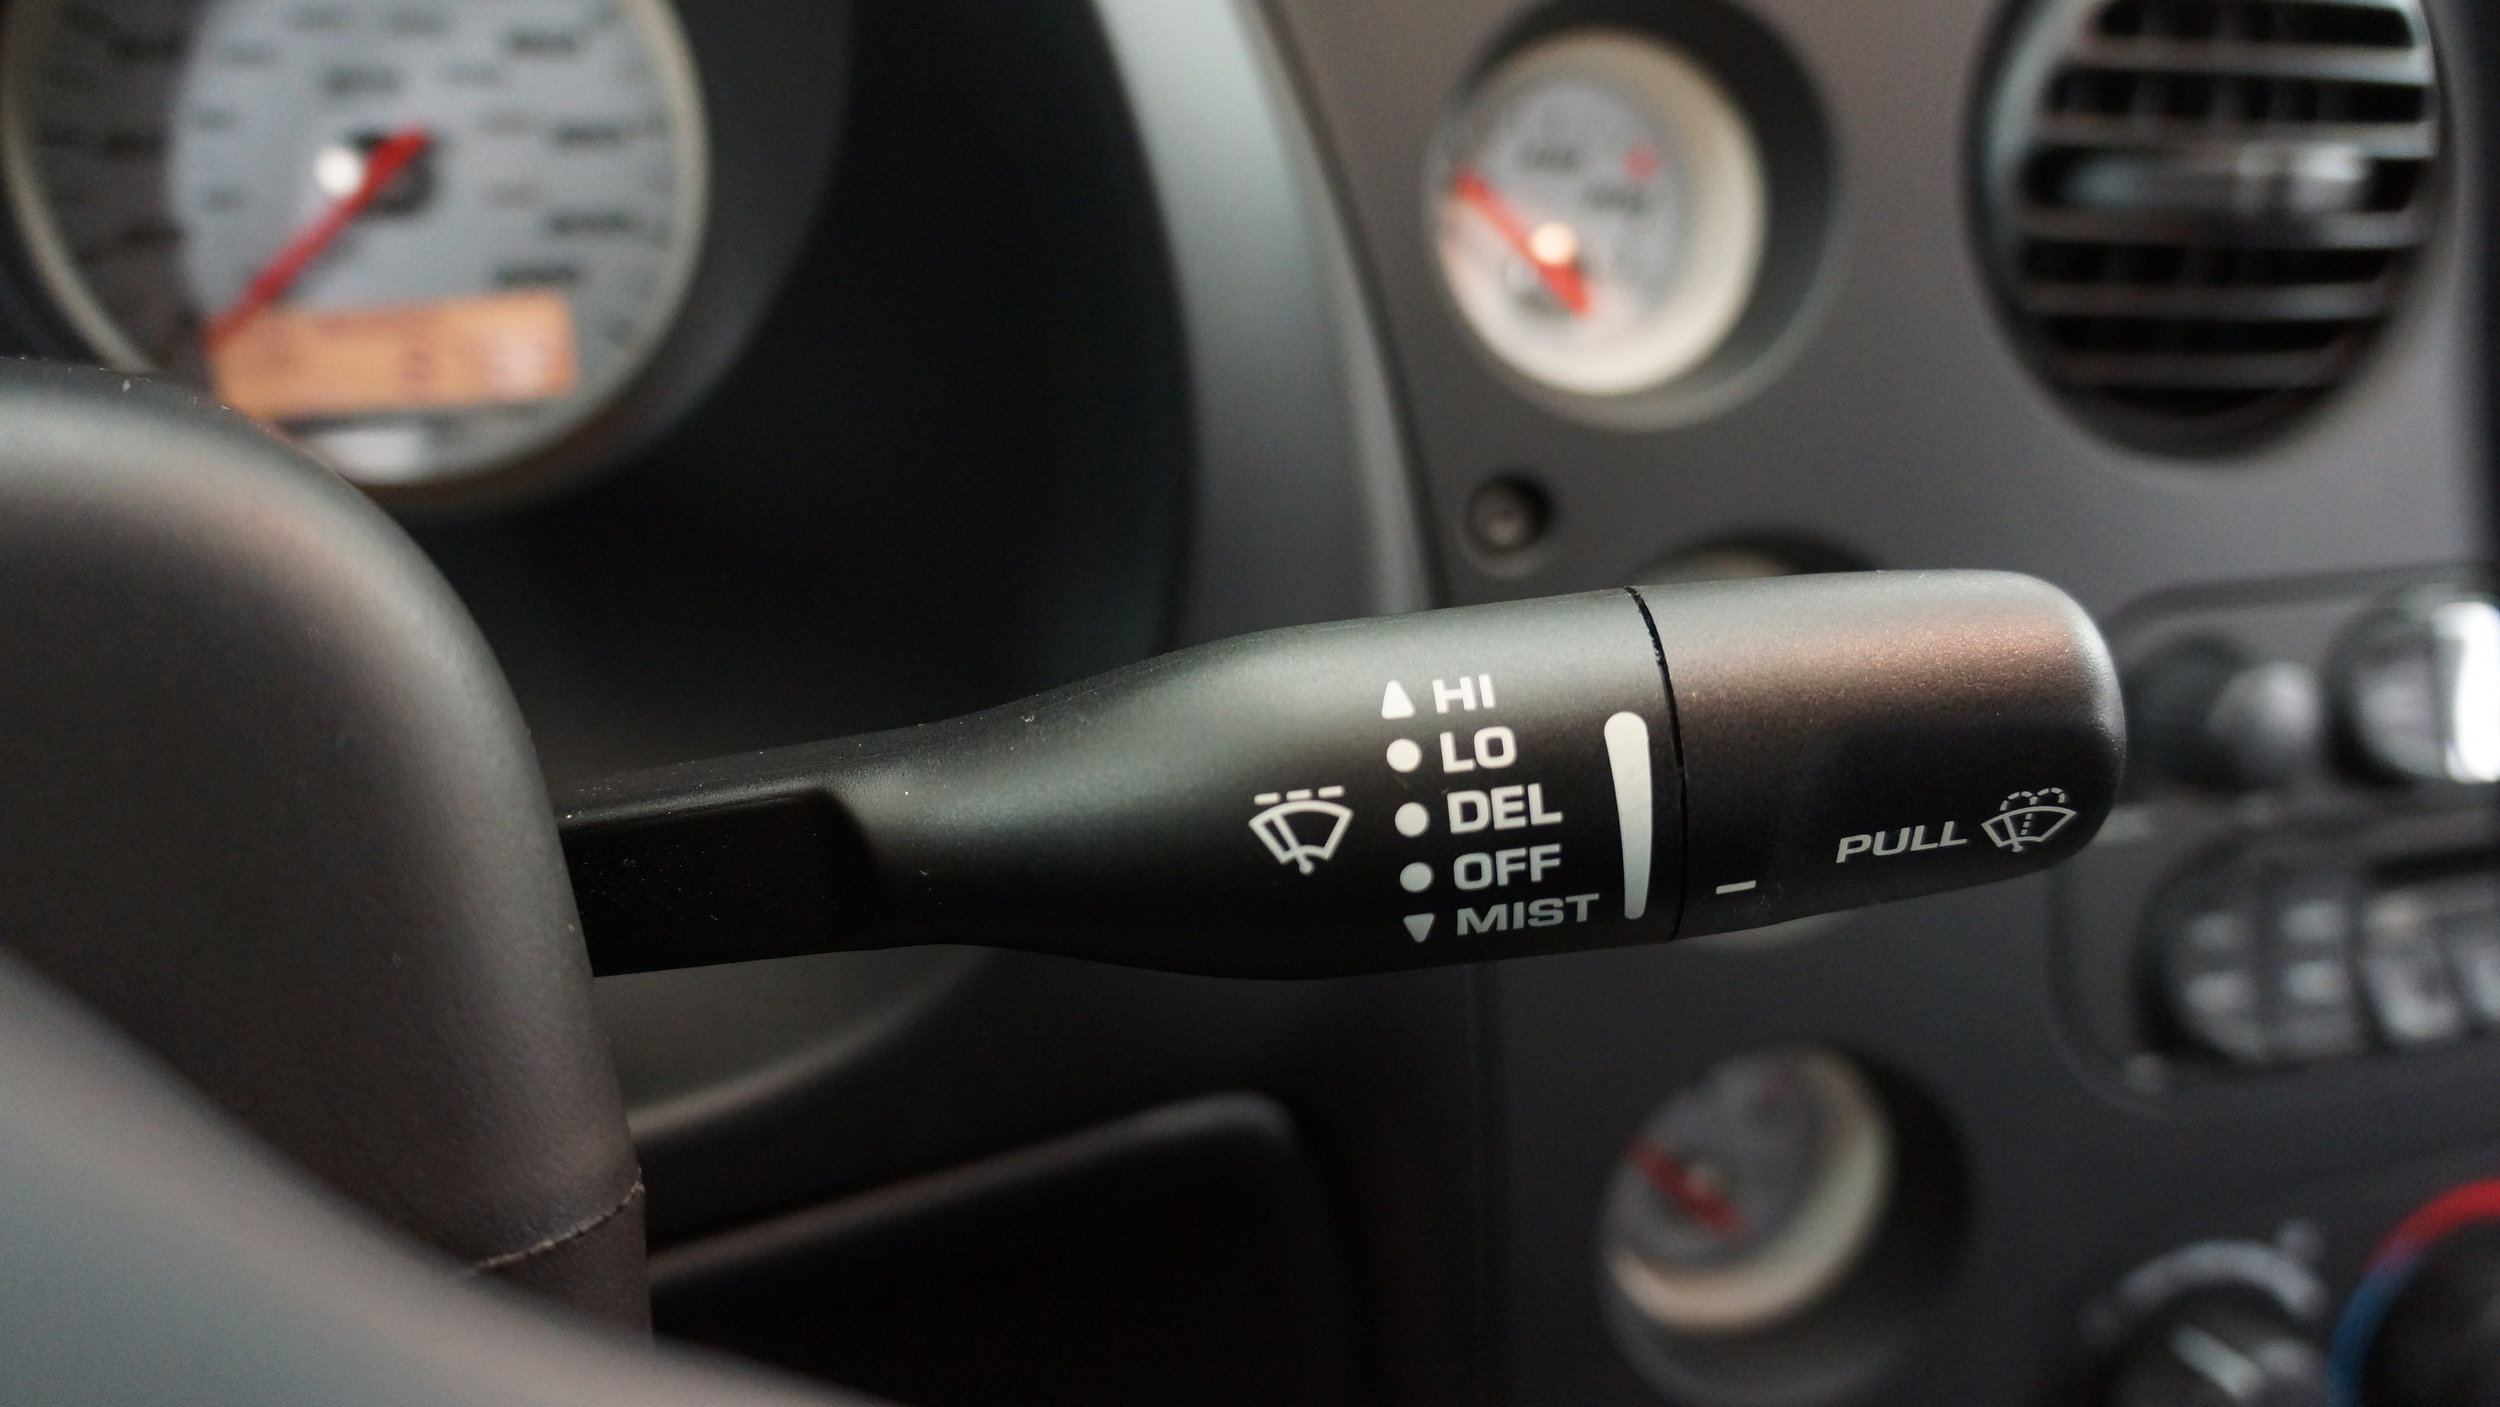
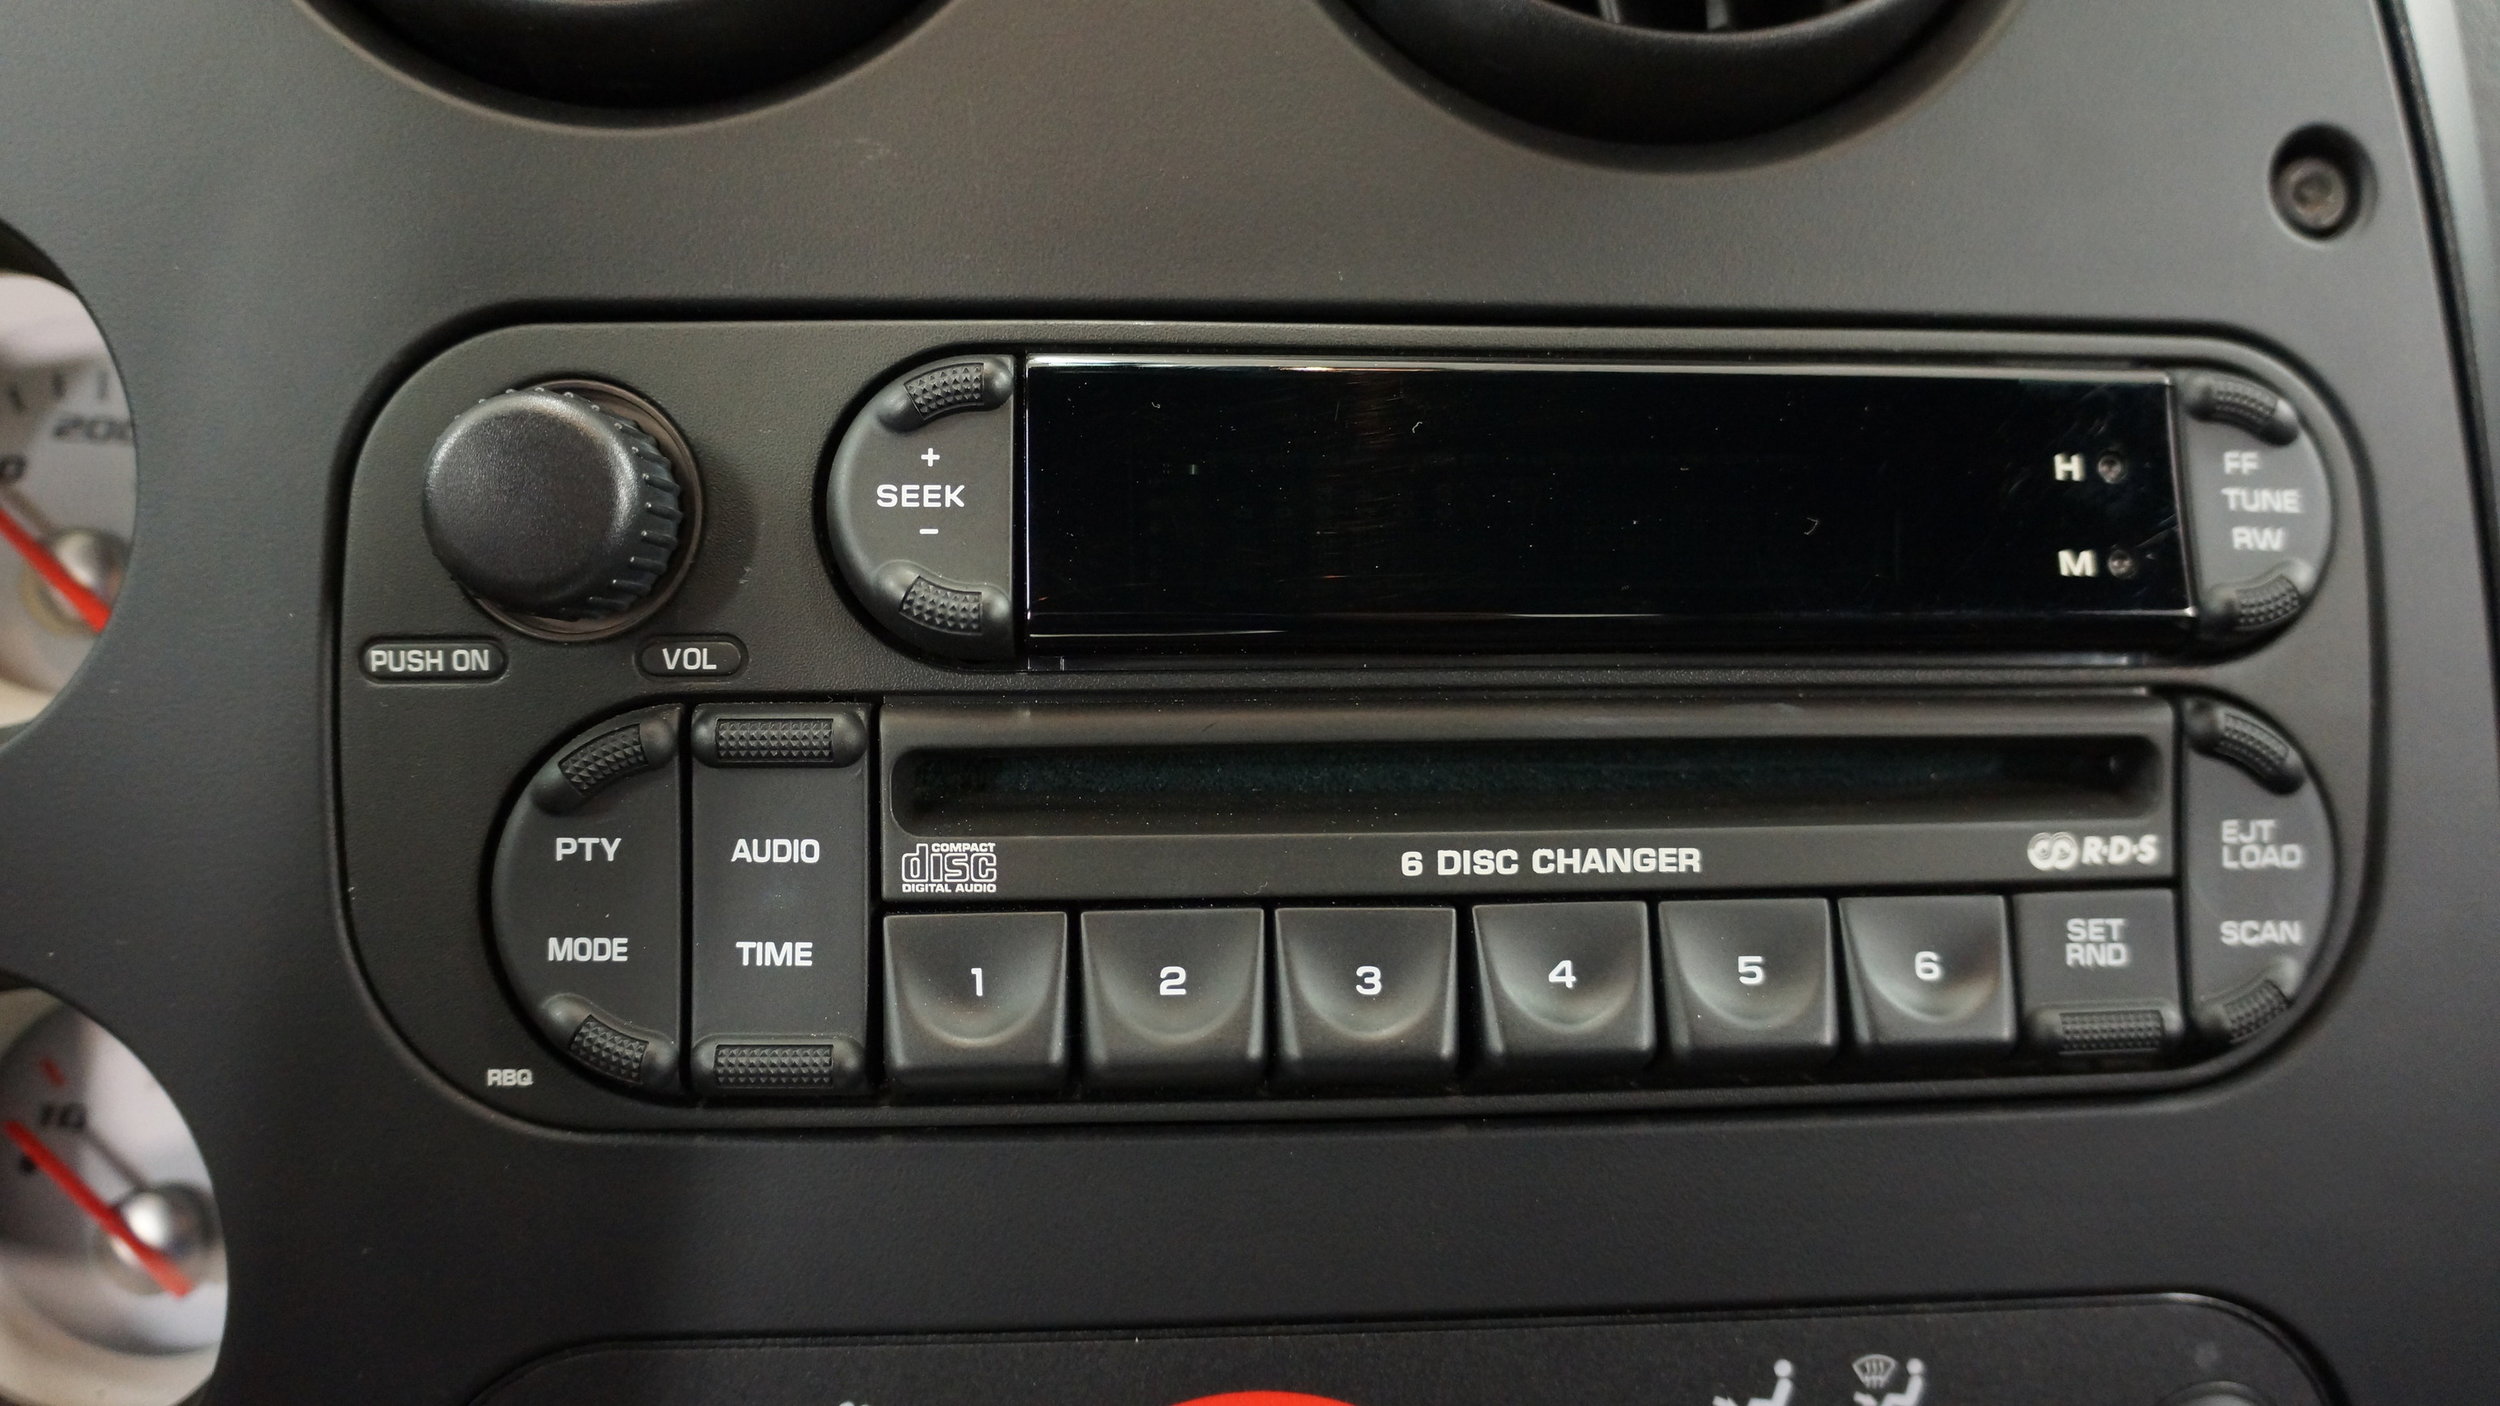
A few pictures to highlight other parts (center console, glove box open, radio, etc).
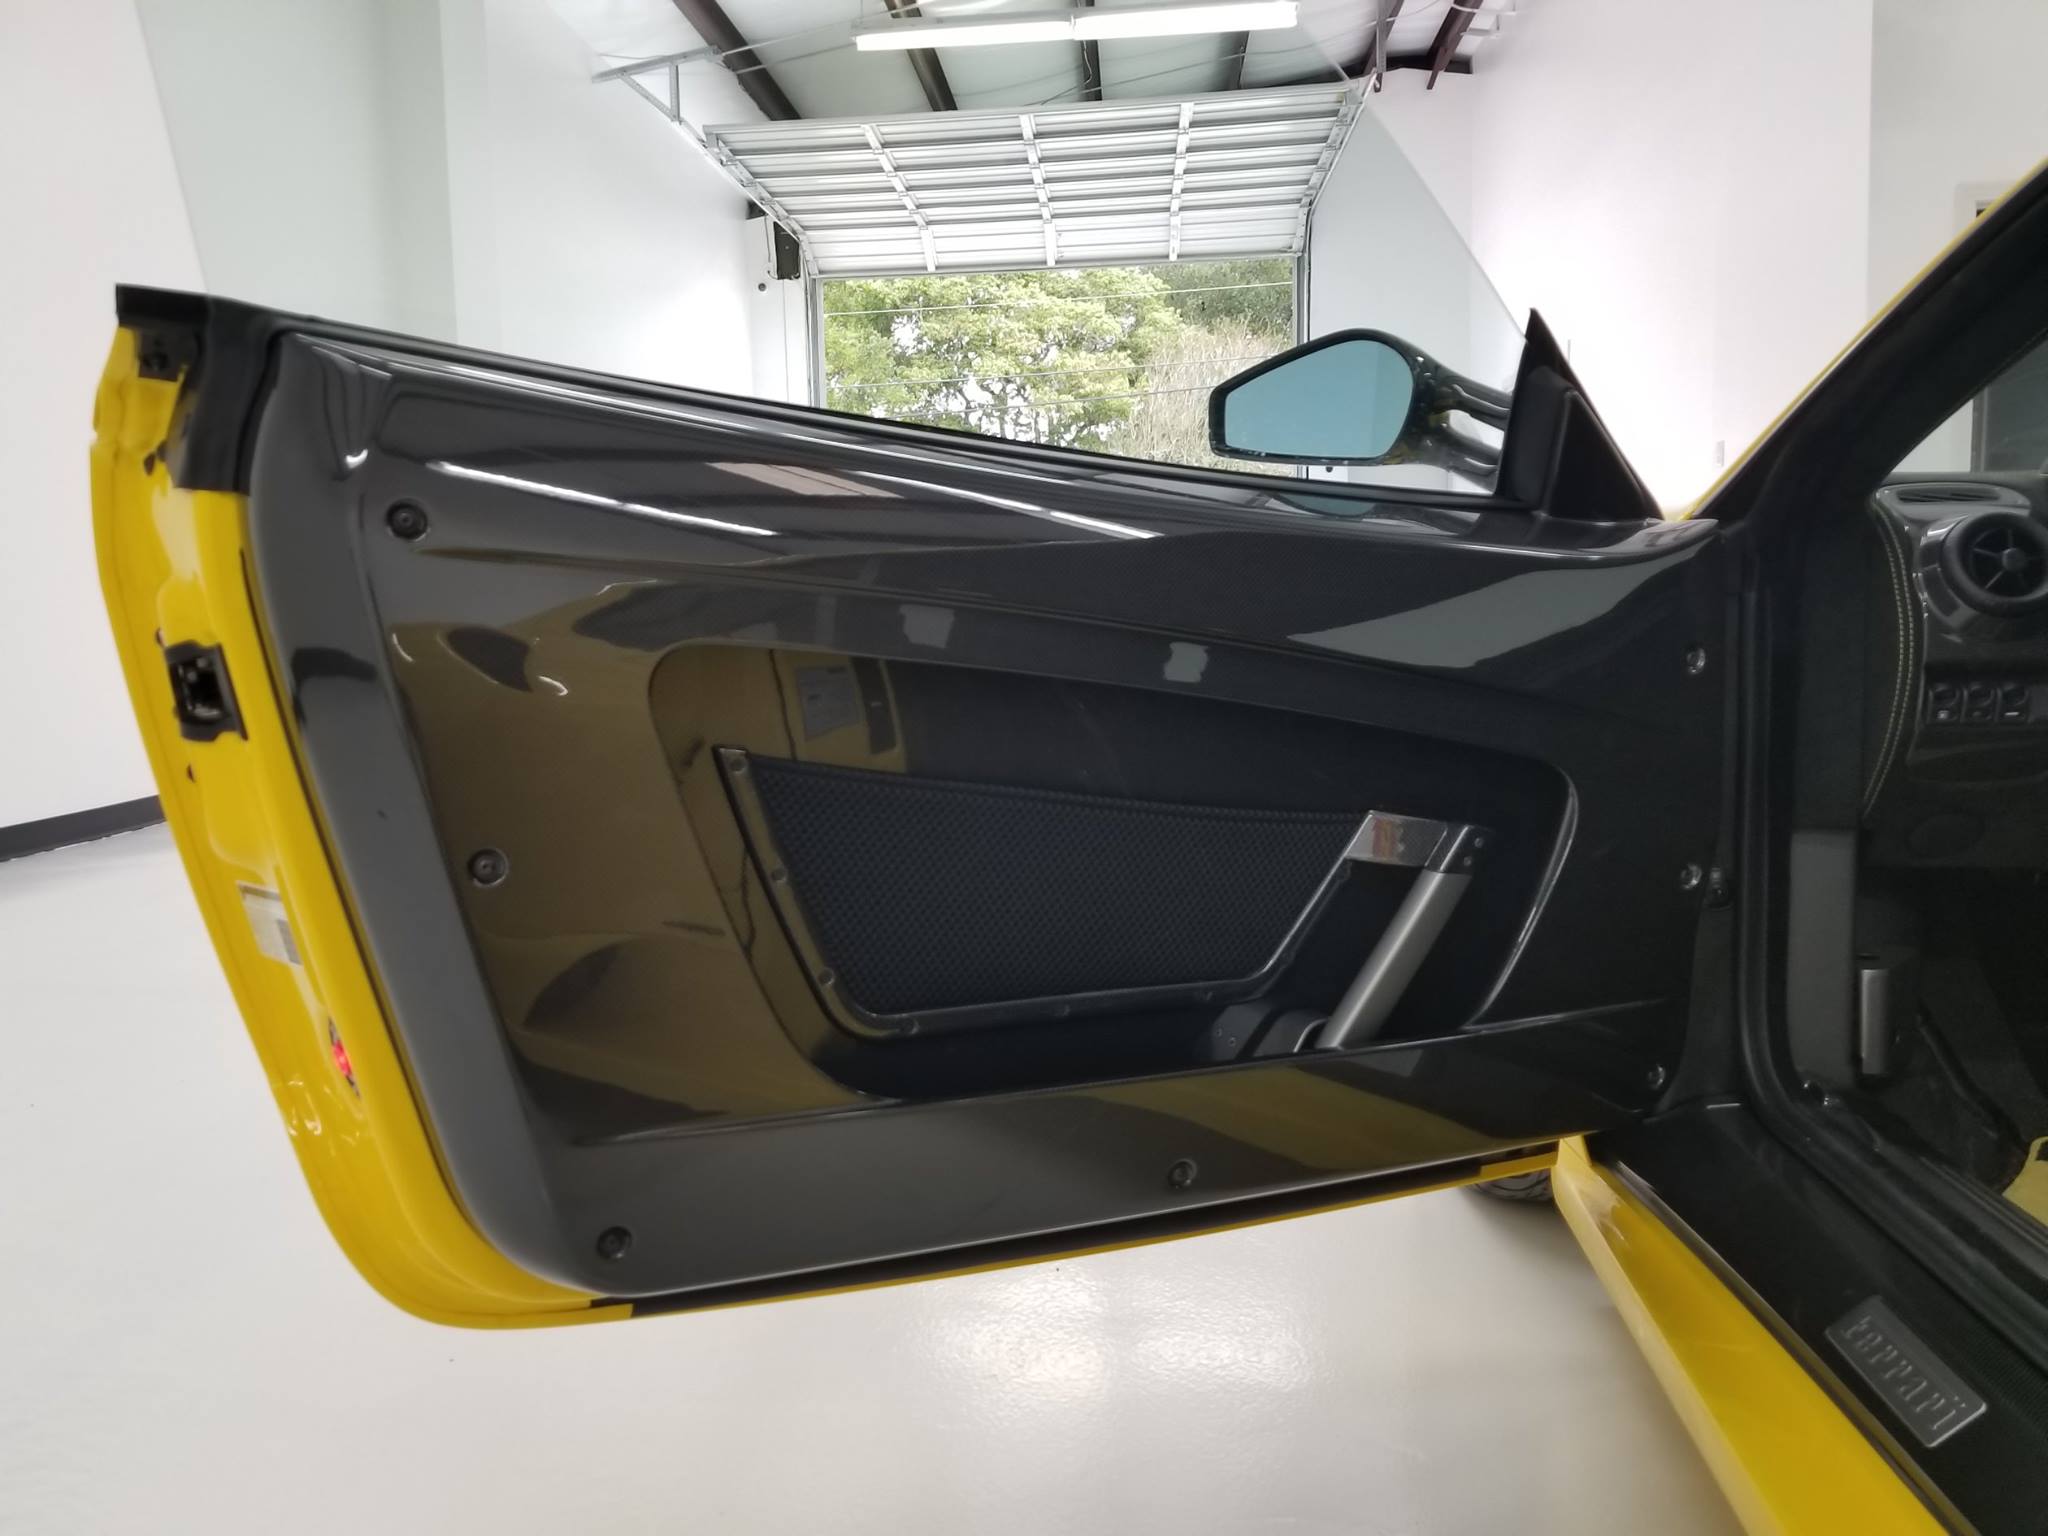
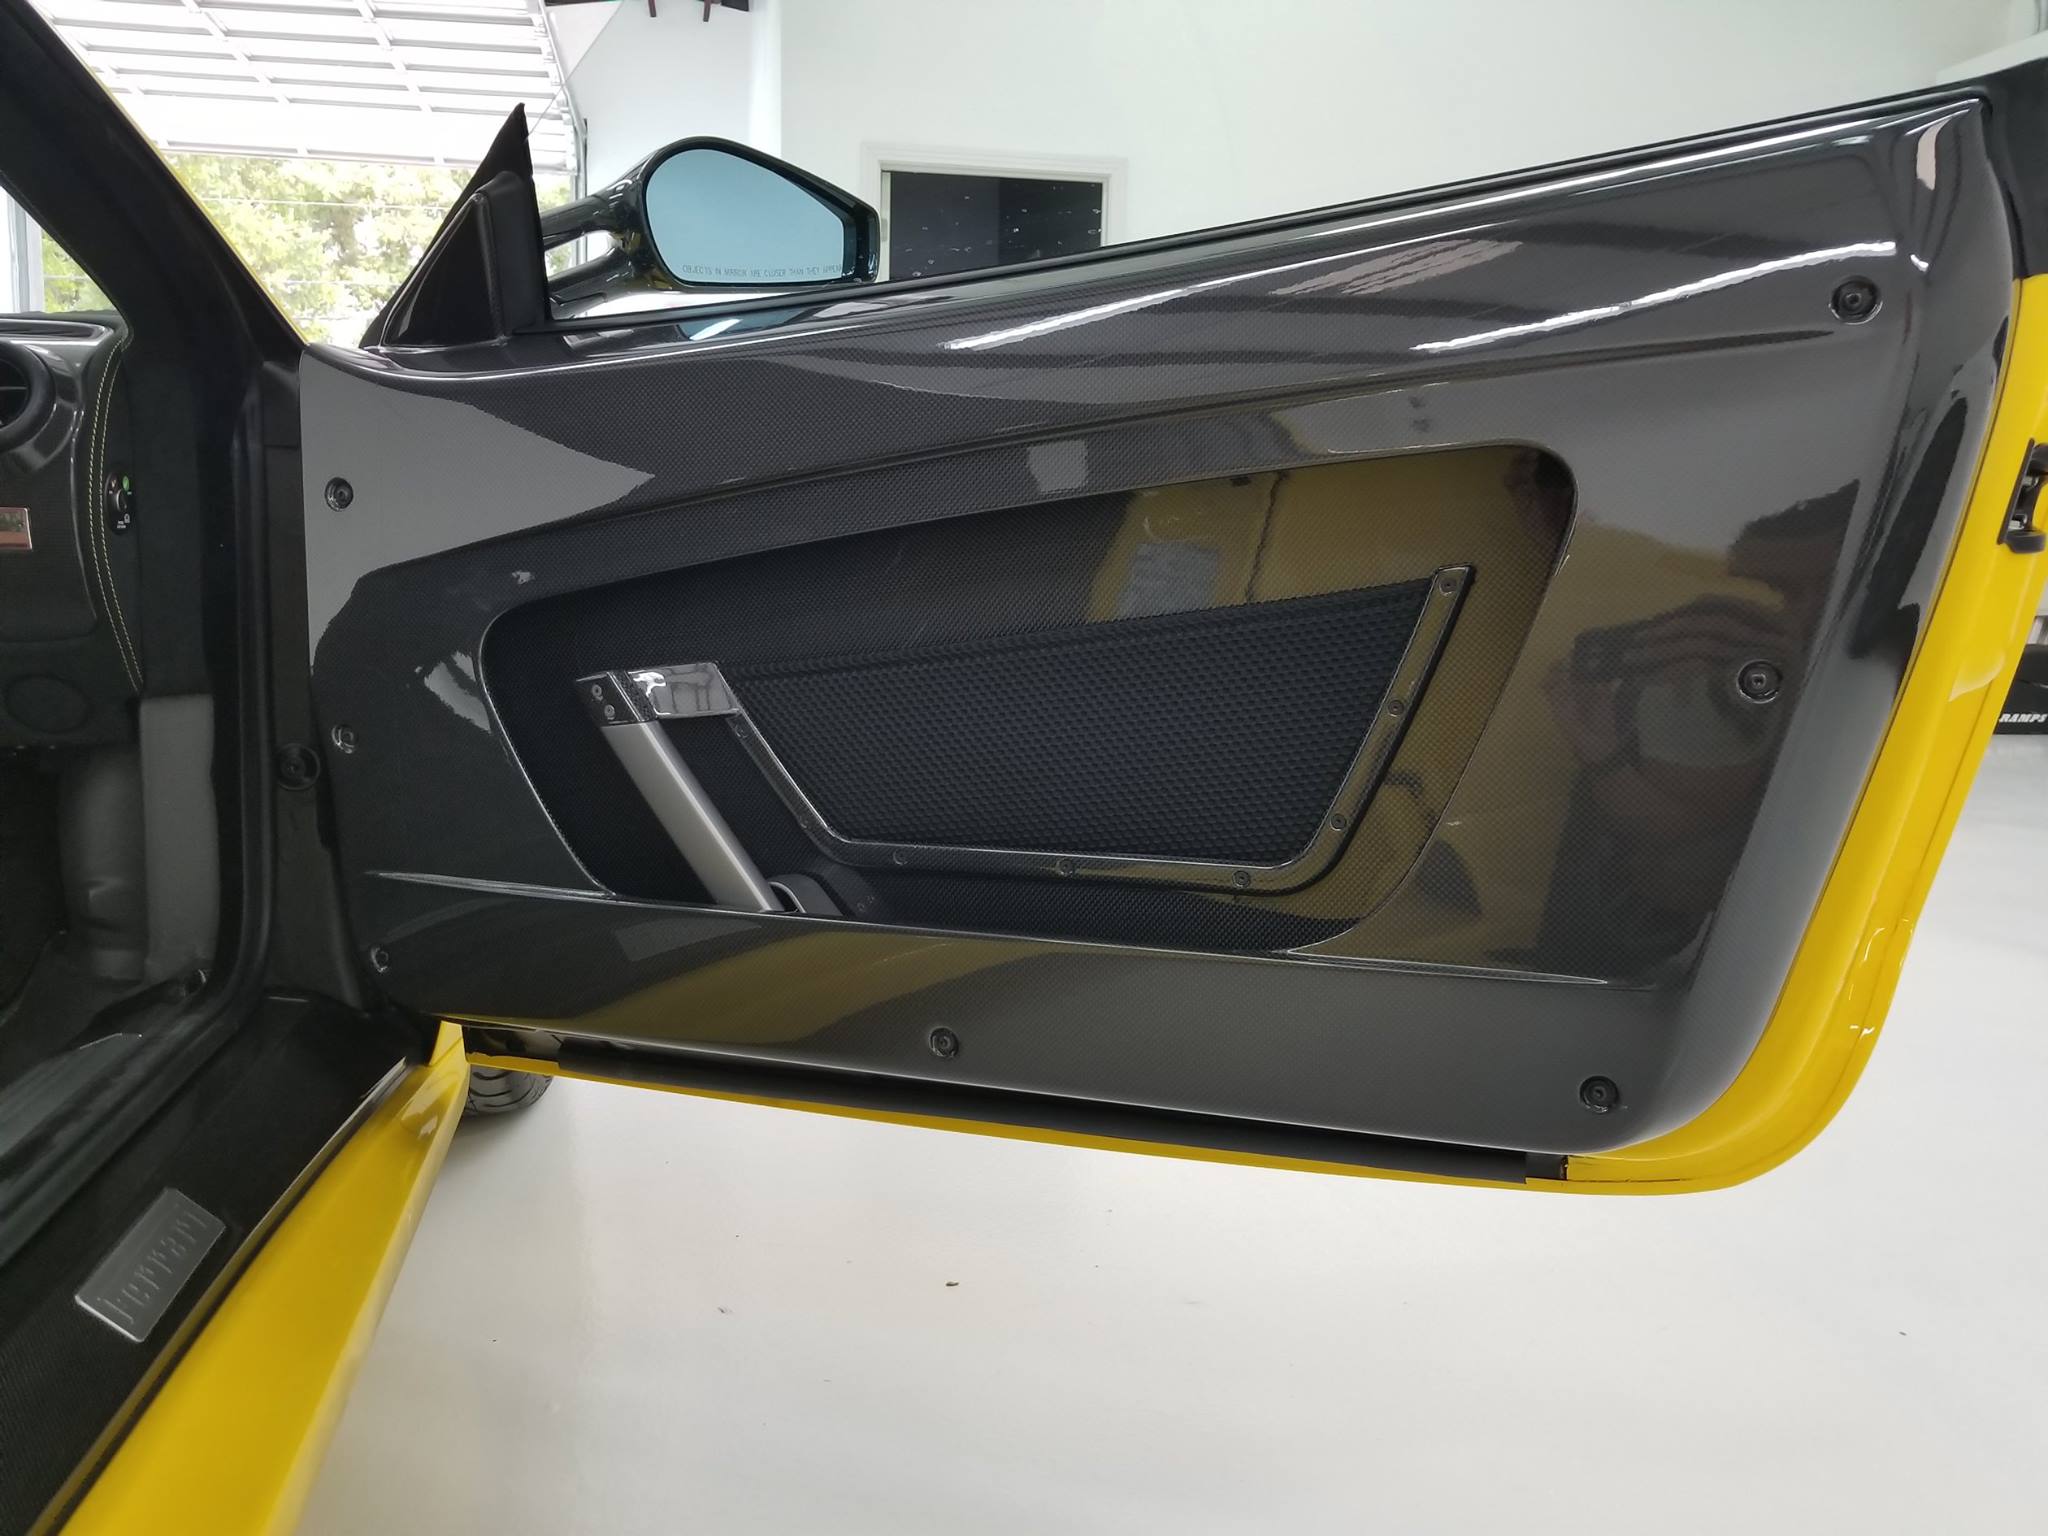
Also, take pictures of the door panels.


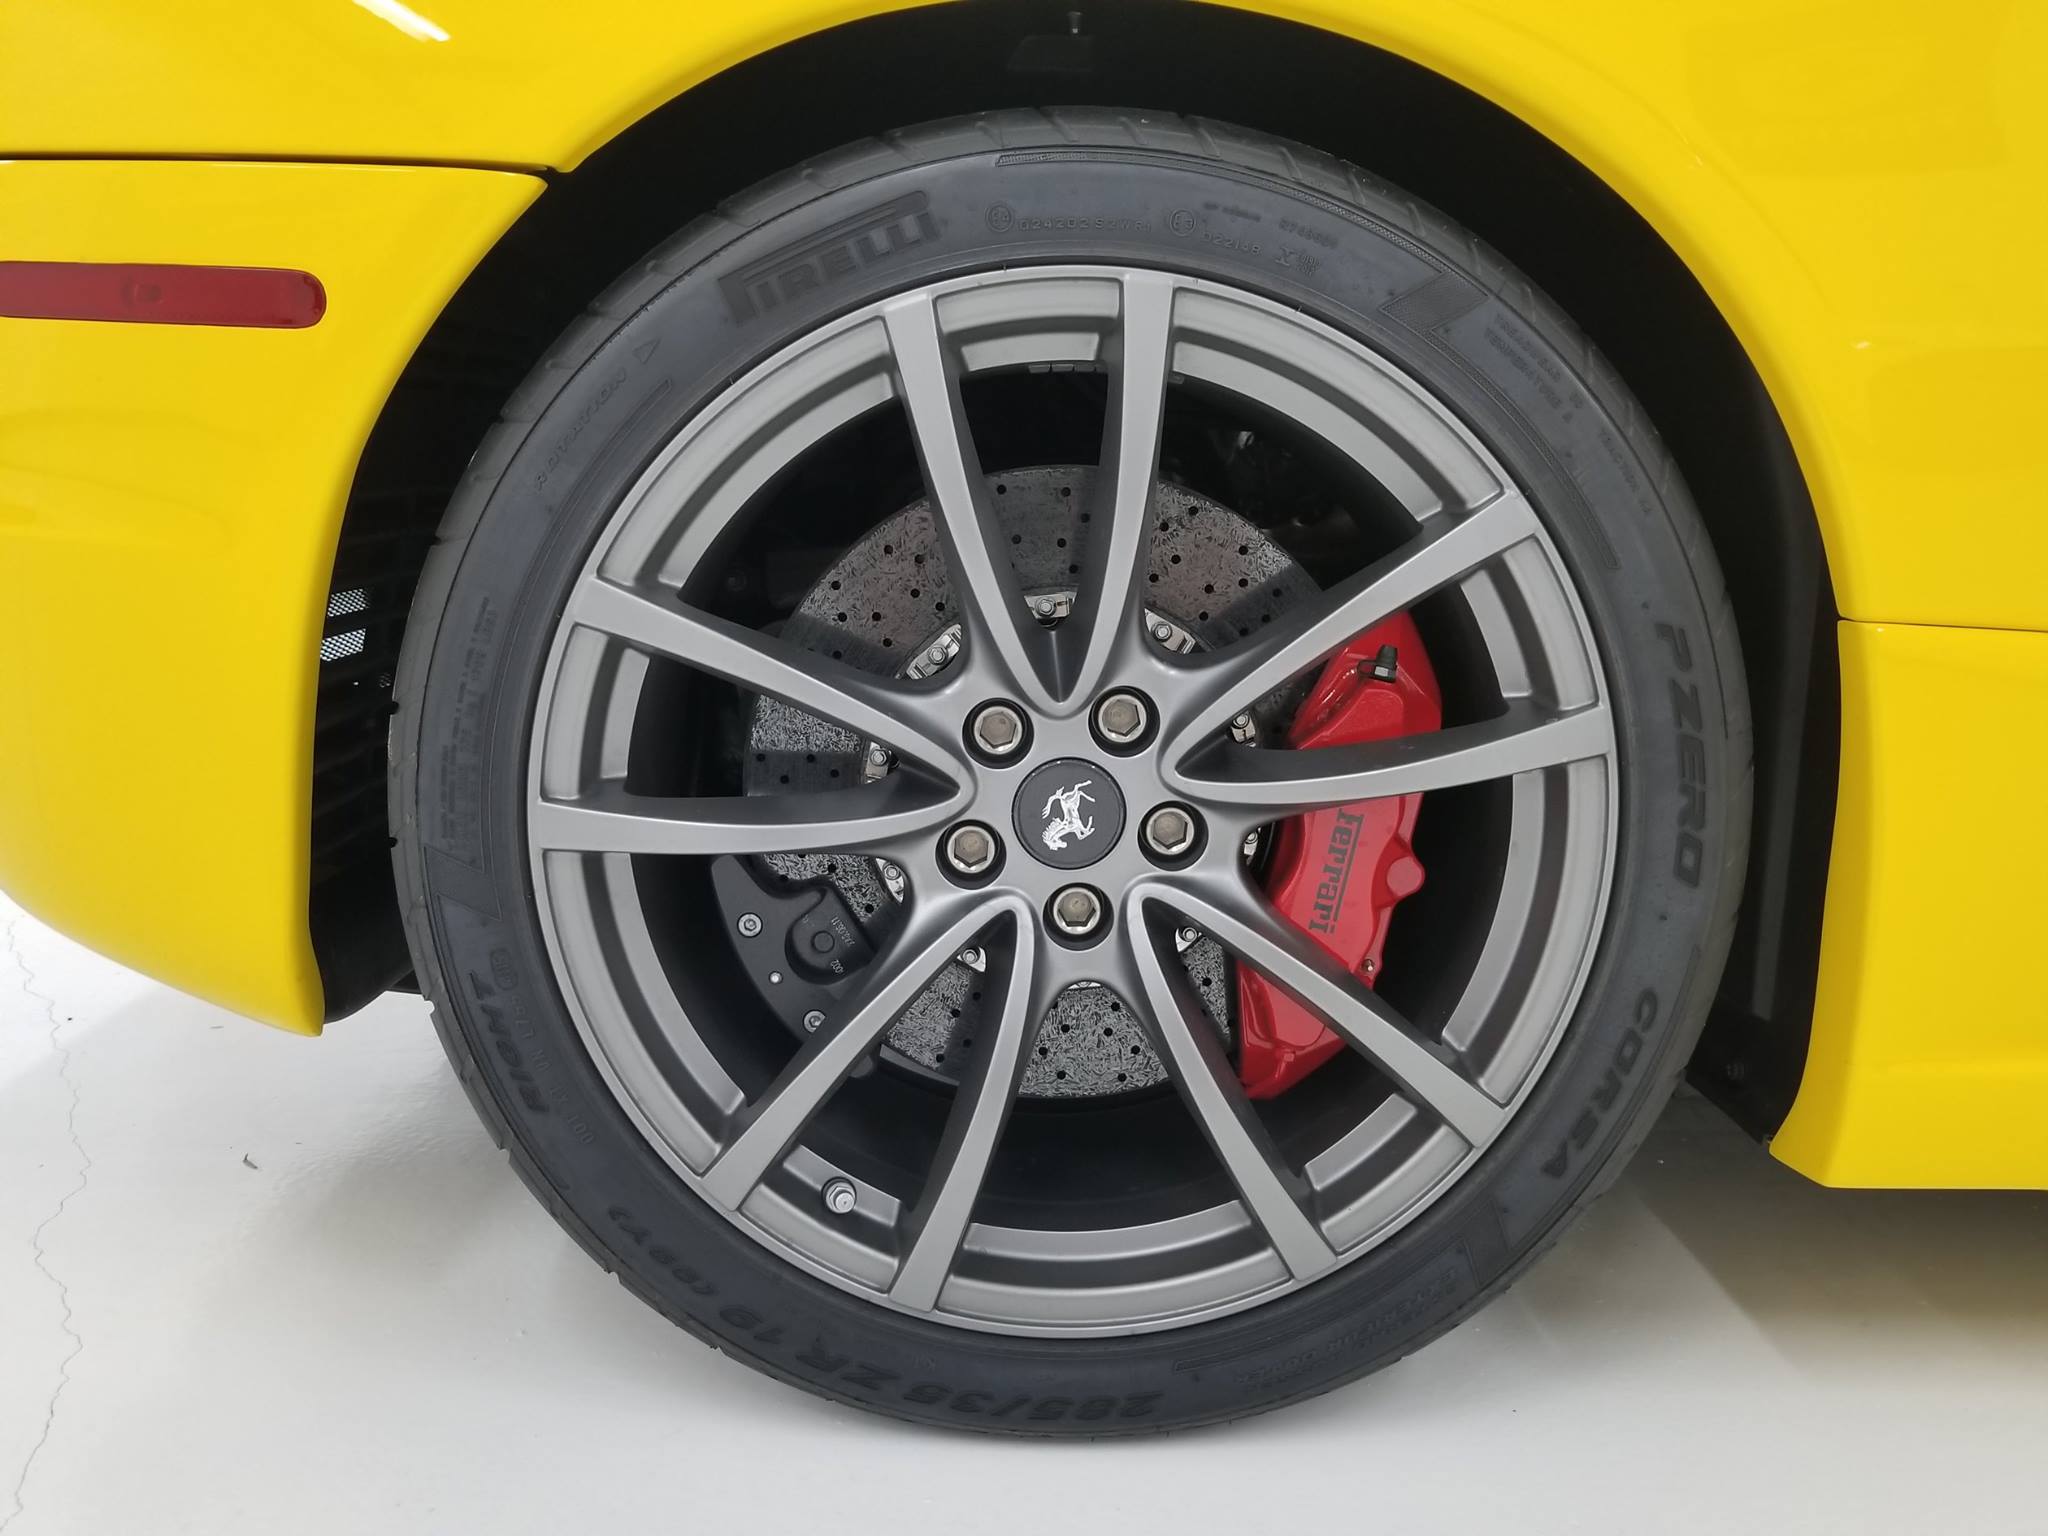
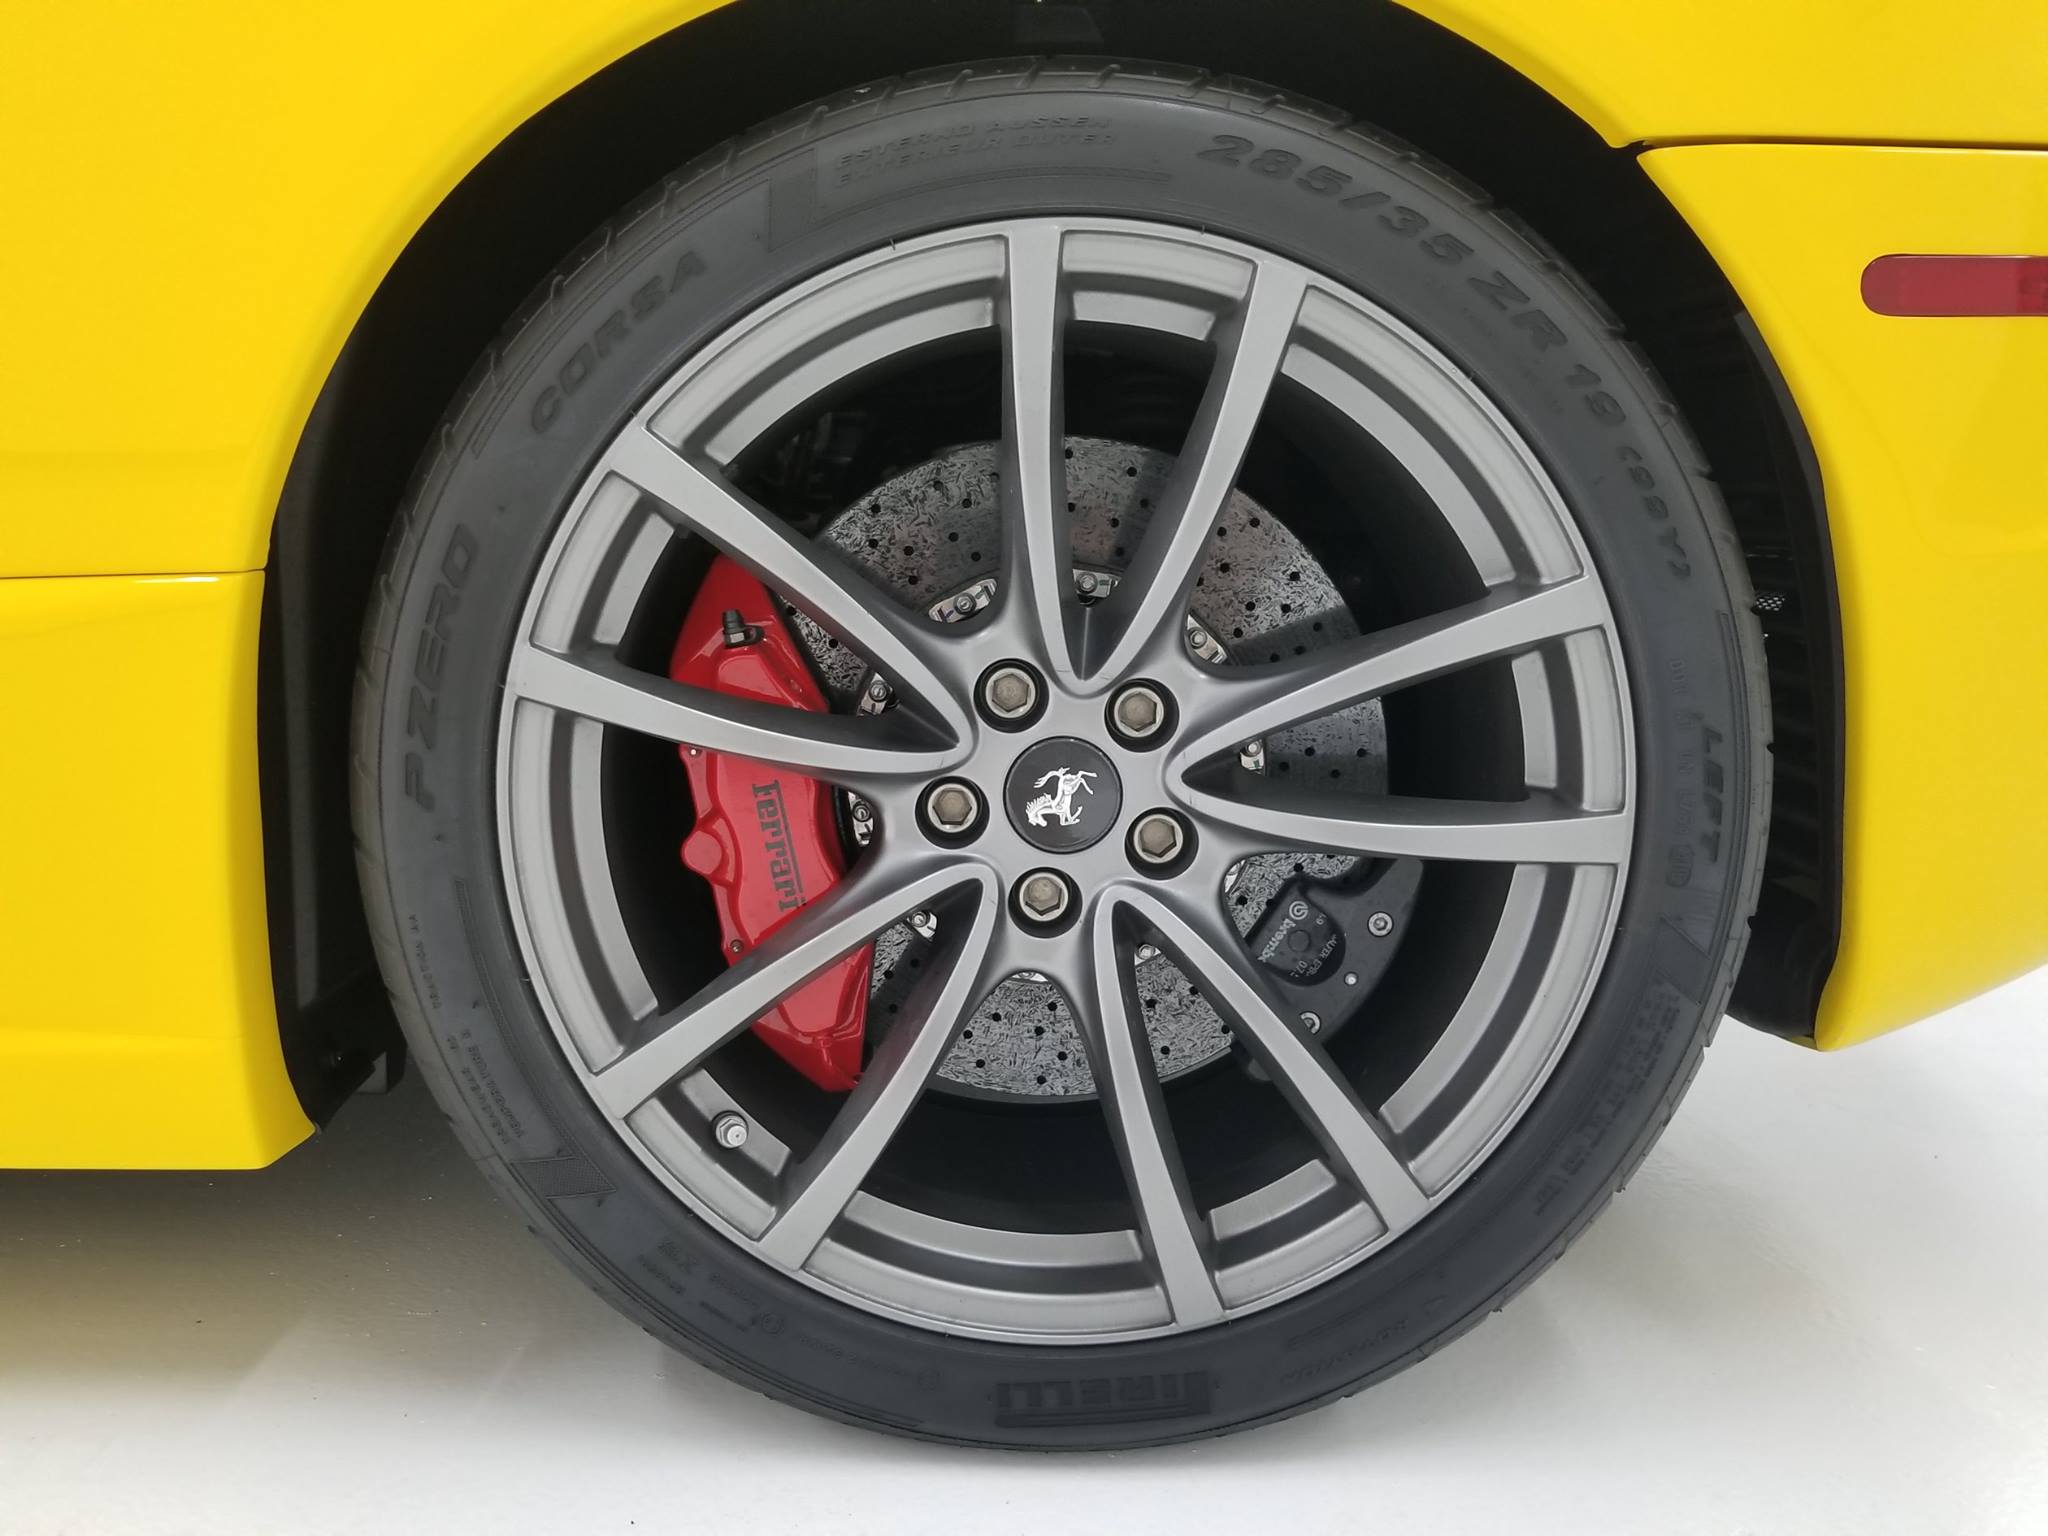
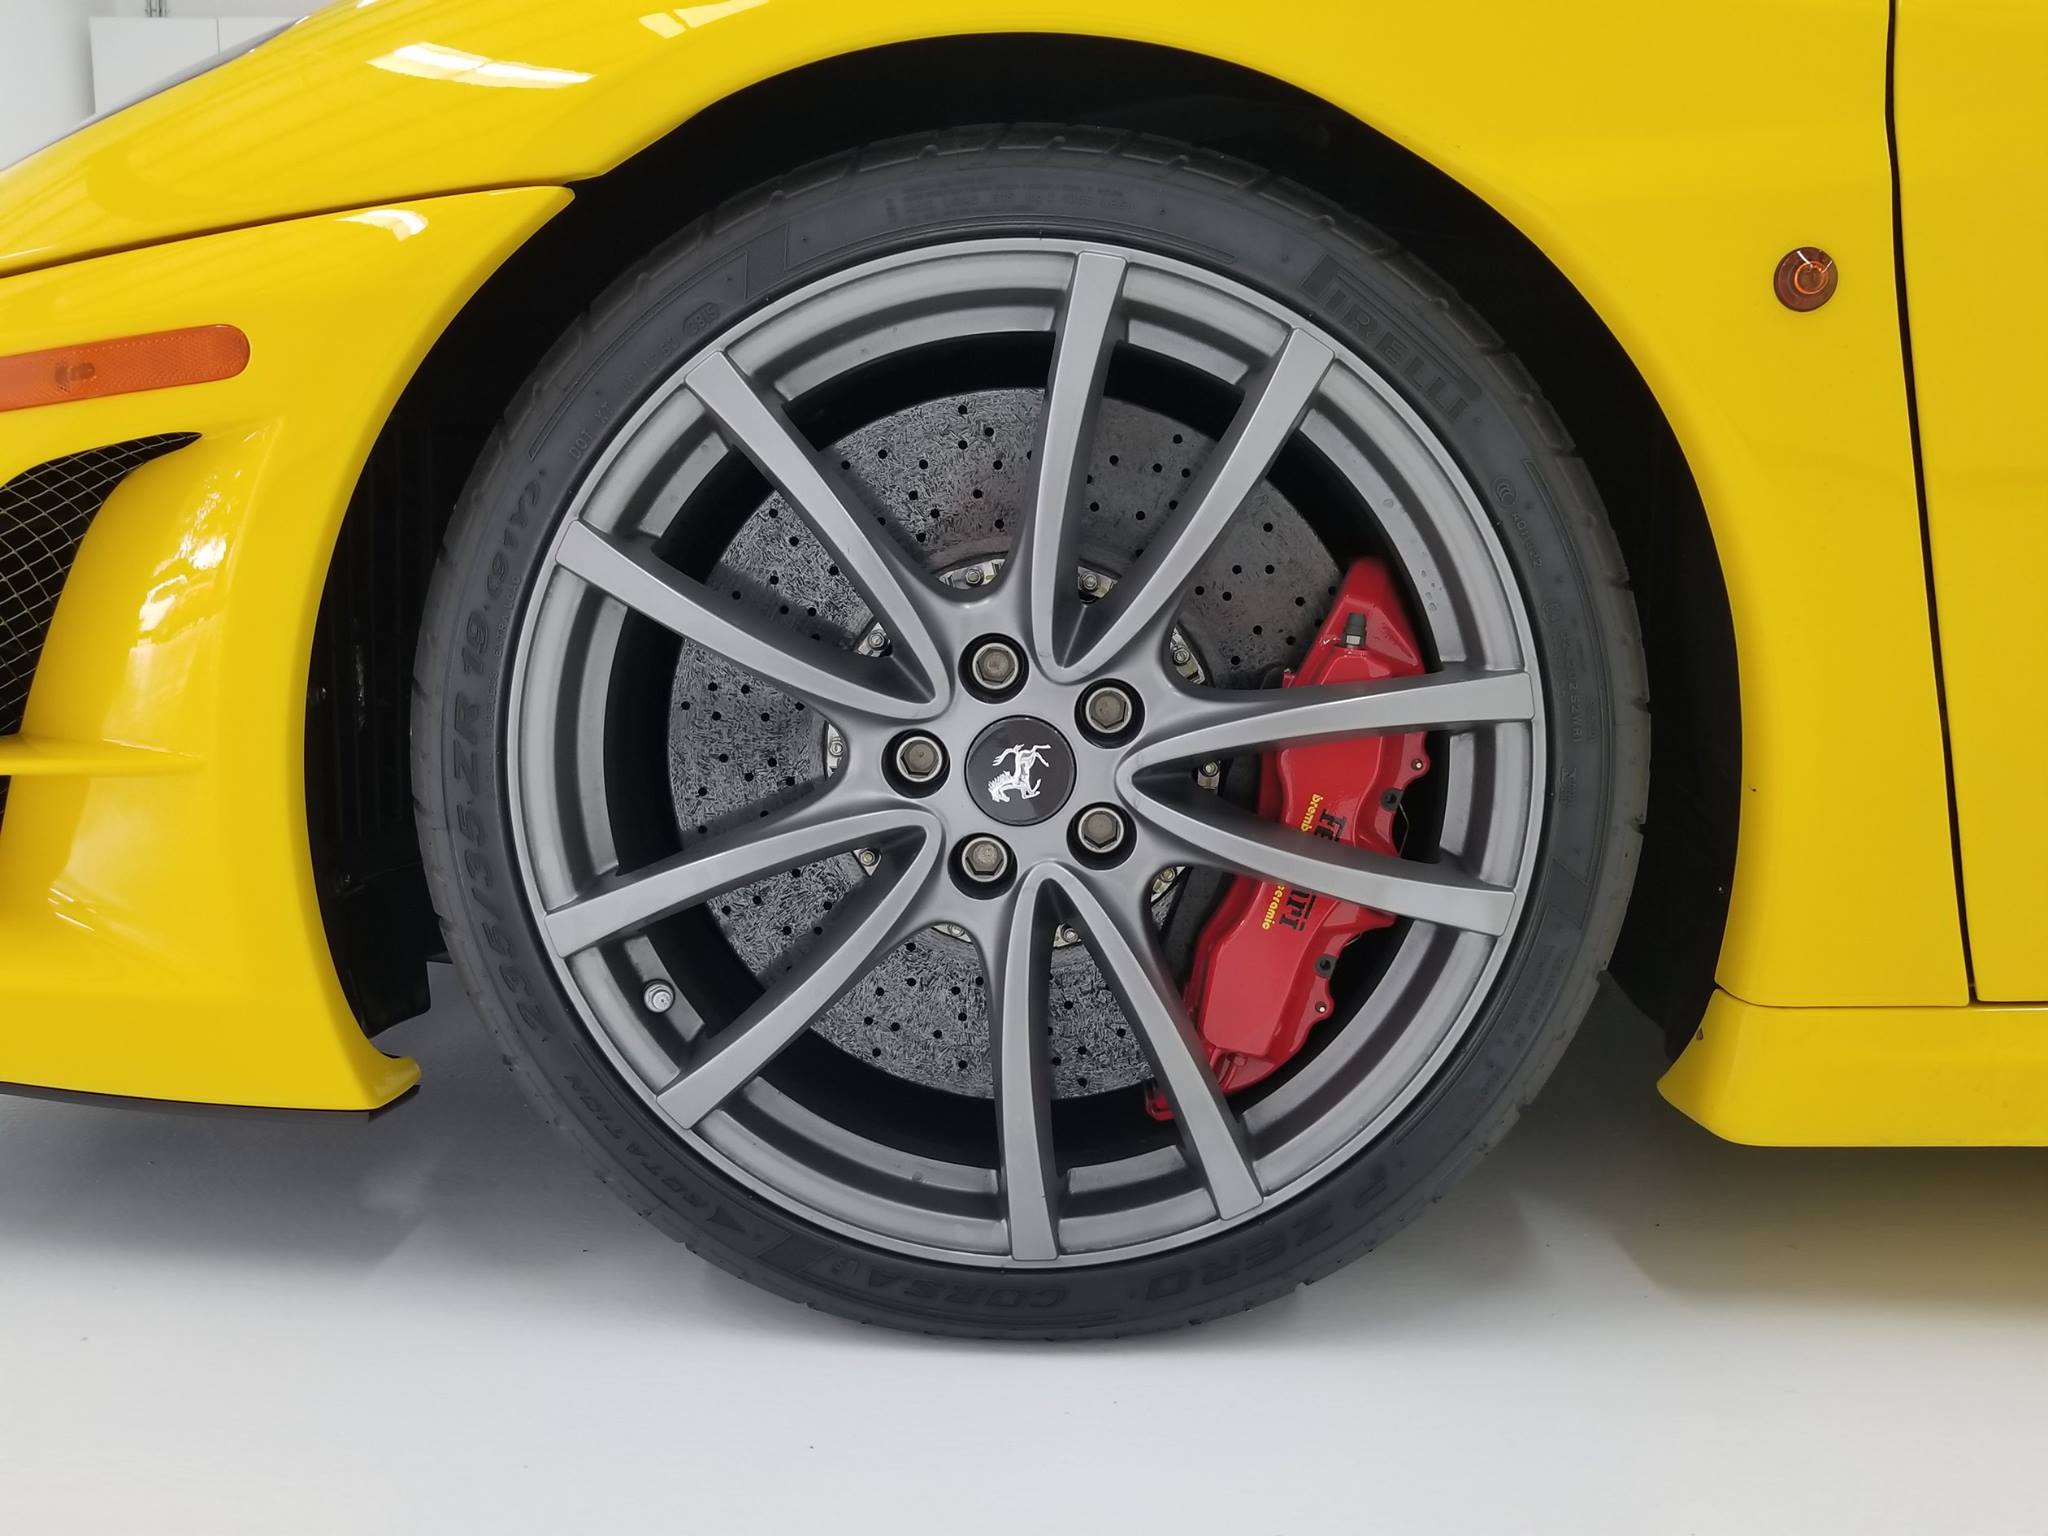
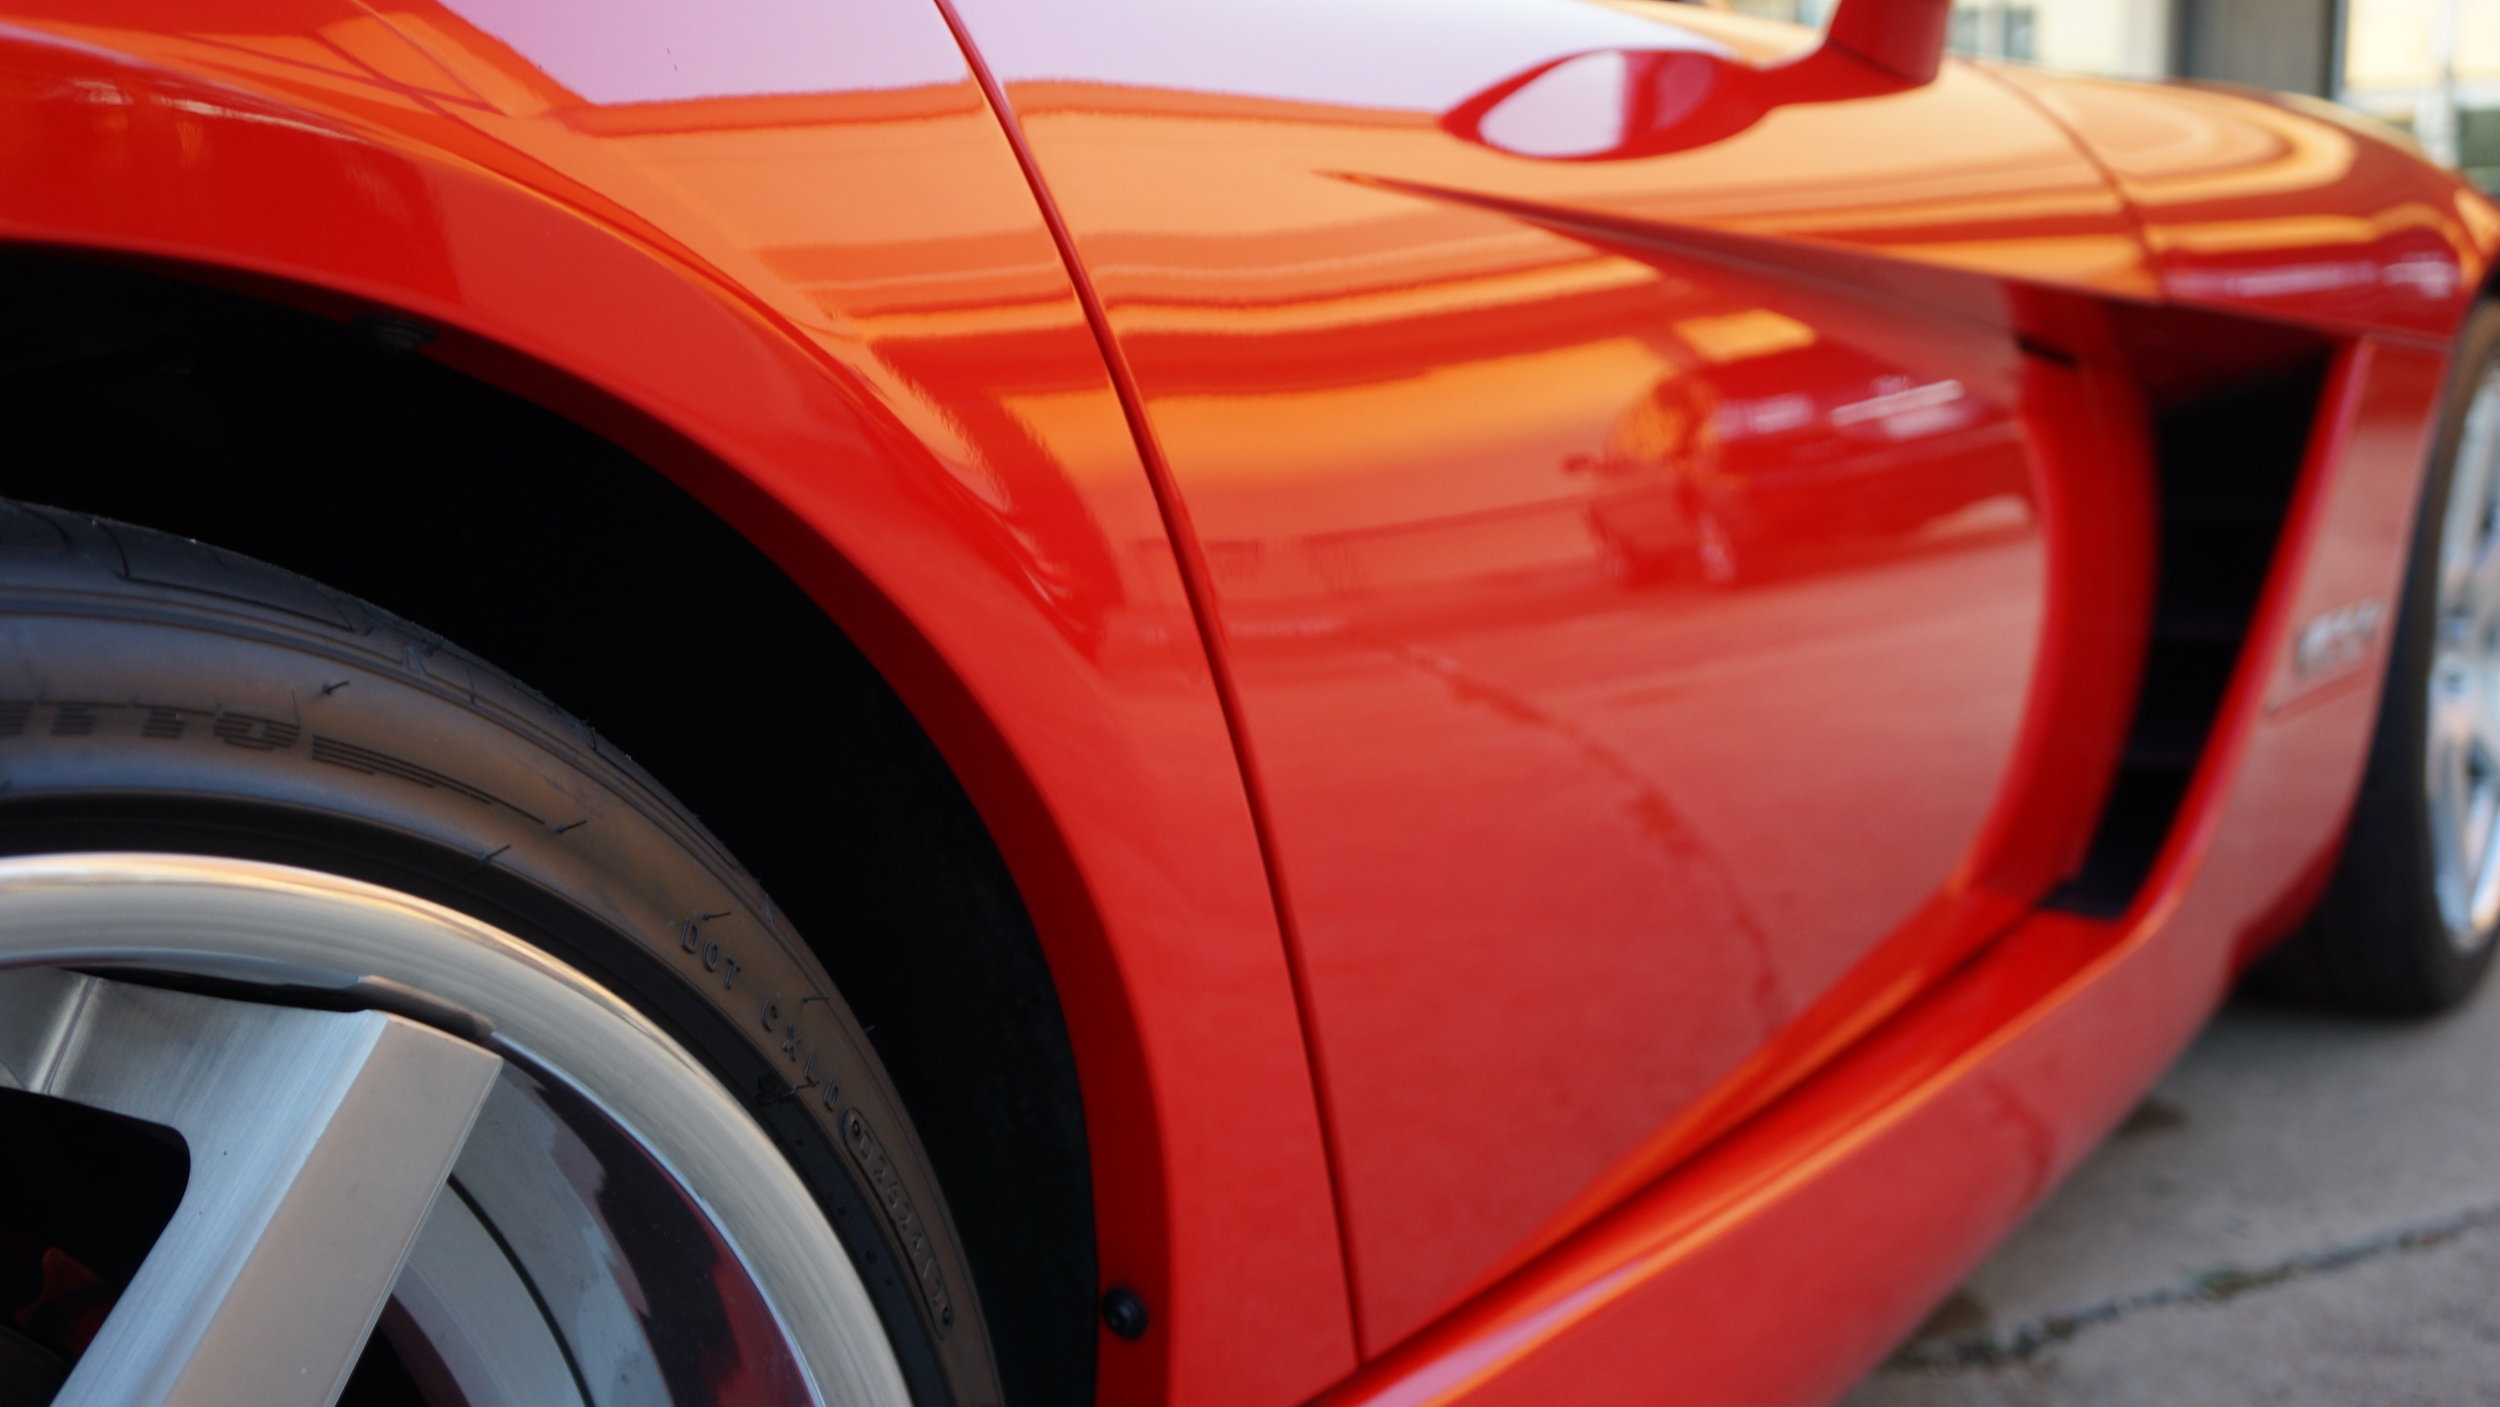
STEP 4: Wheels & Tires
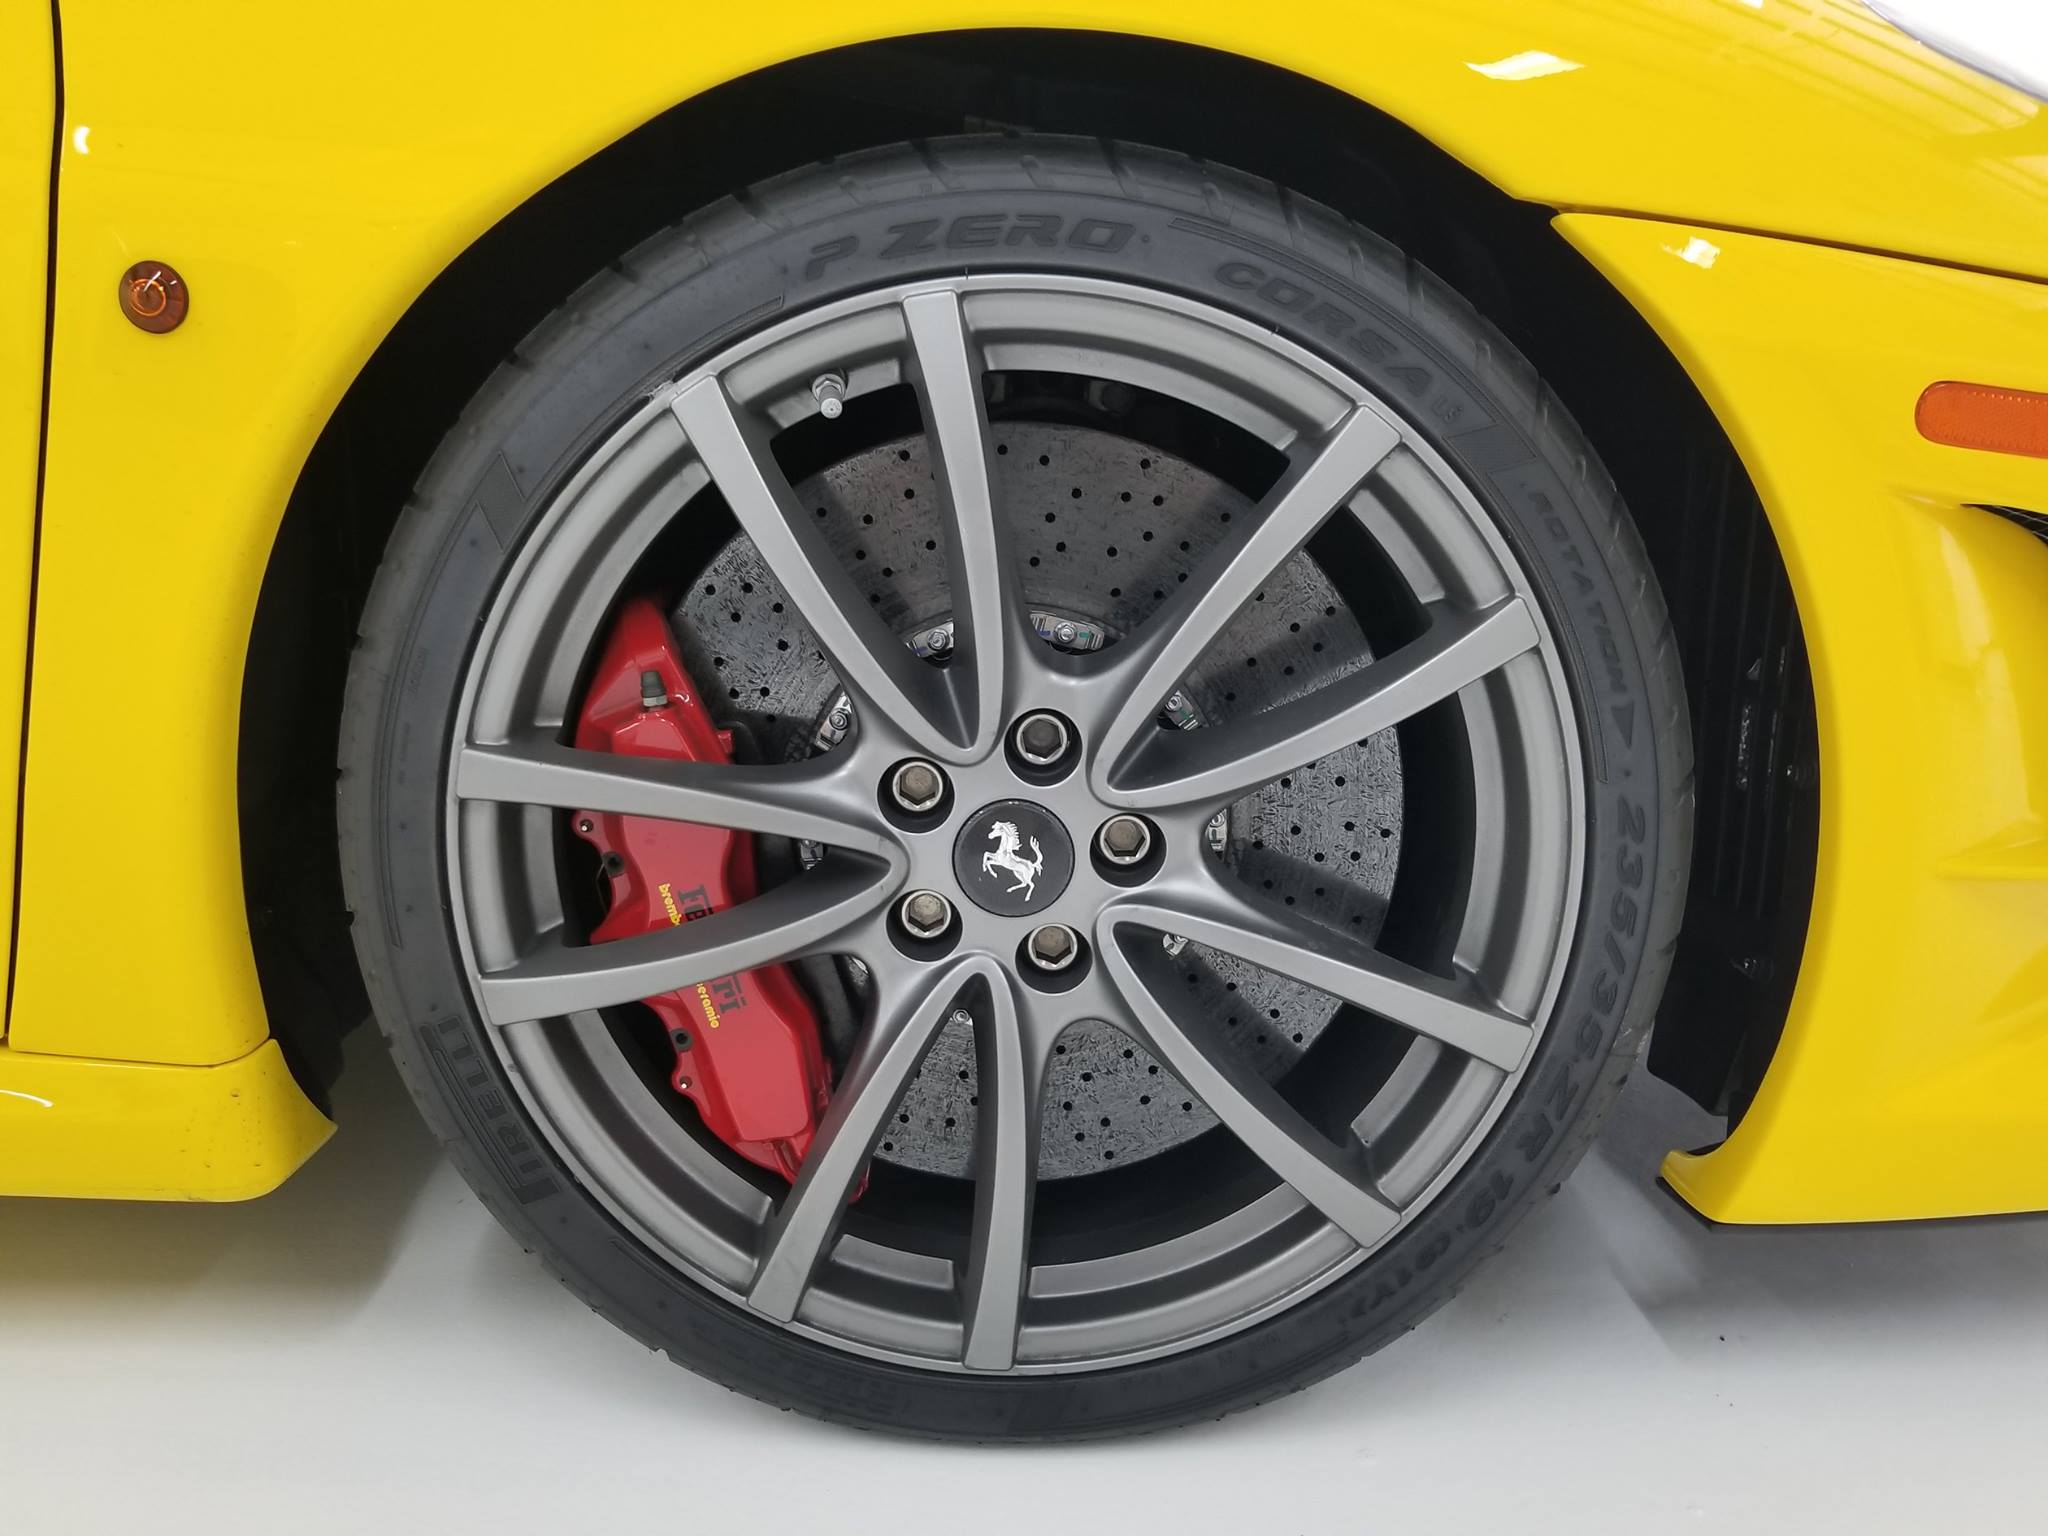
Remember LFS.
Take 1 sharp, very focused picture of each, showing entire wheel and tire.
Take 1 picture showing each tire's tread.
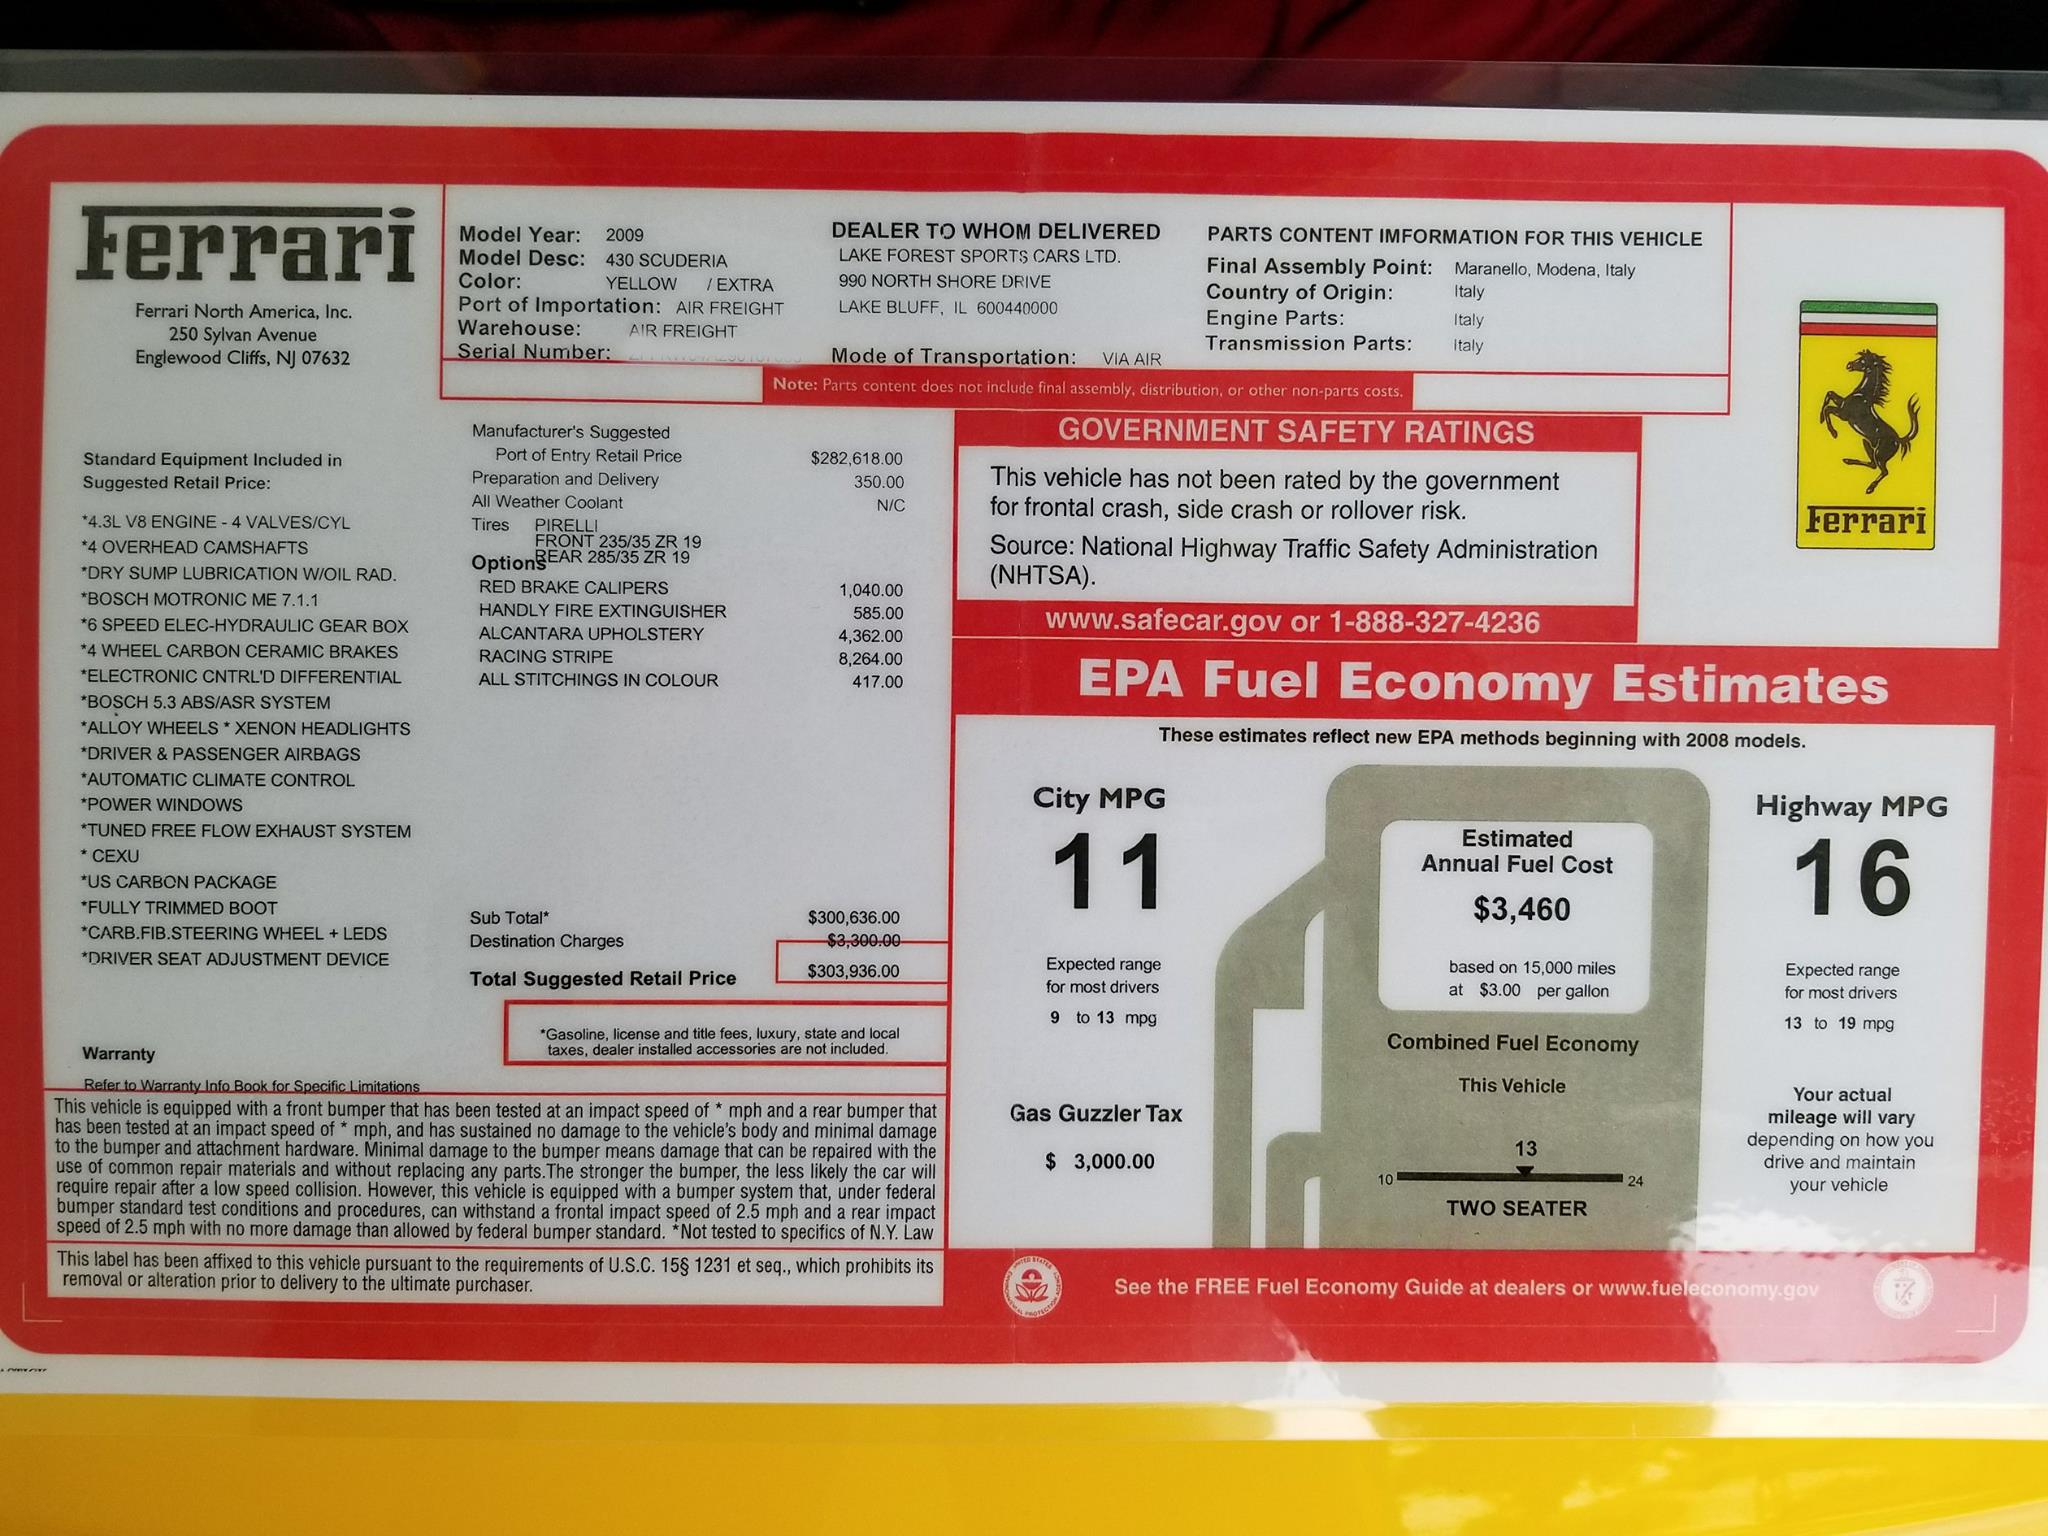
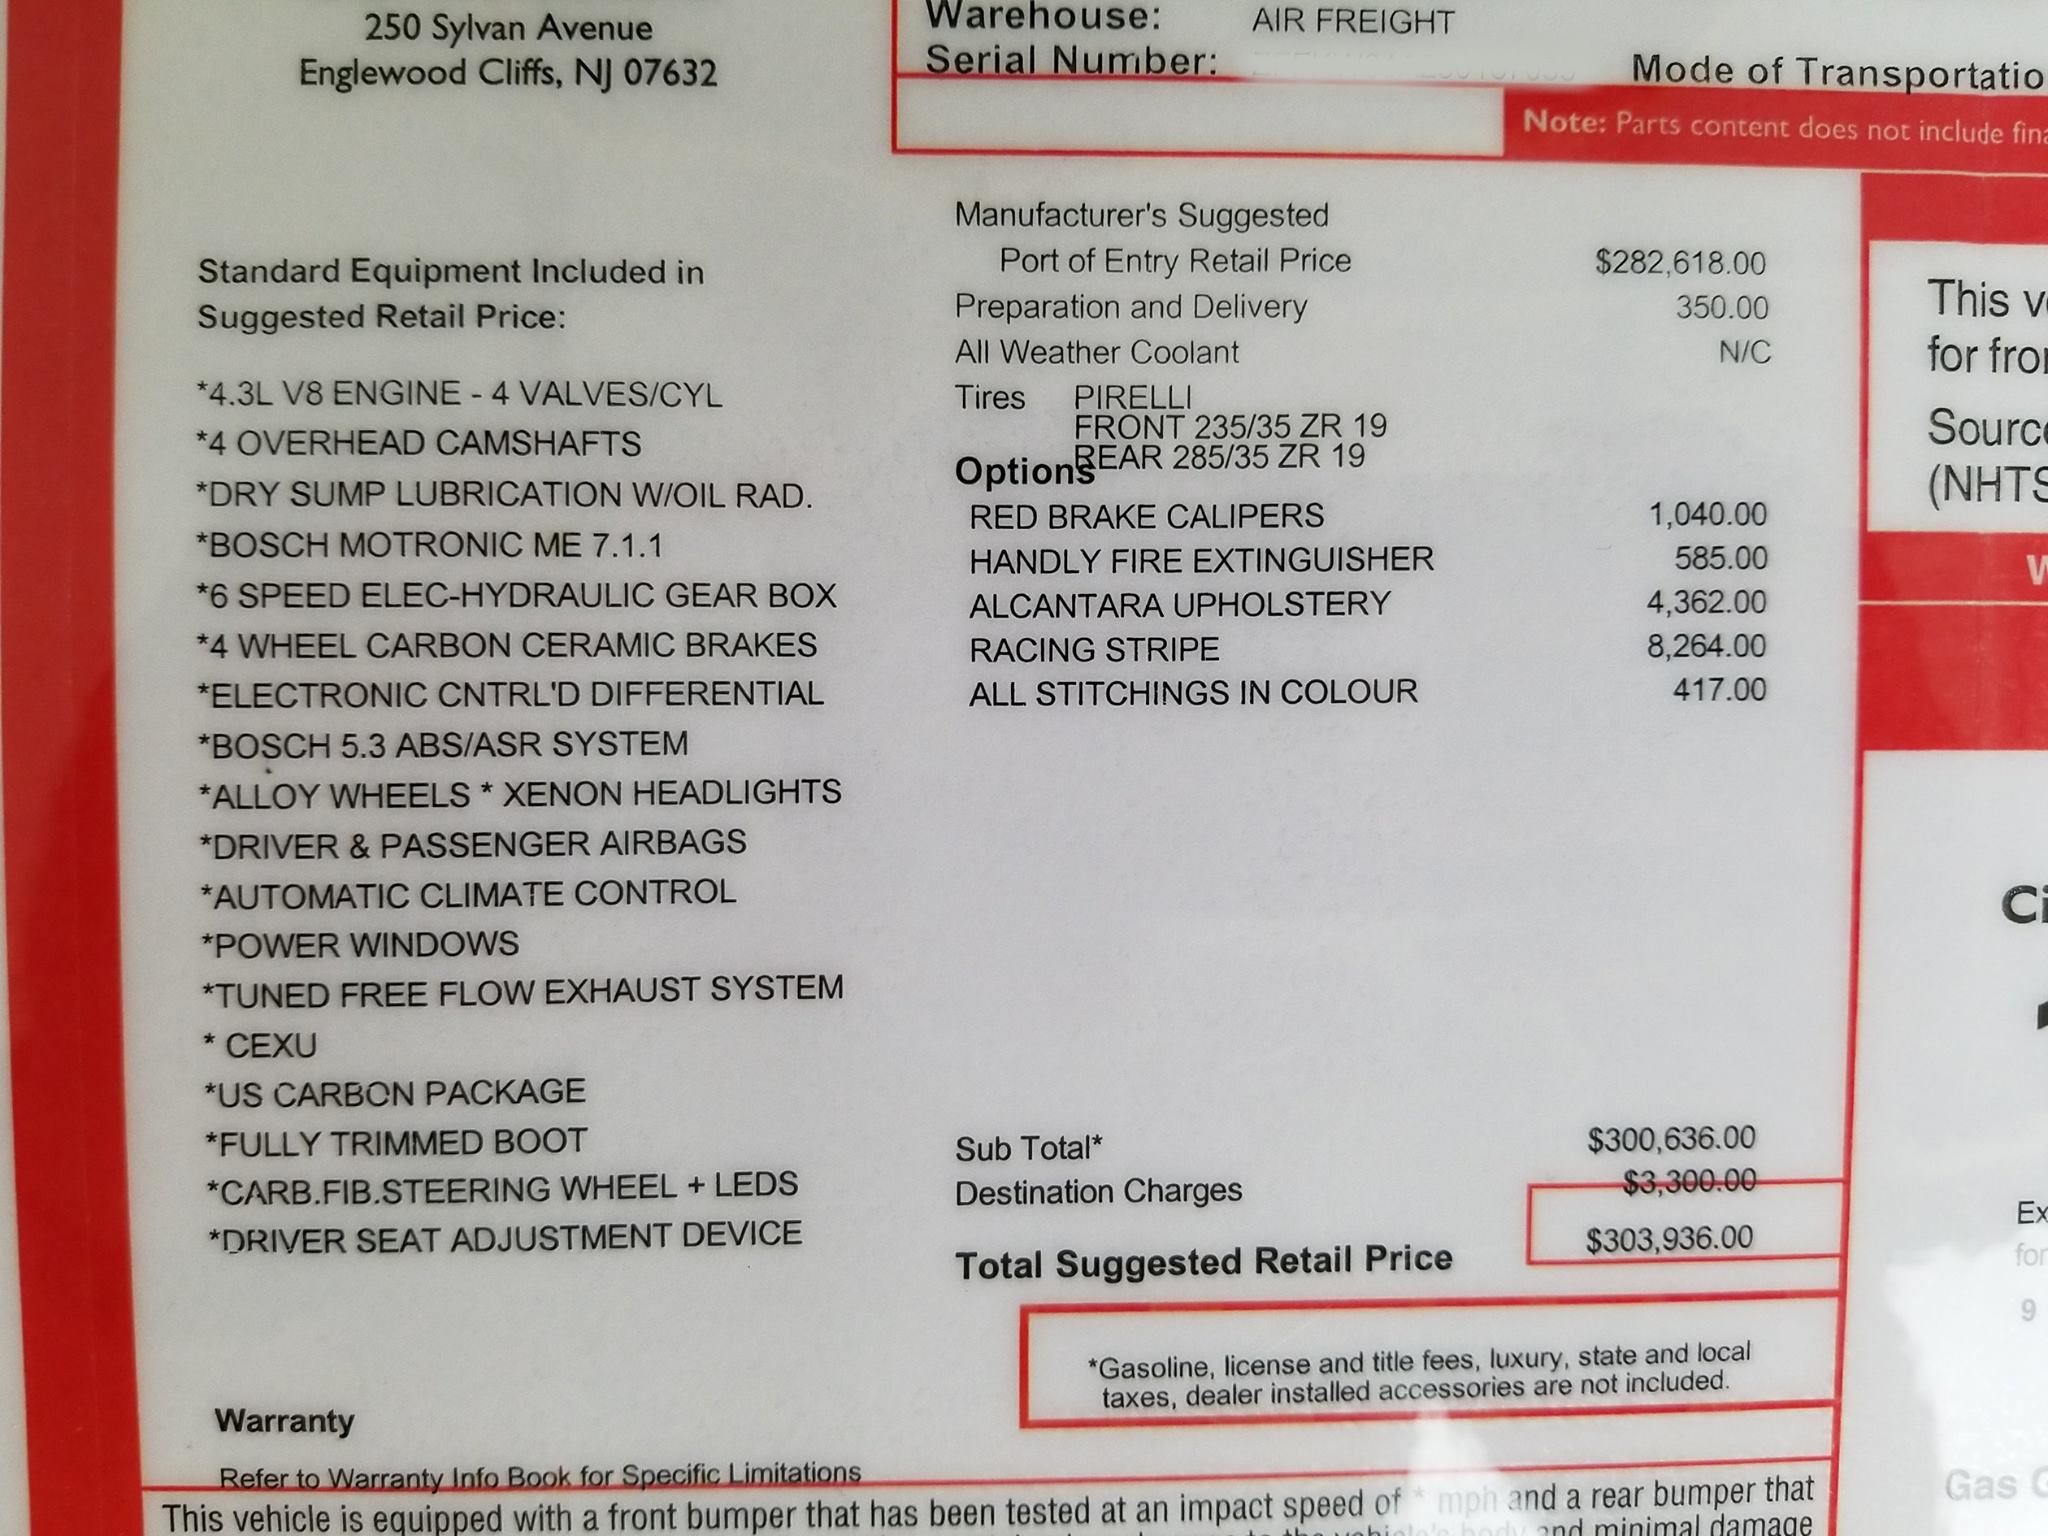
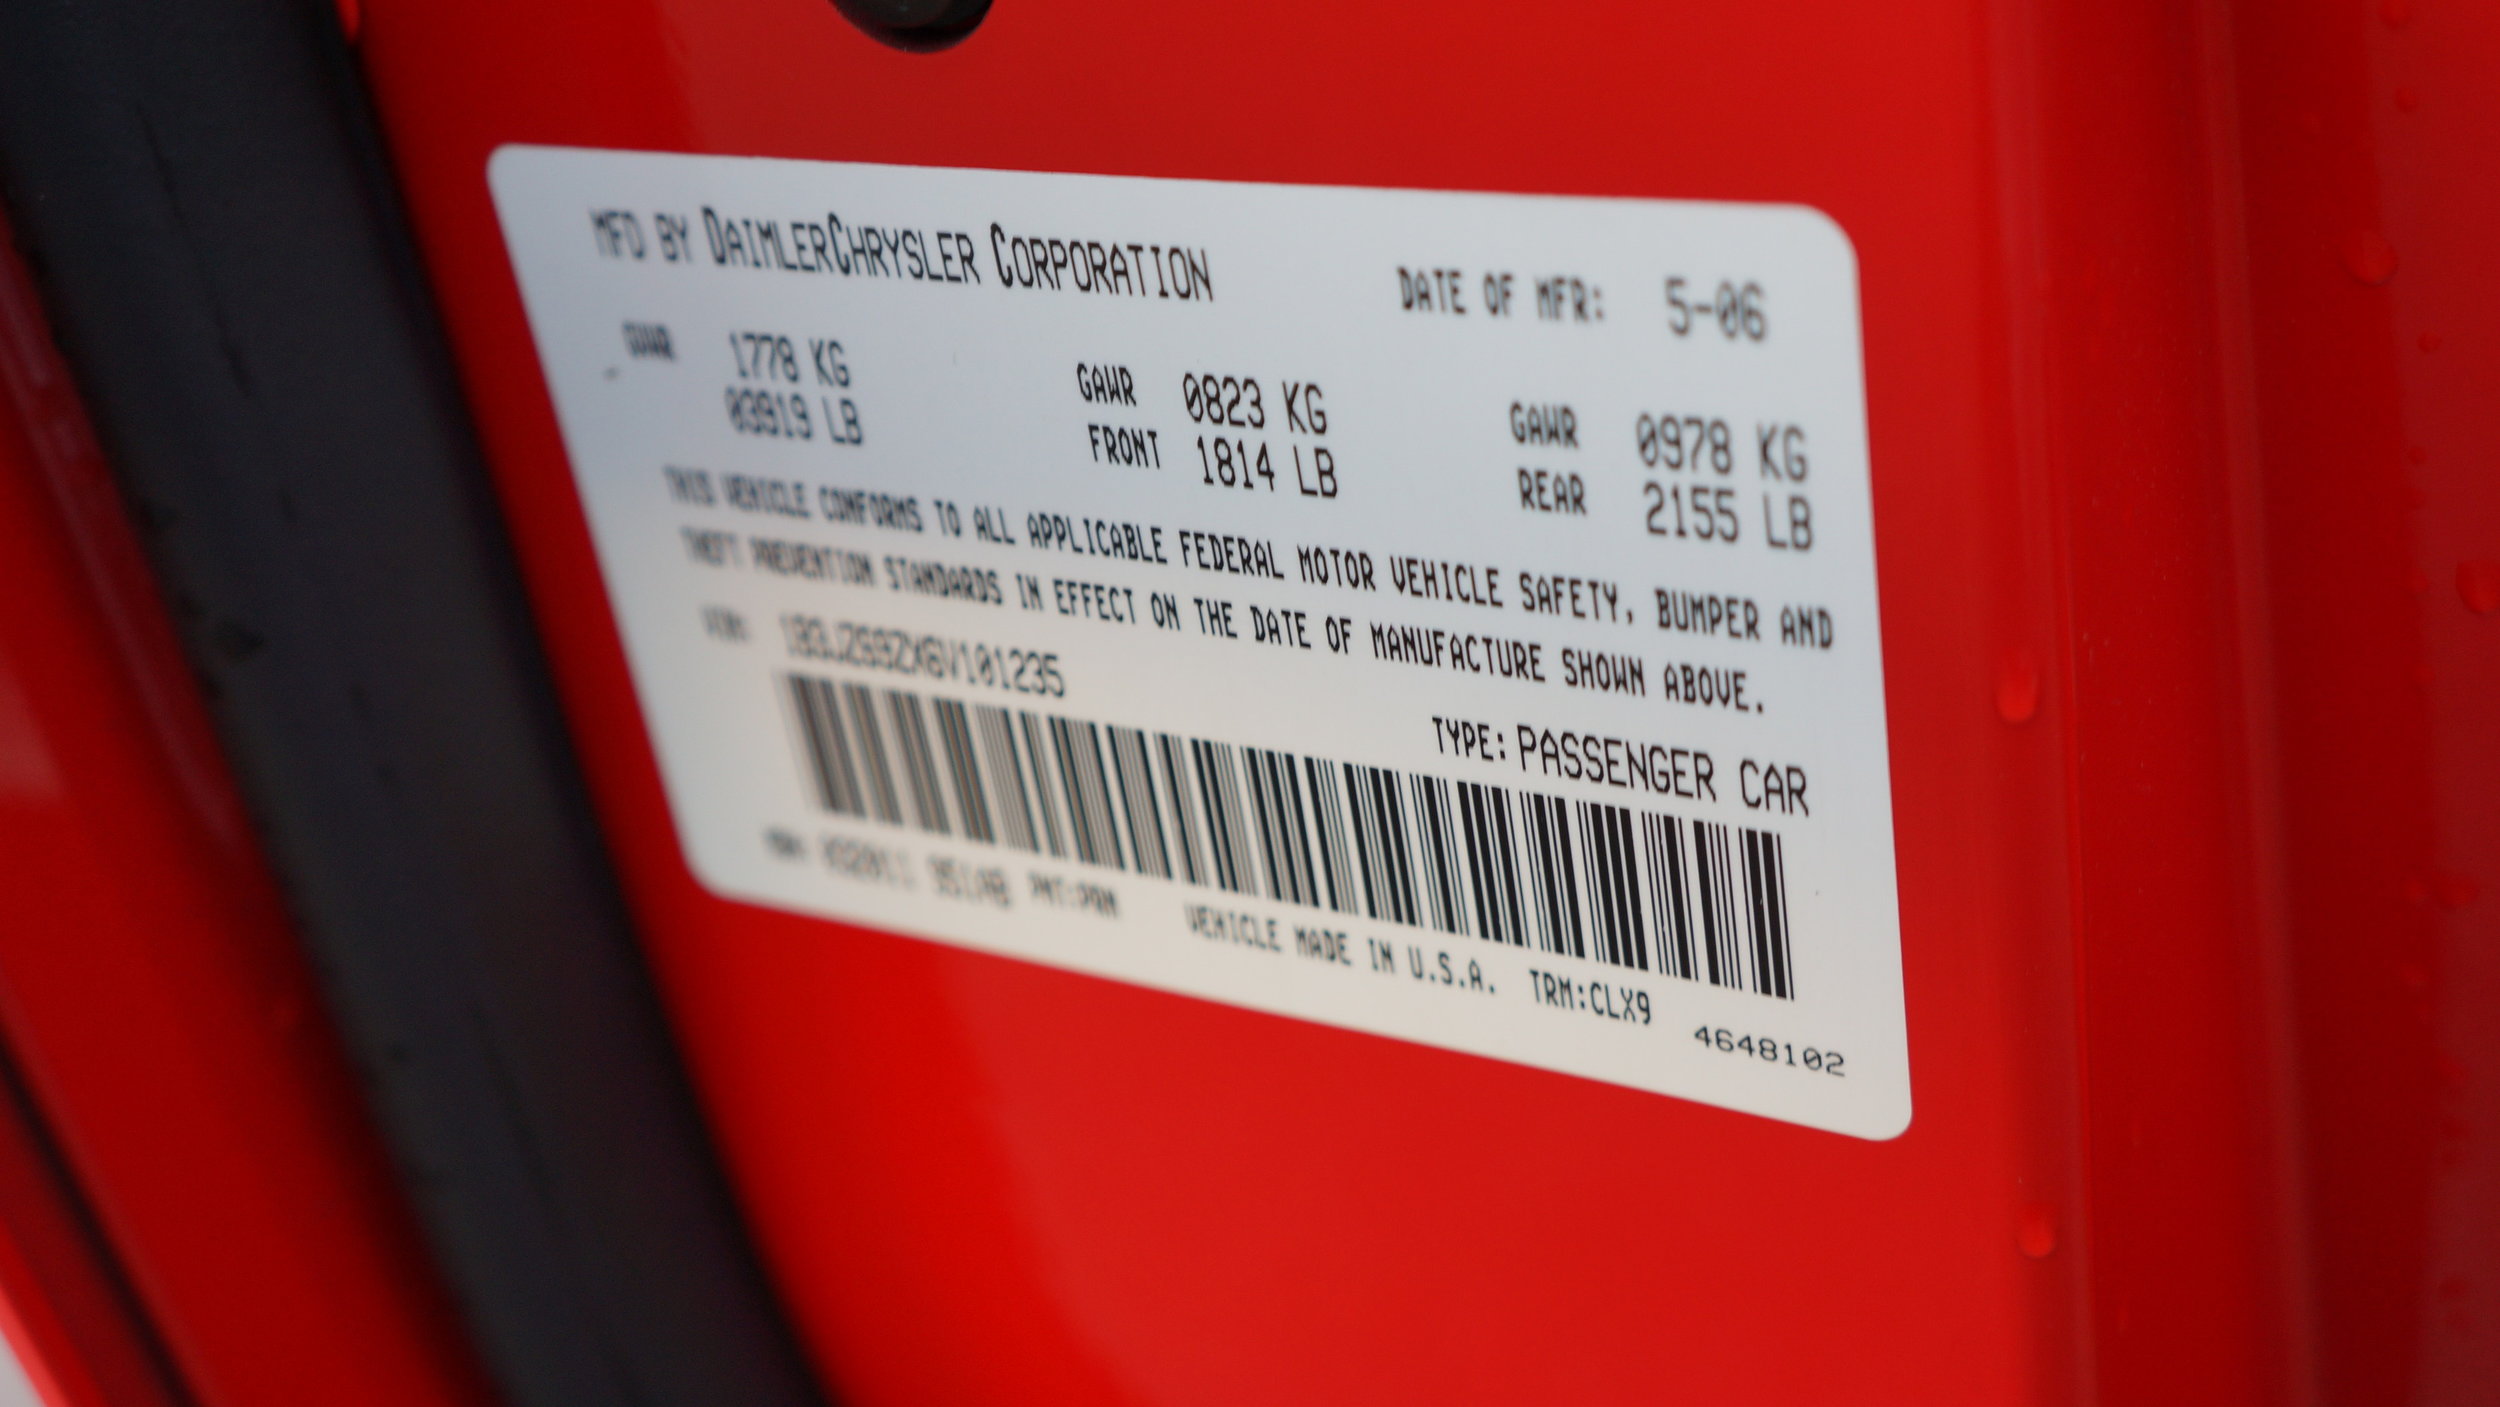
STEP 5: documents
Use your smartphone to take sharp/focused pictures of the MSRP sticker, dyno sheets, maintenance records, reciepts, etc. Even if you don't want it to be on a public ad, they can easily be emailed to a potential buyer.
Use photoeditor app to draw over information you want to keep private.
Notice how we hid the vin number on this sticker.
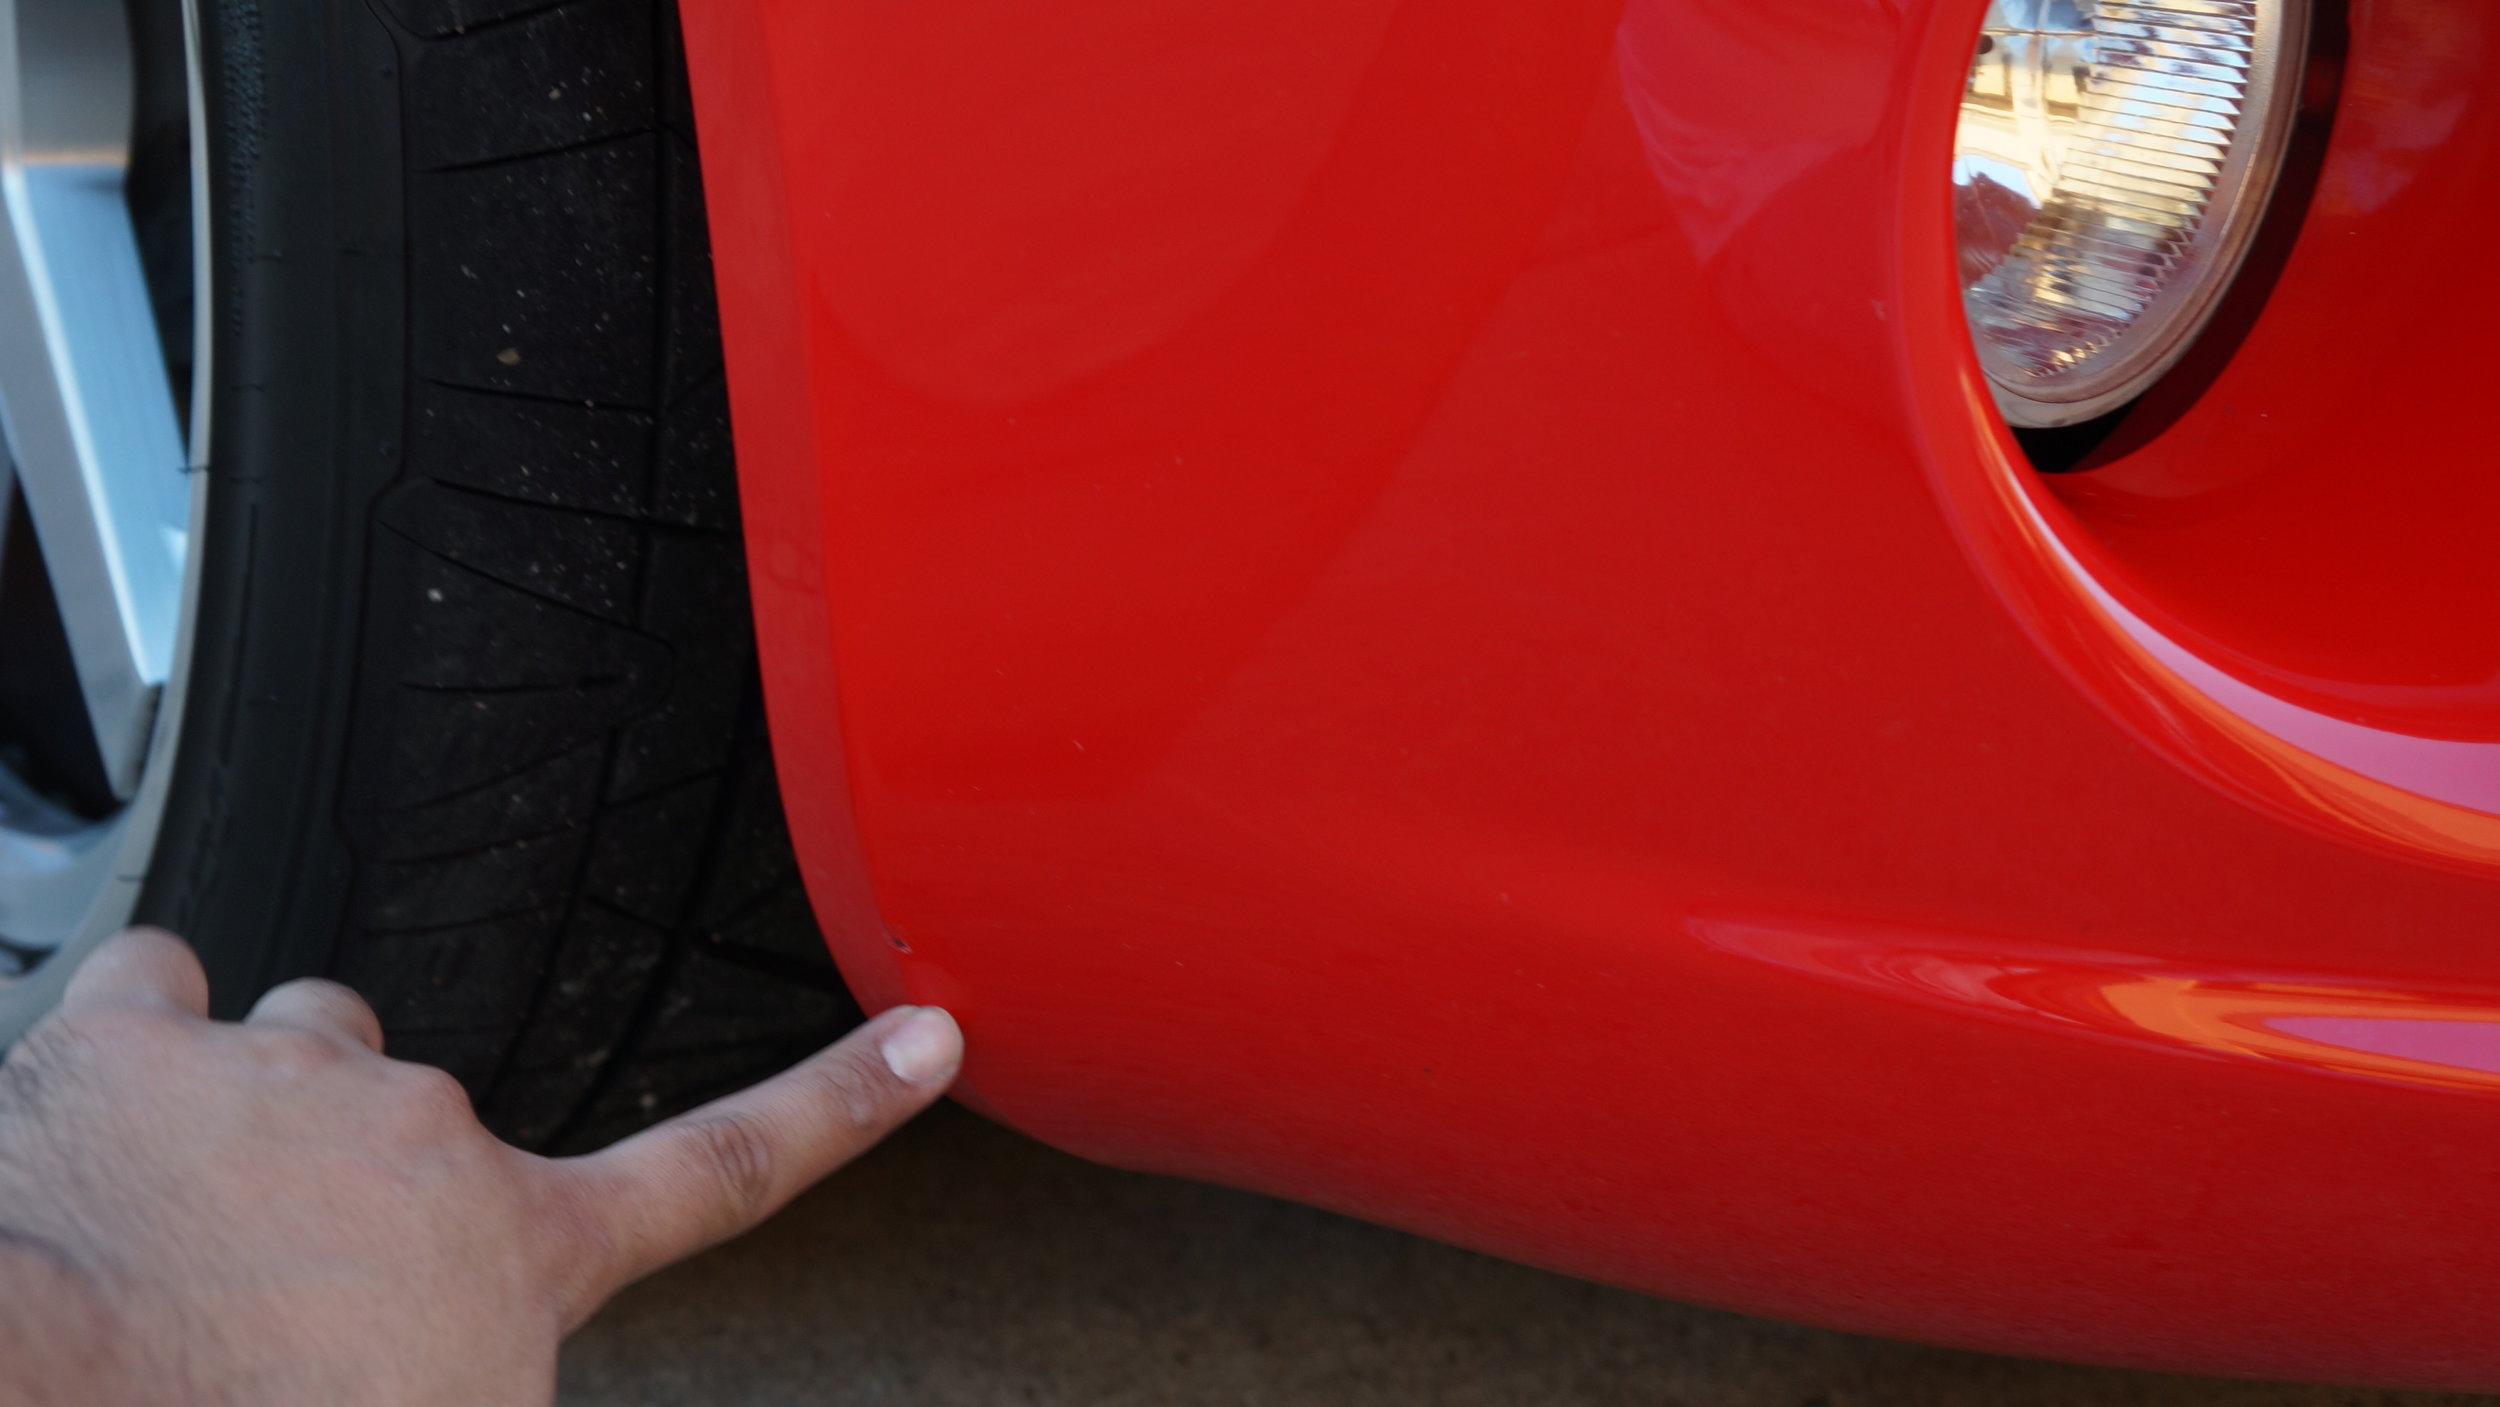
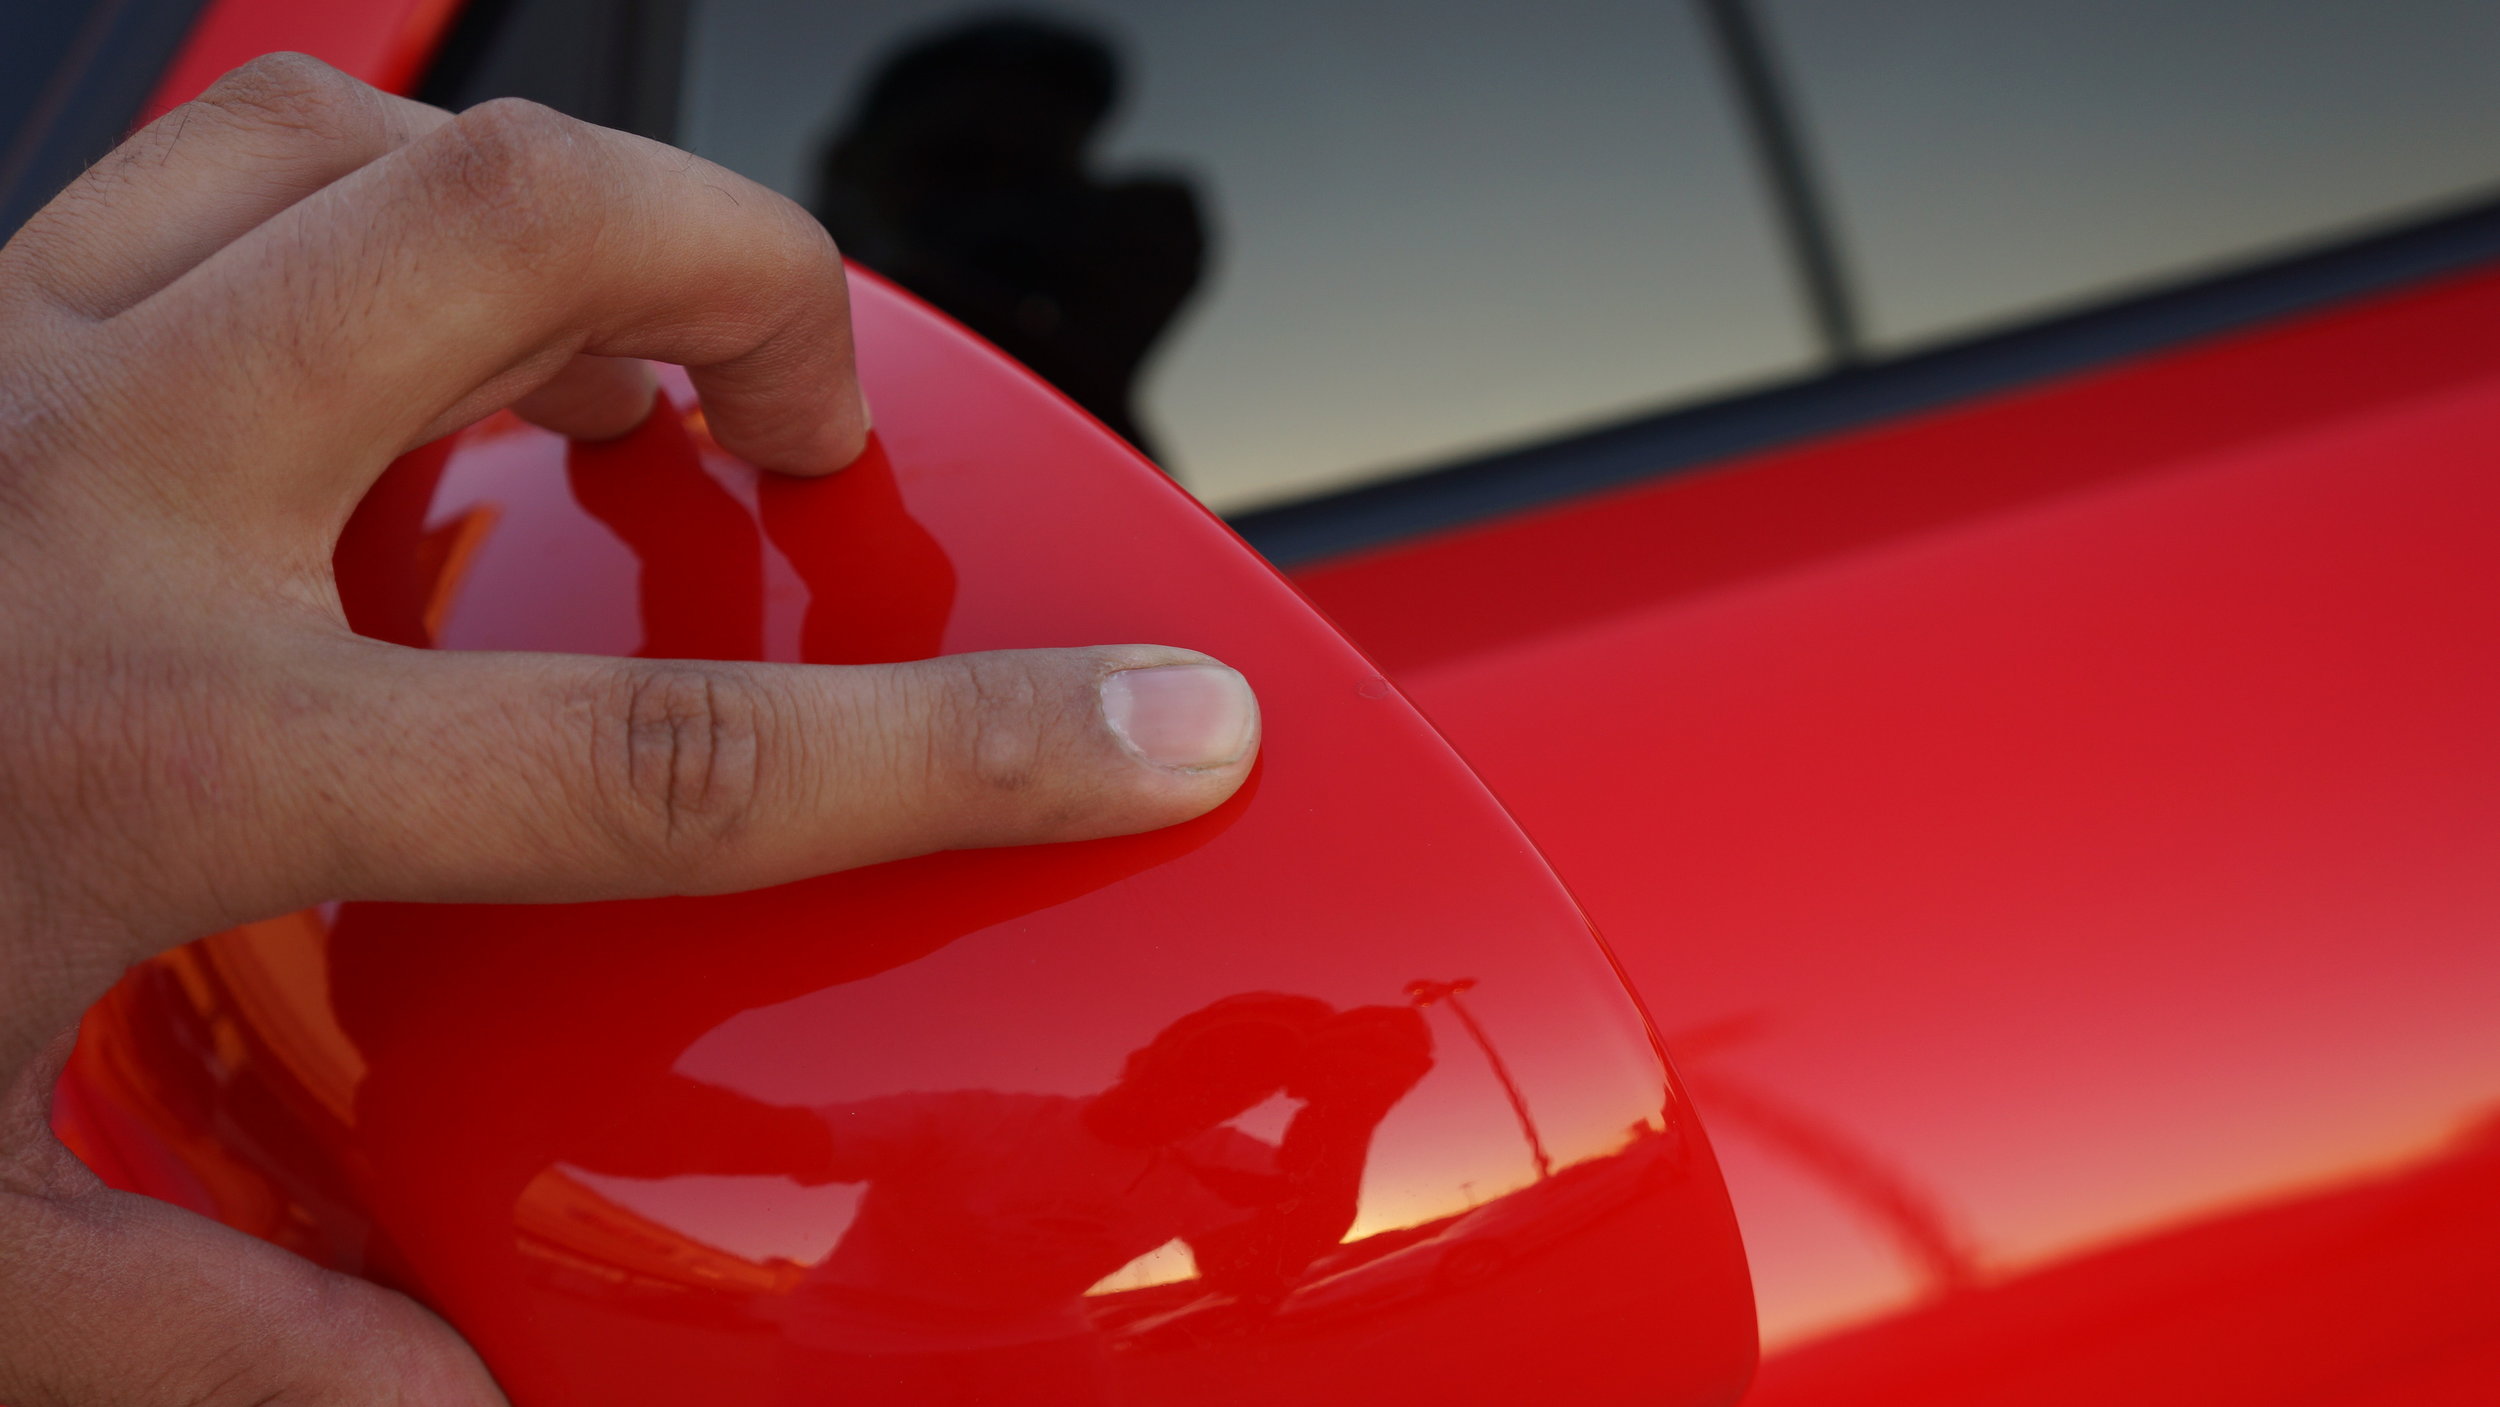
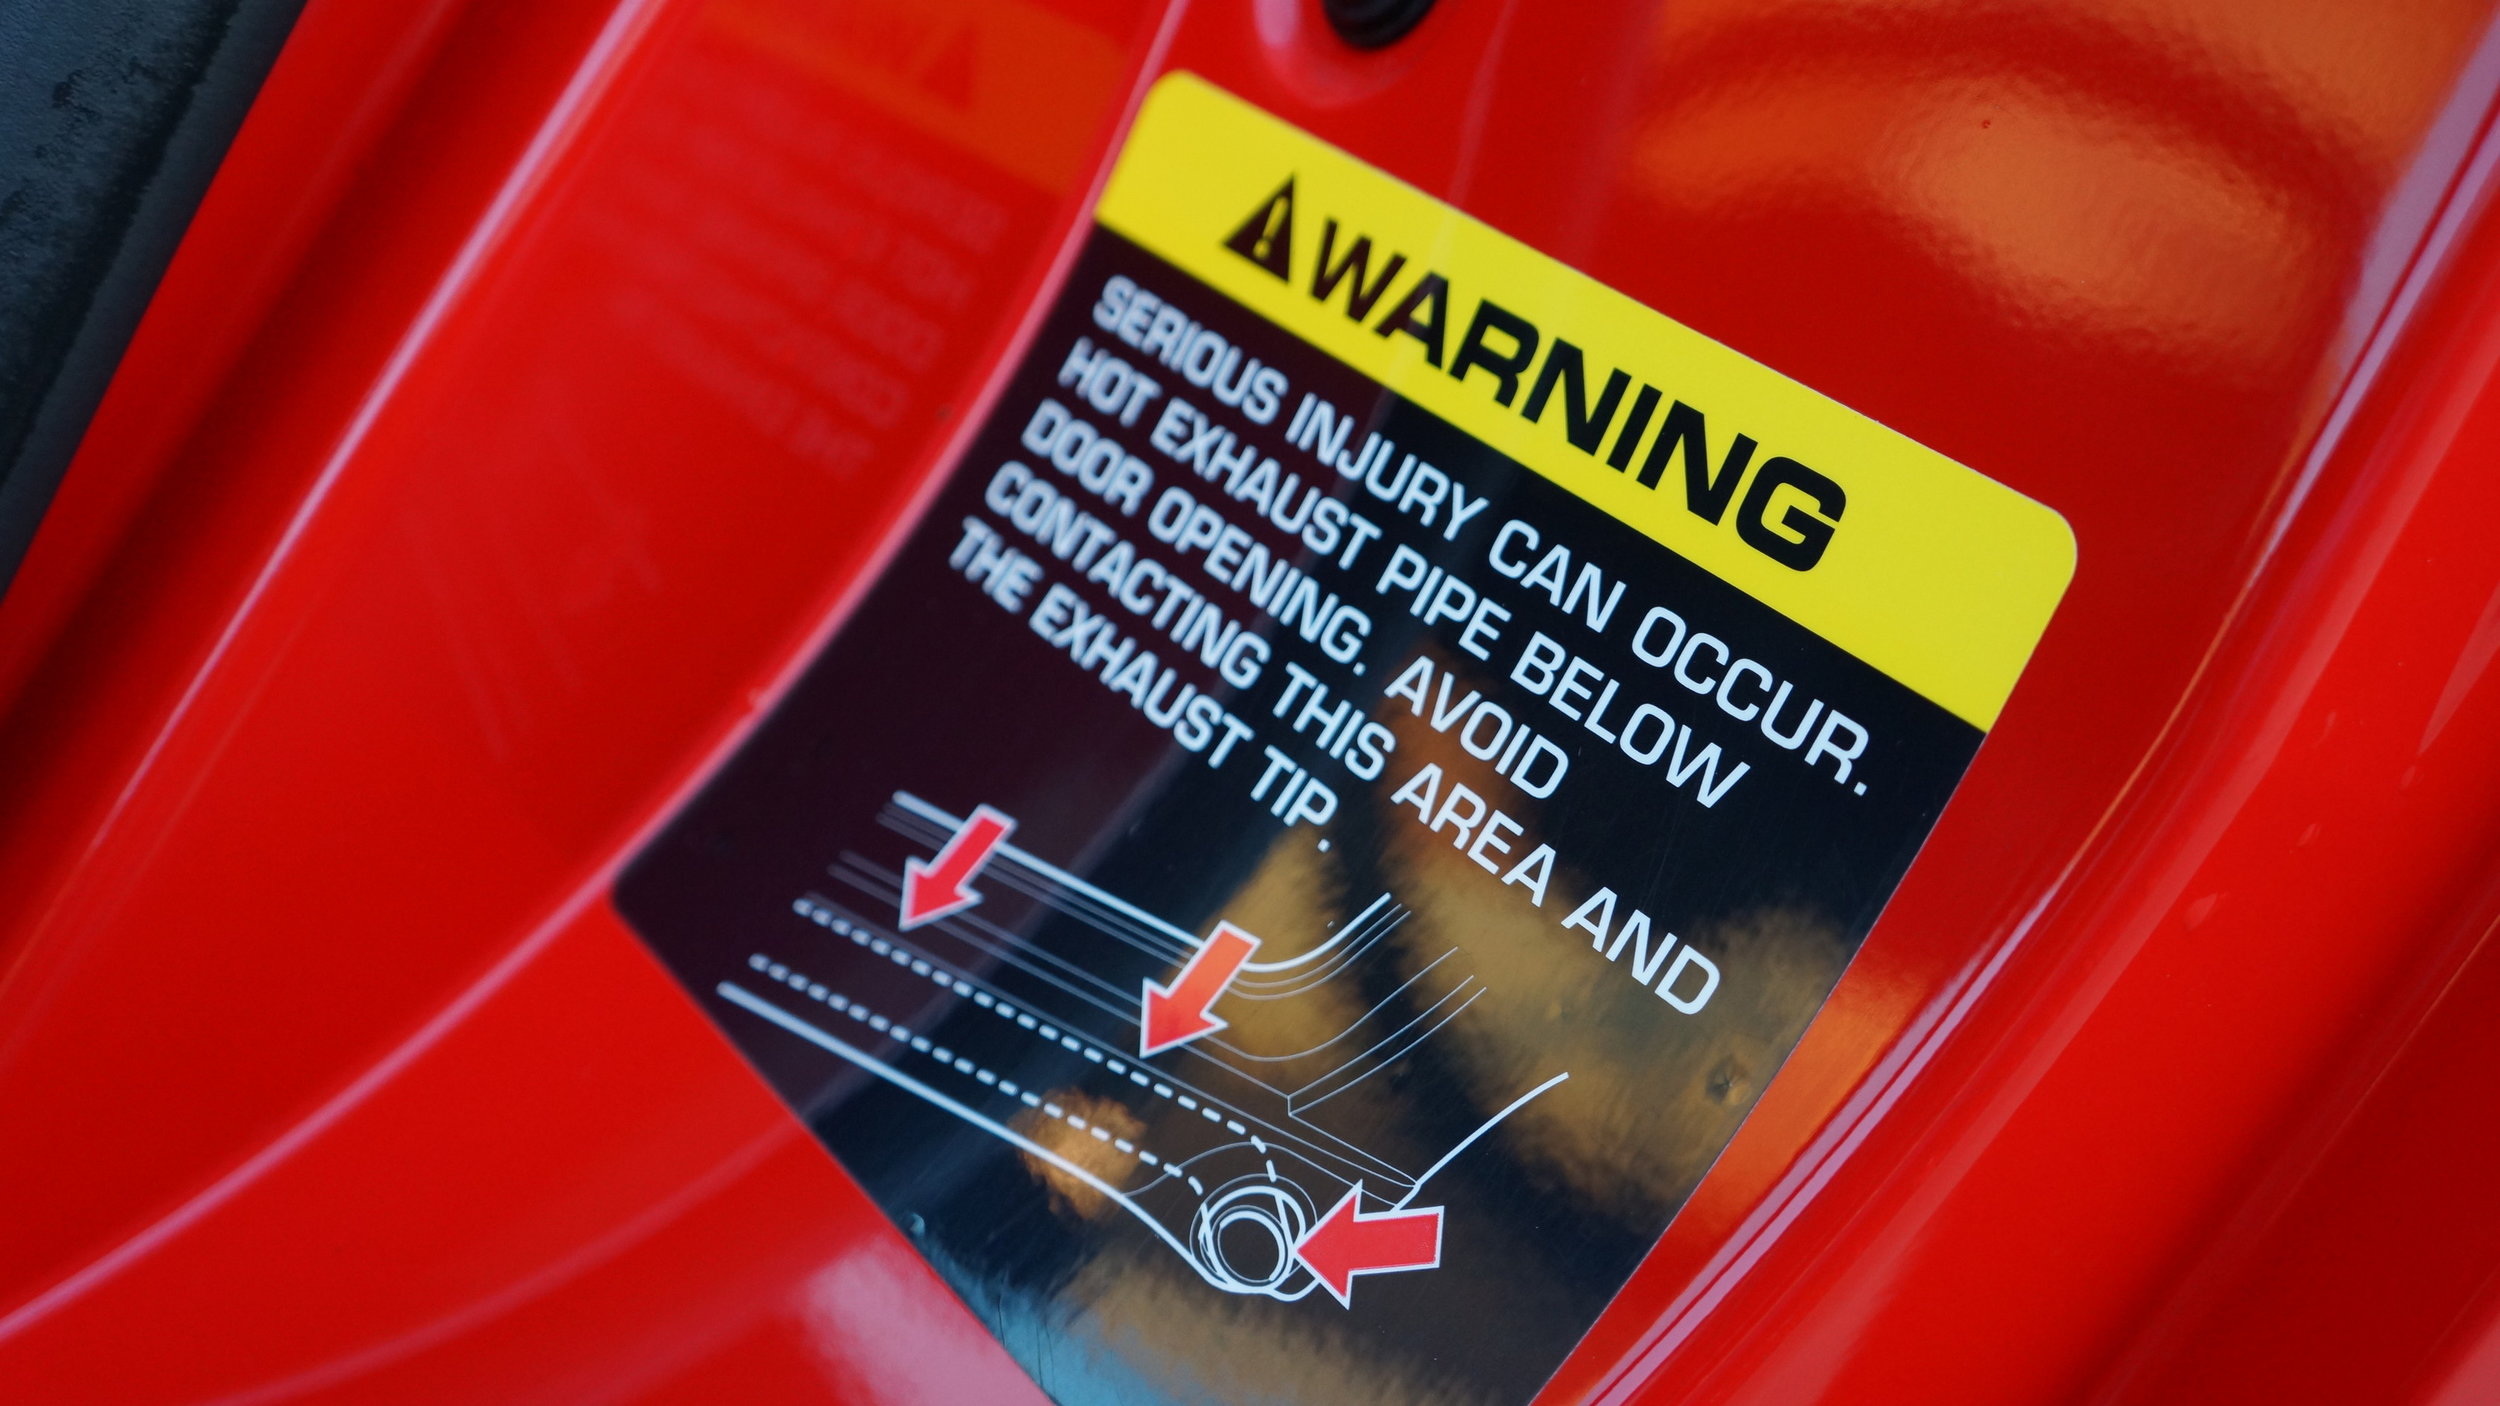
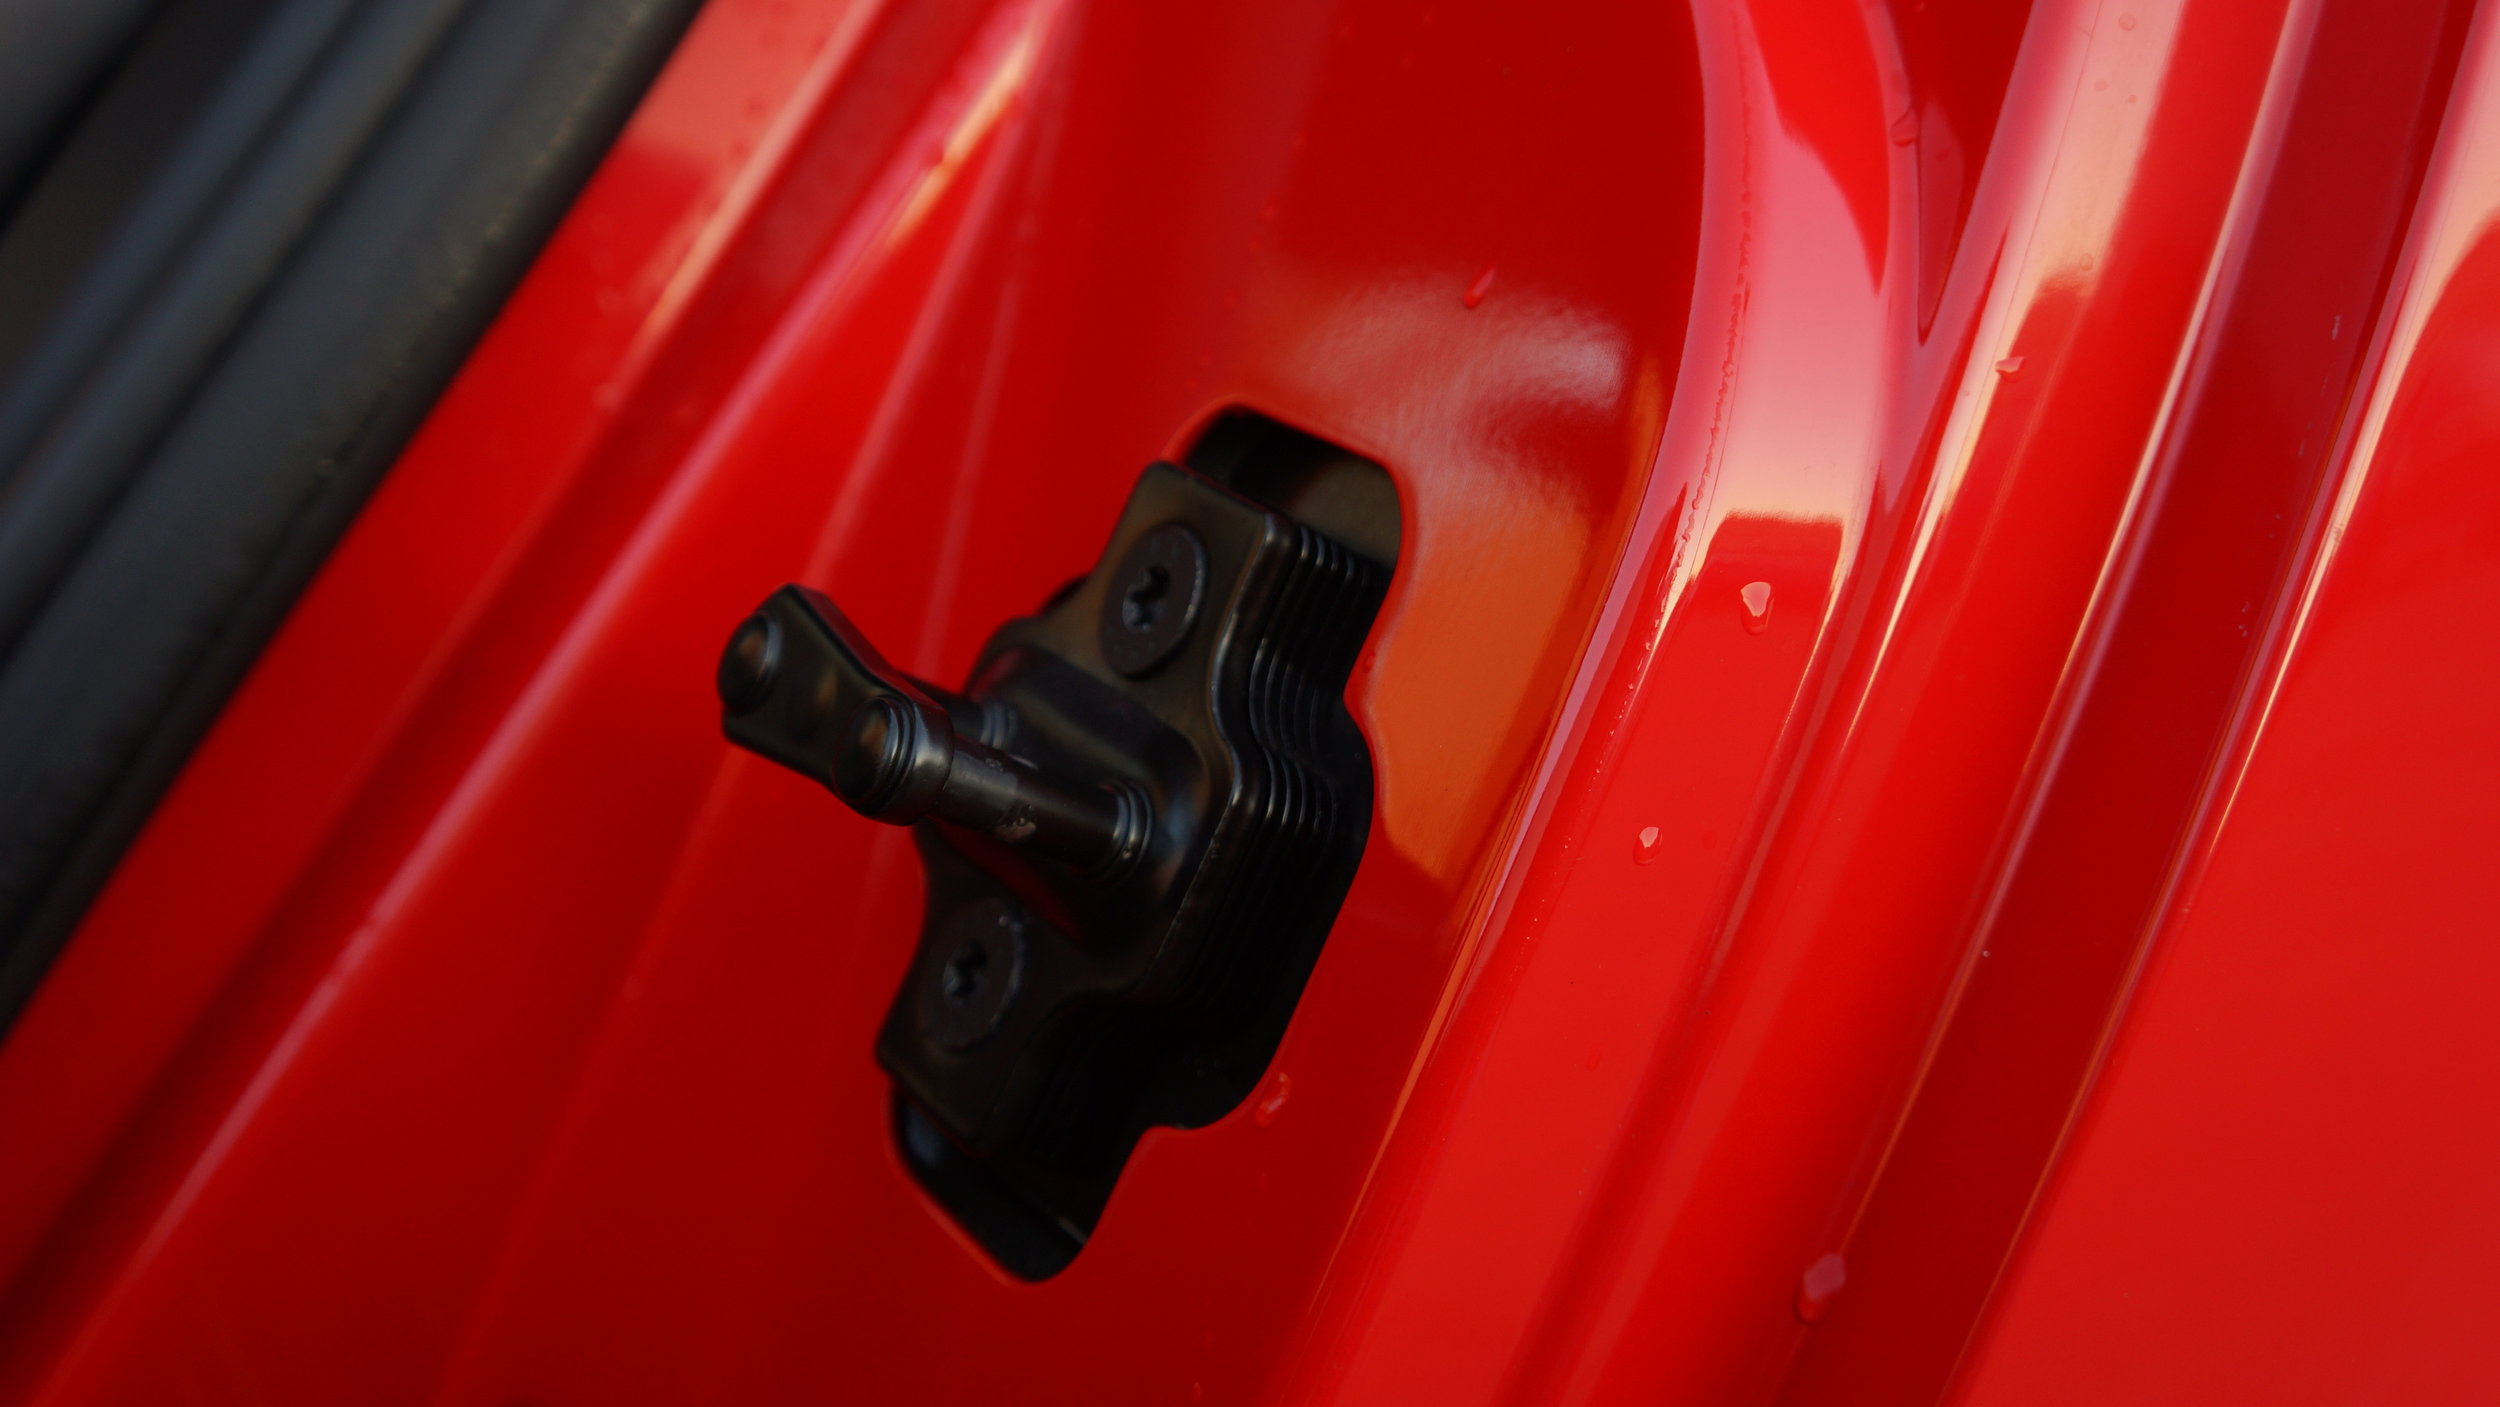
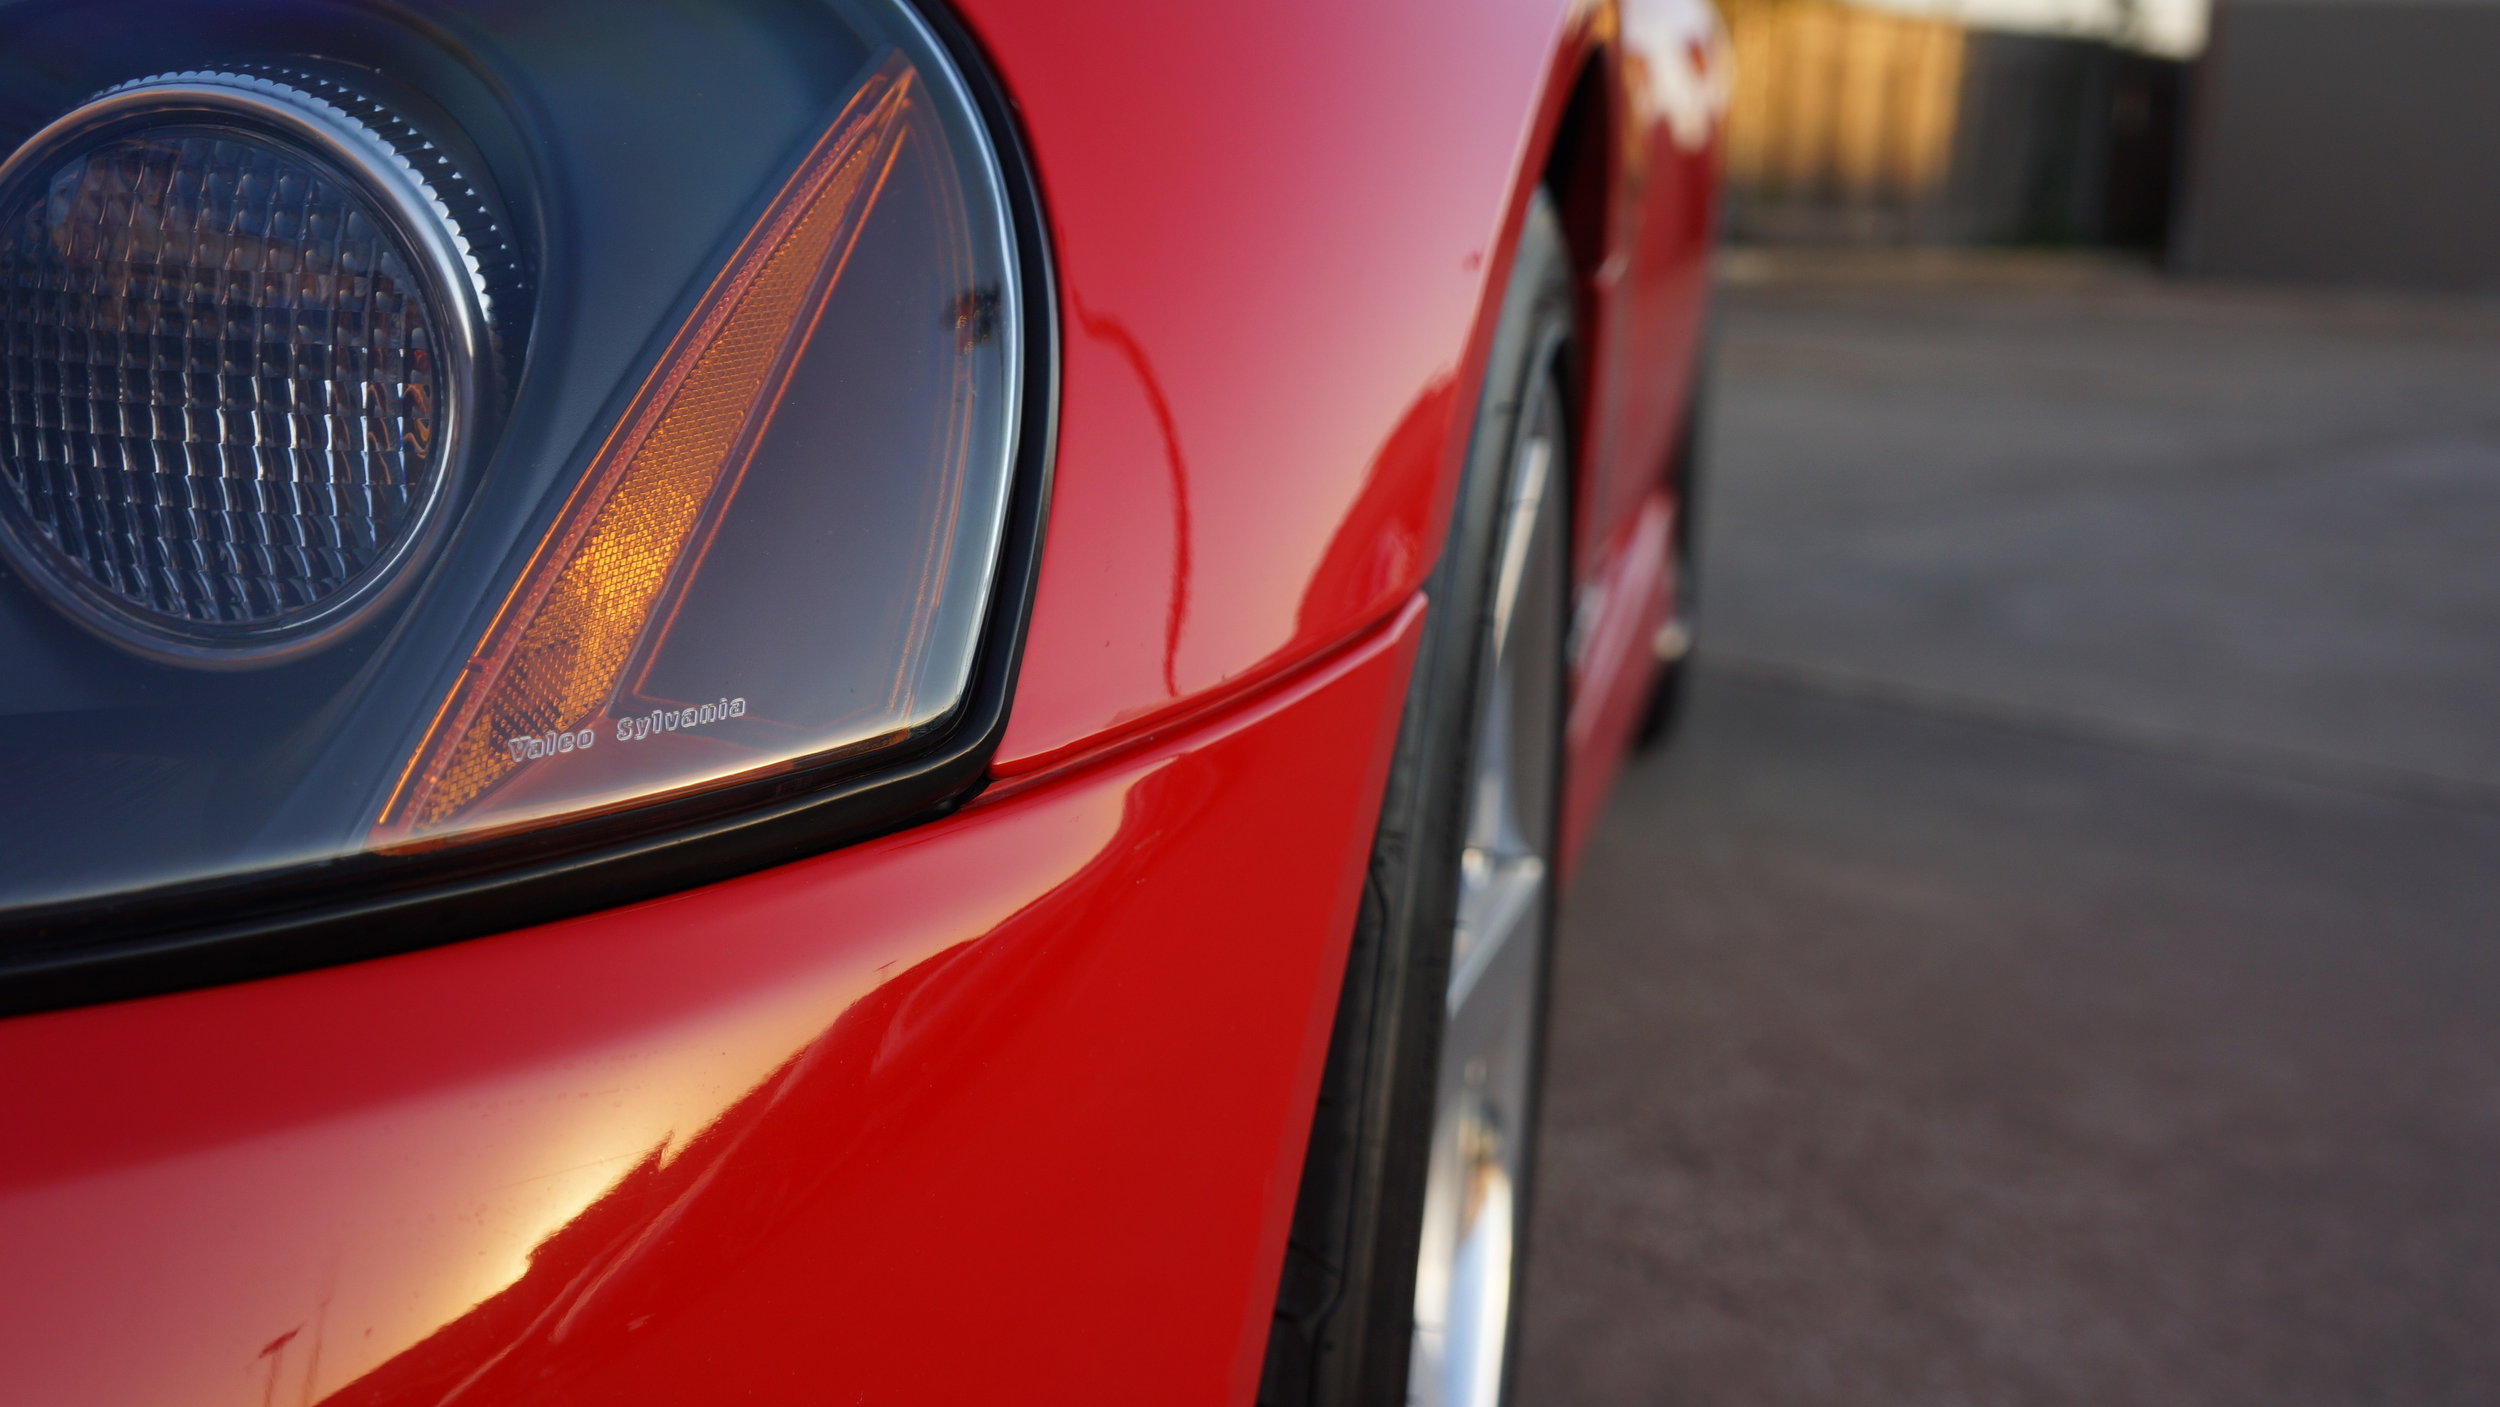
STEP 6: defects
Point out even the smallest defects ahead of time. This is extremely vital and shows your honesty, along with building confidence and trust in the buyer. Not doing so will only result in them asking about them anyways.

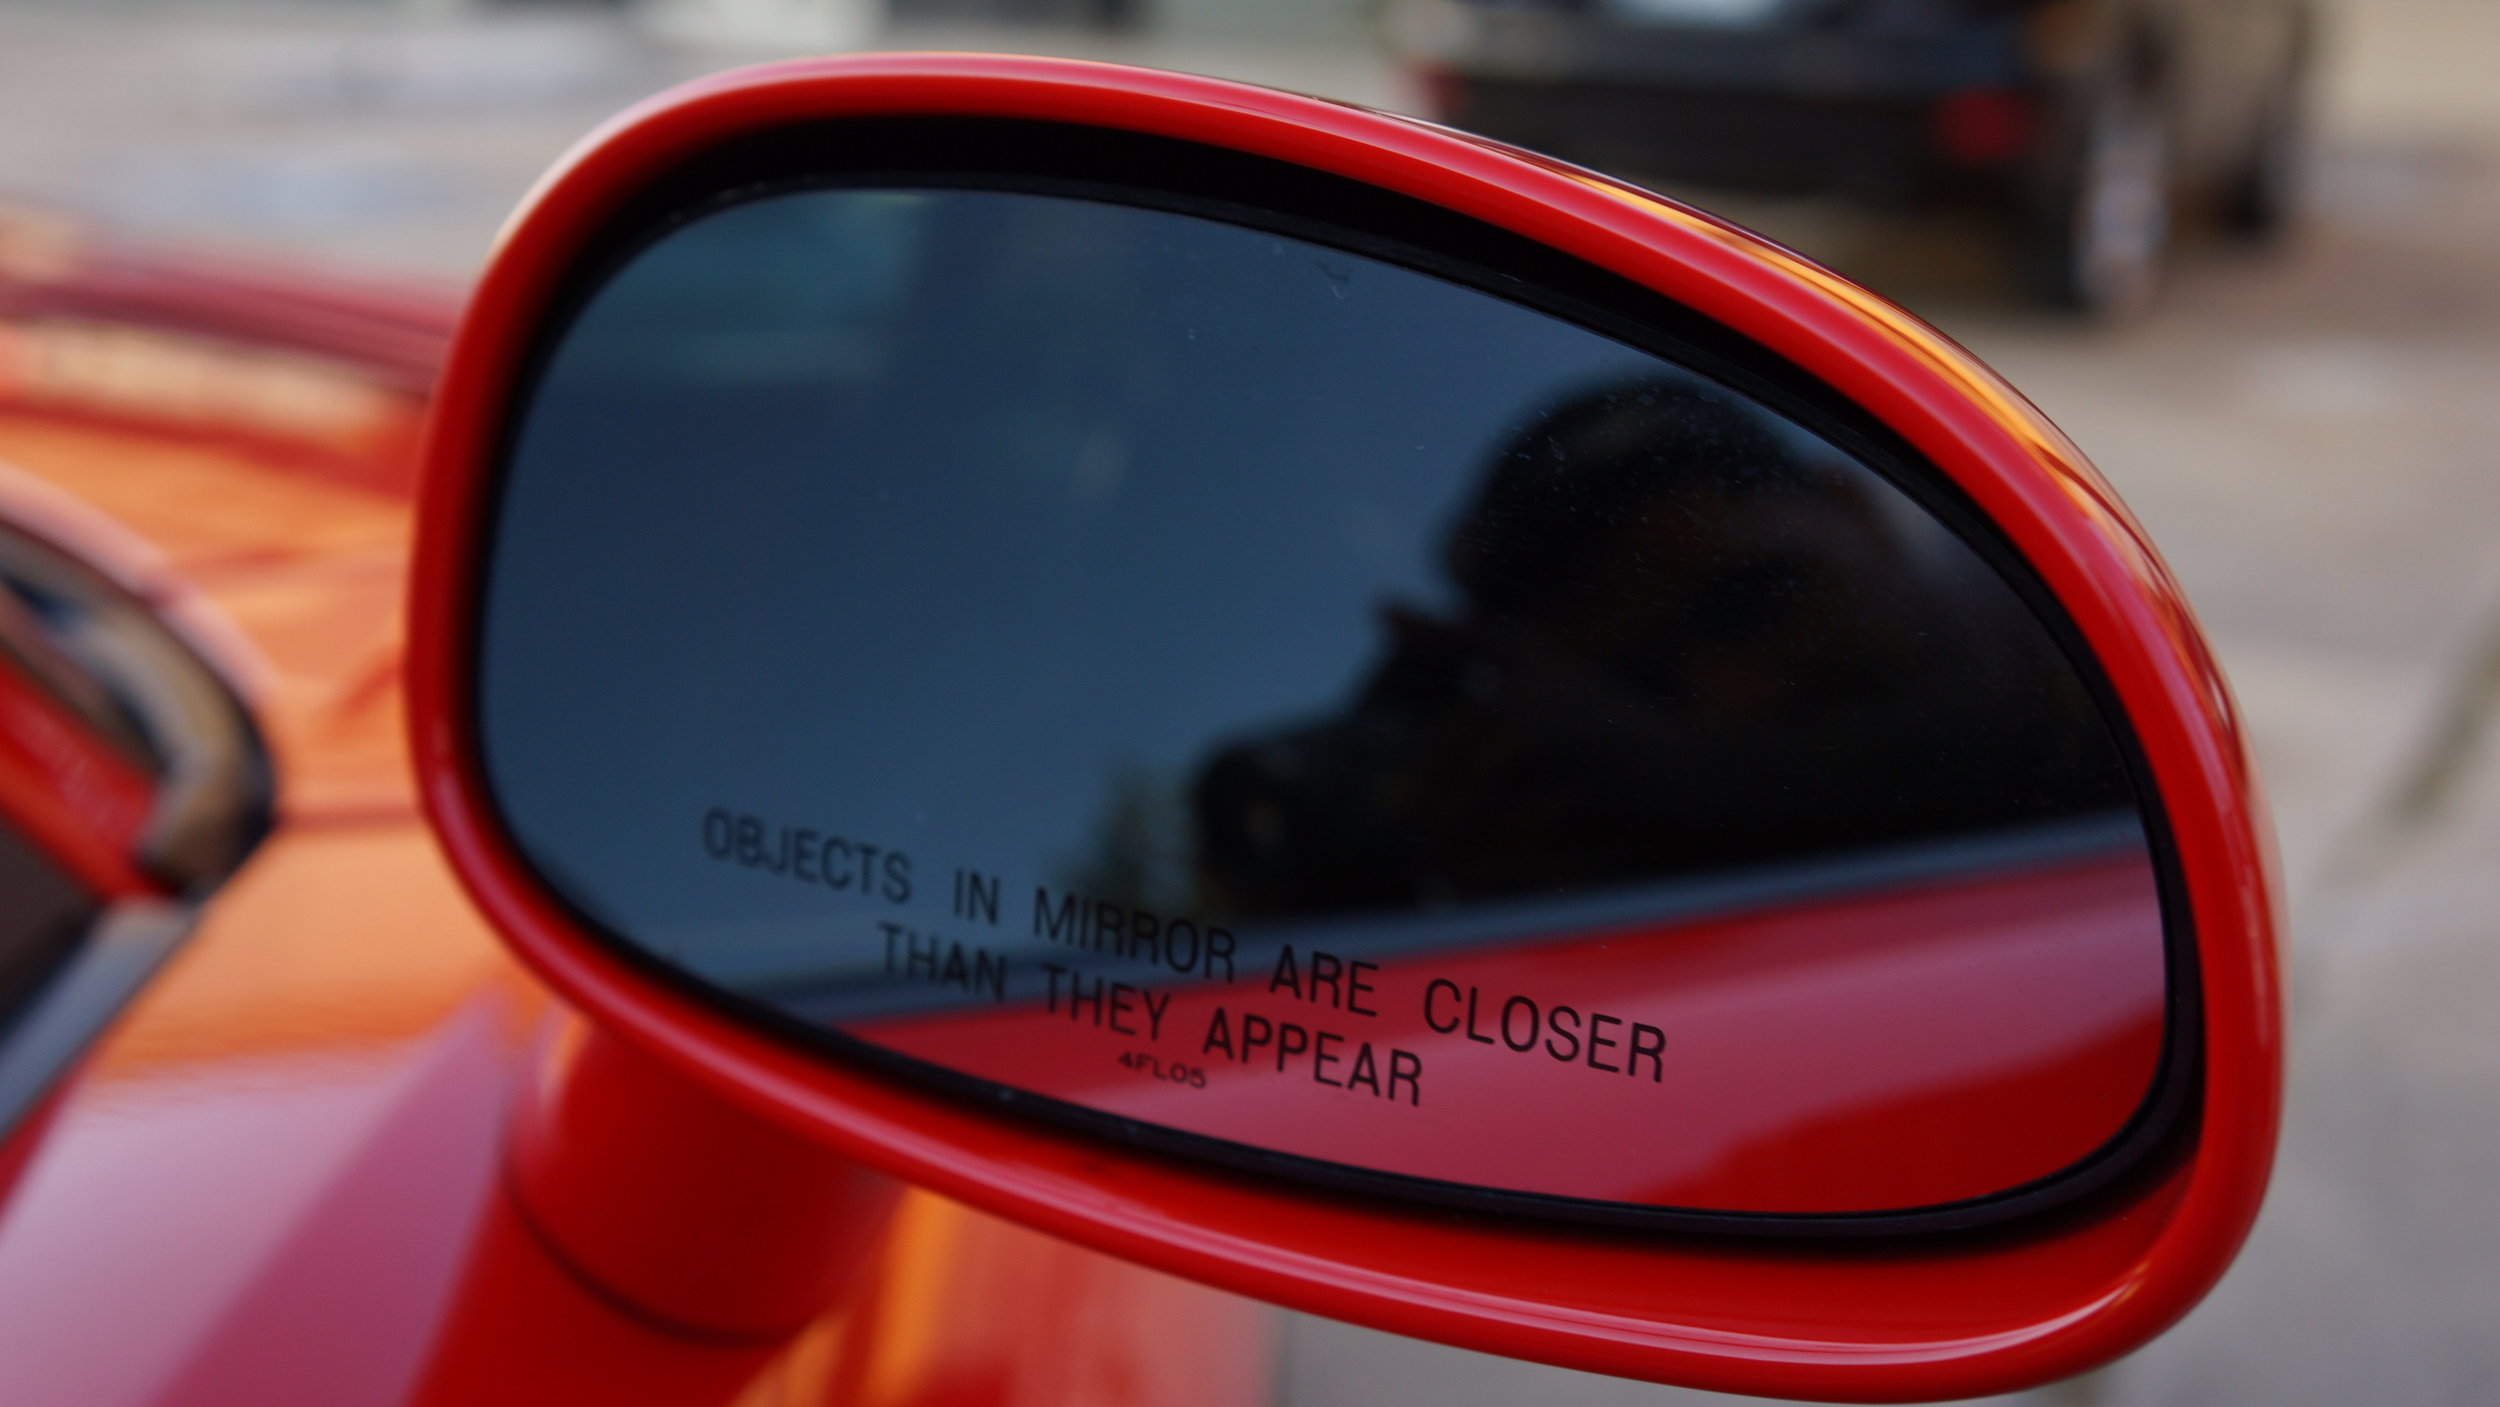
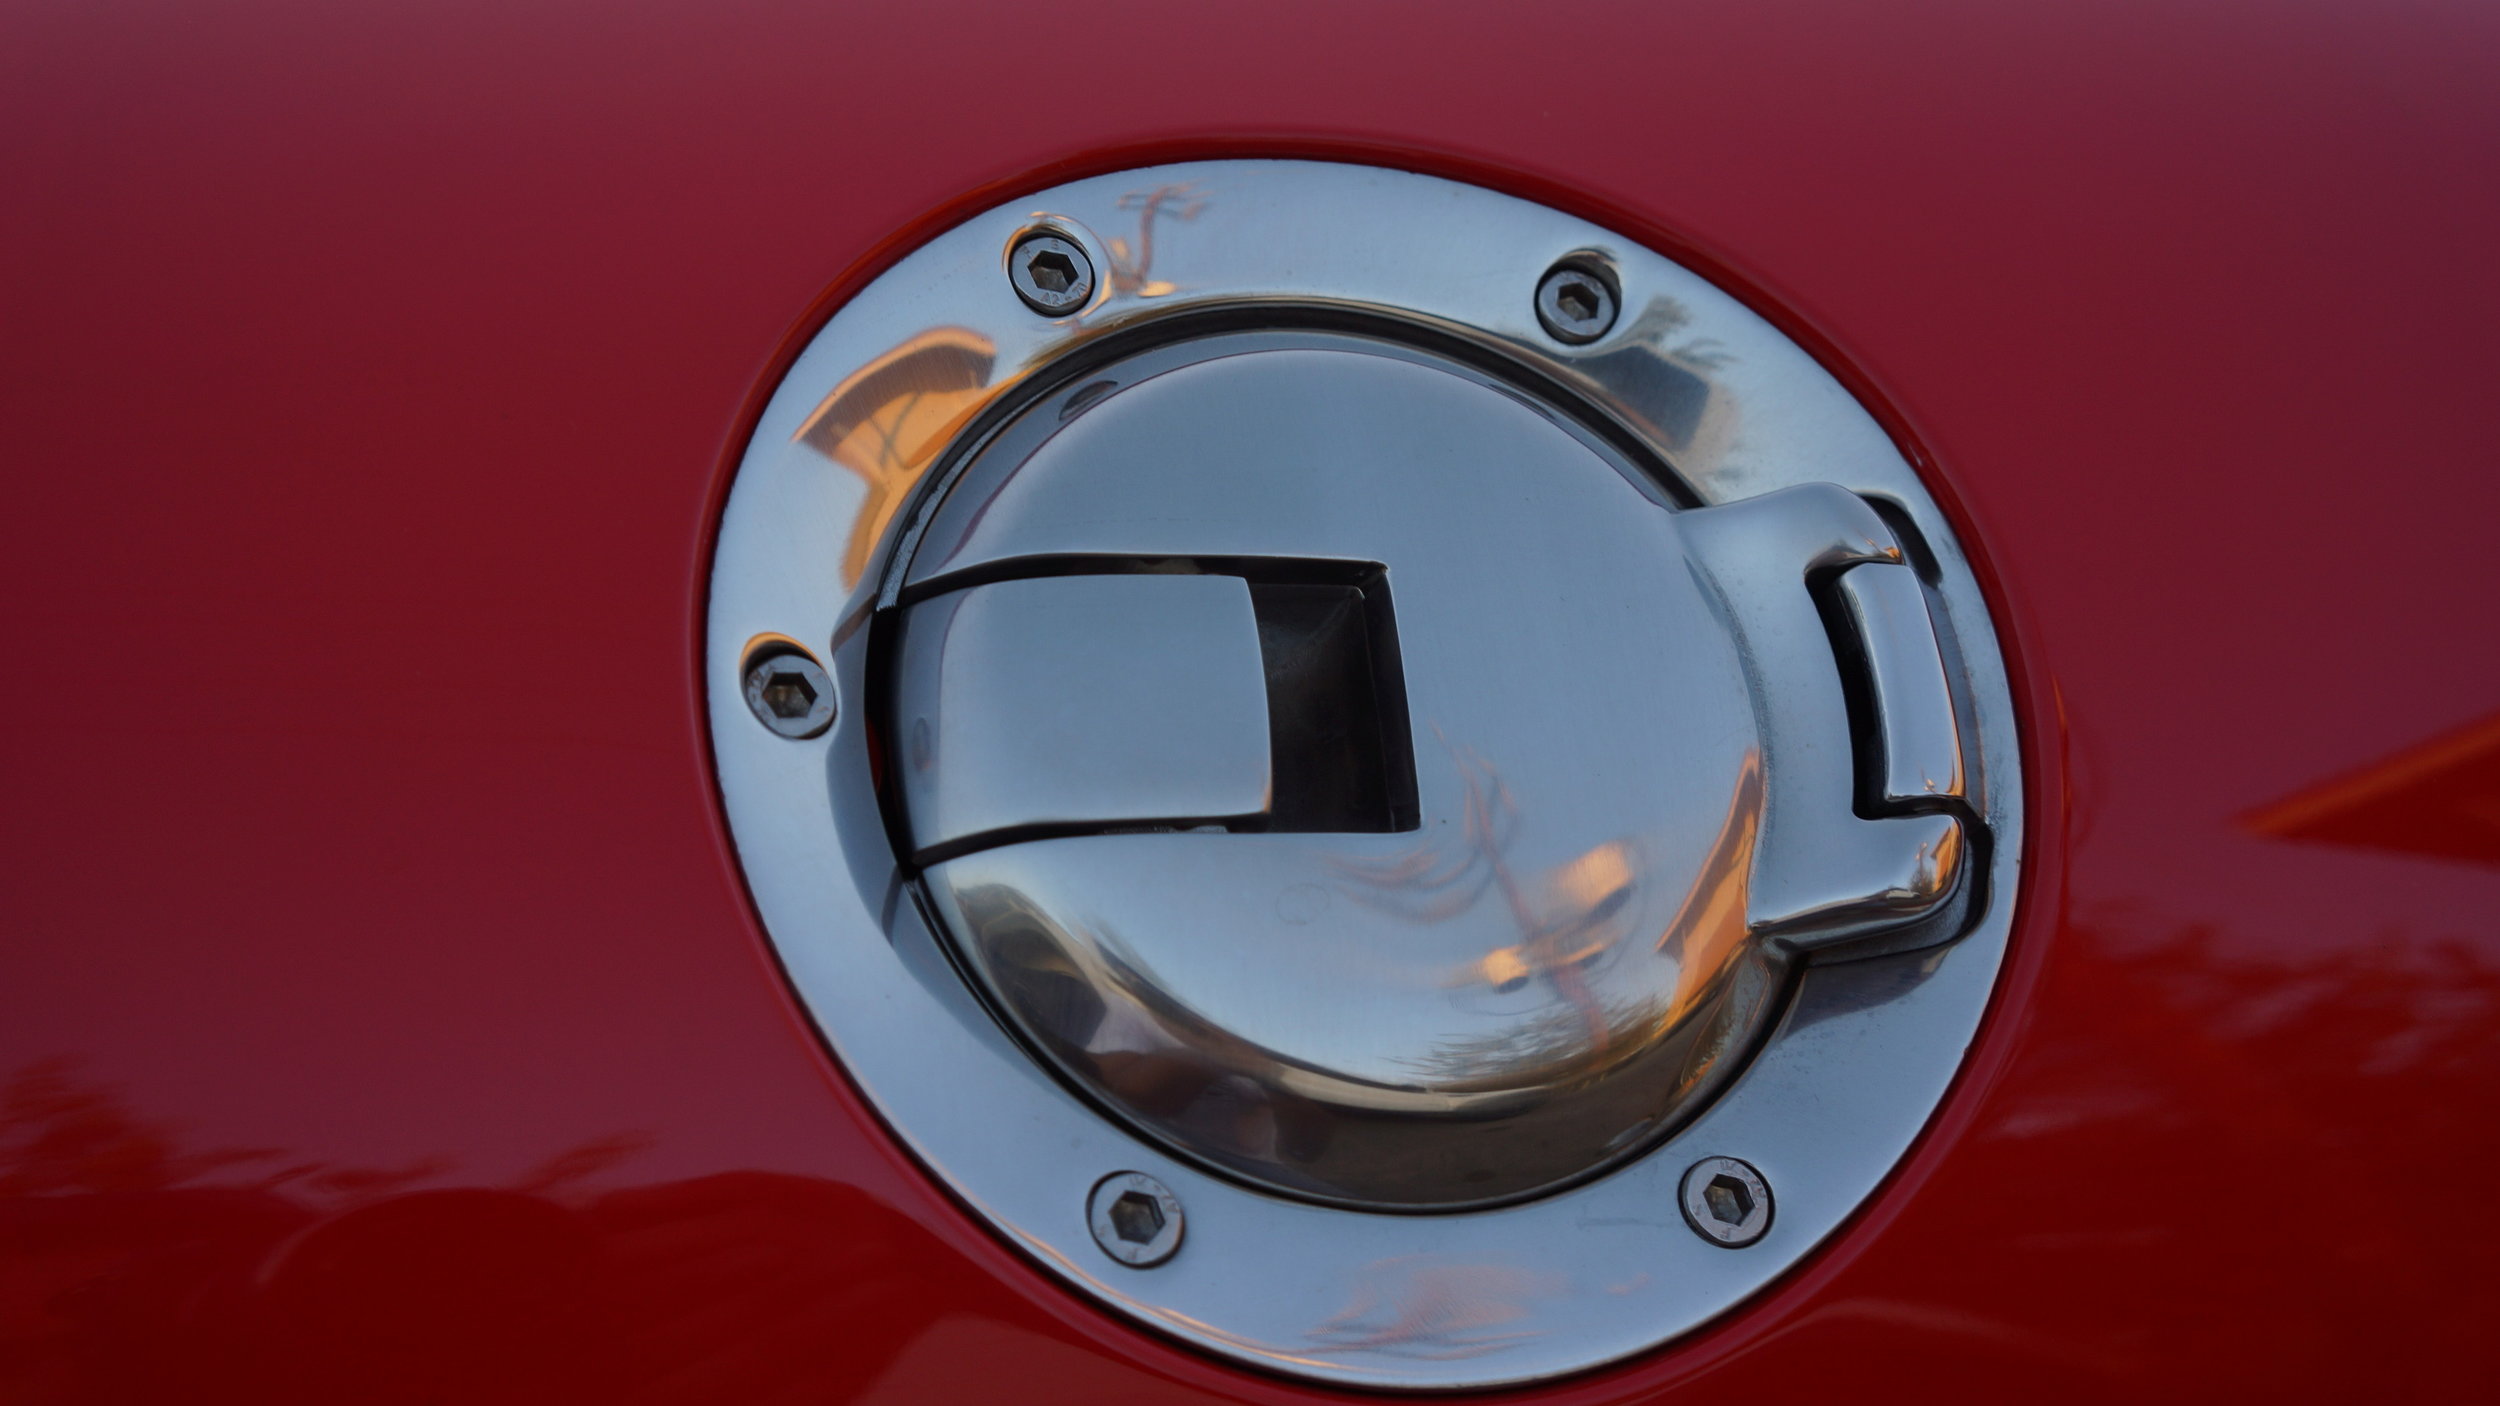
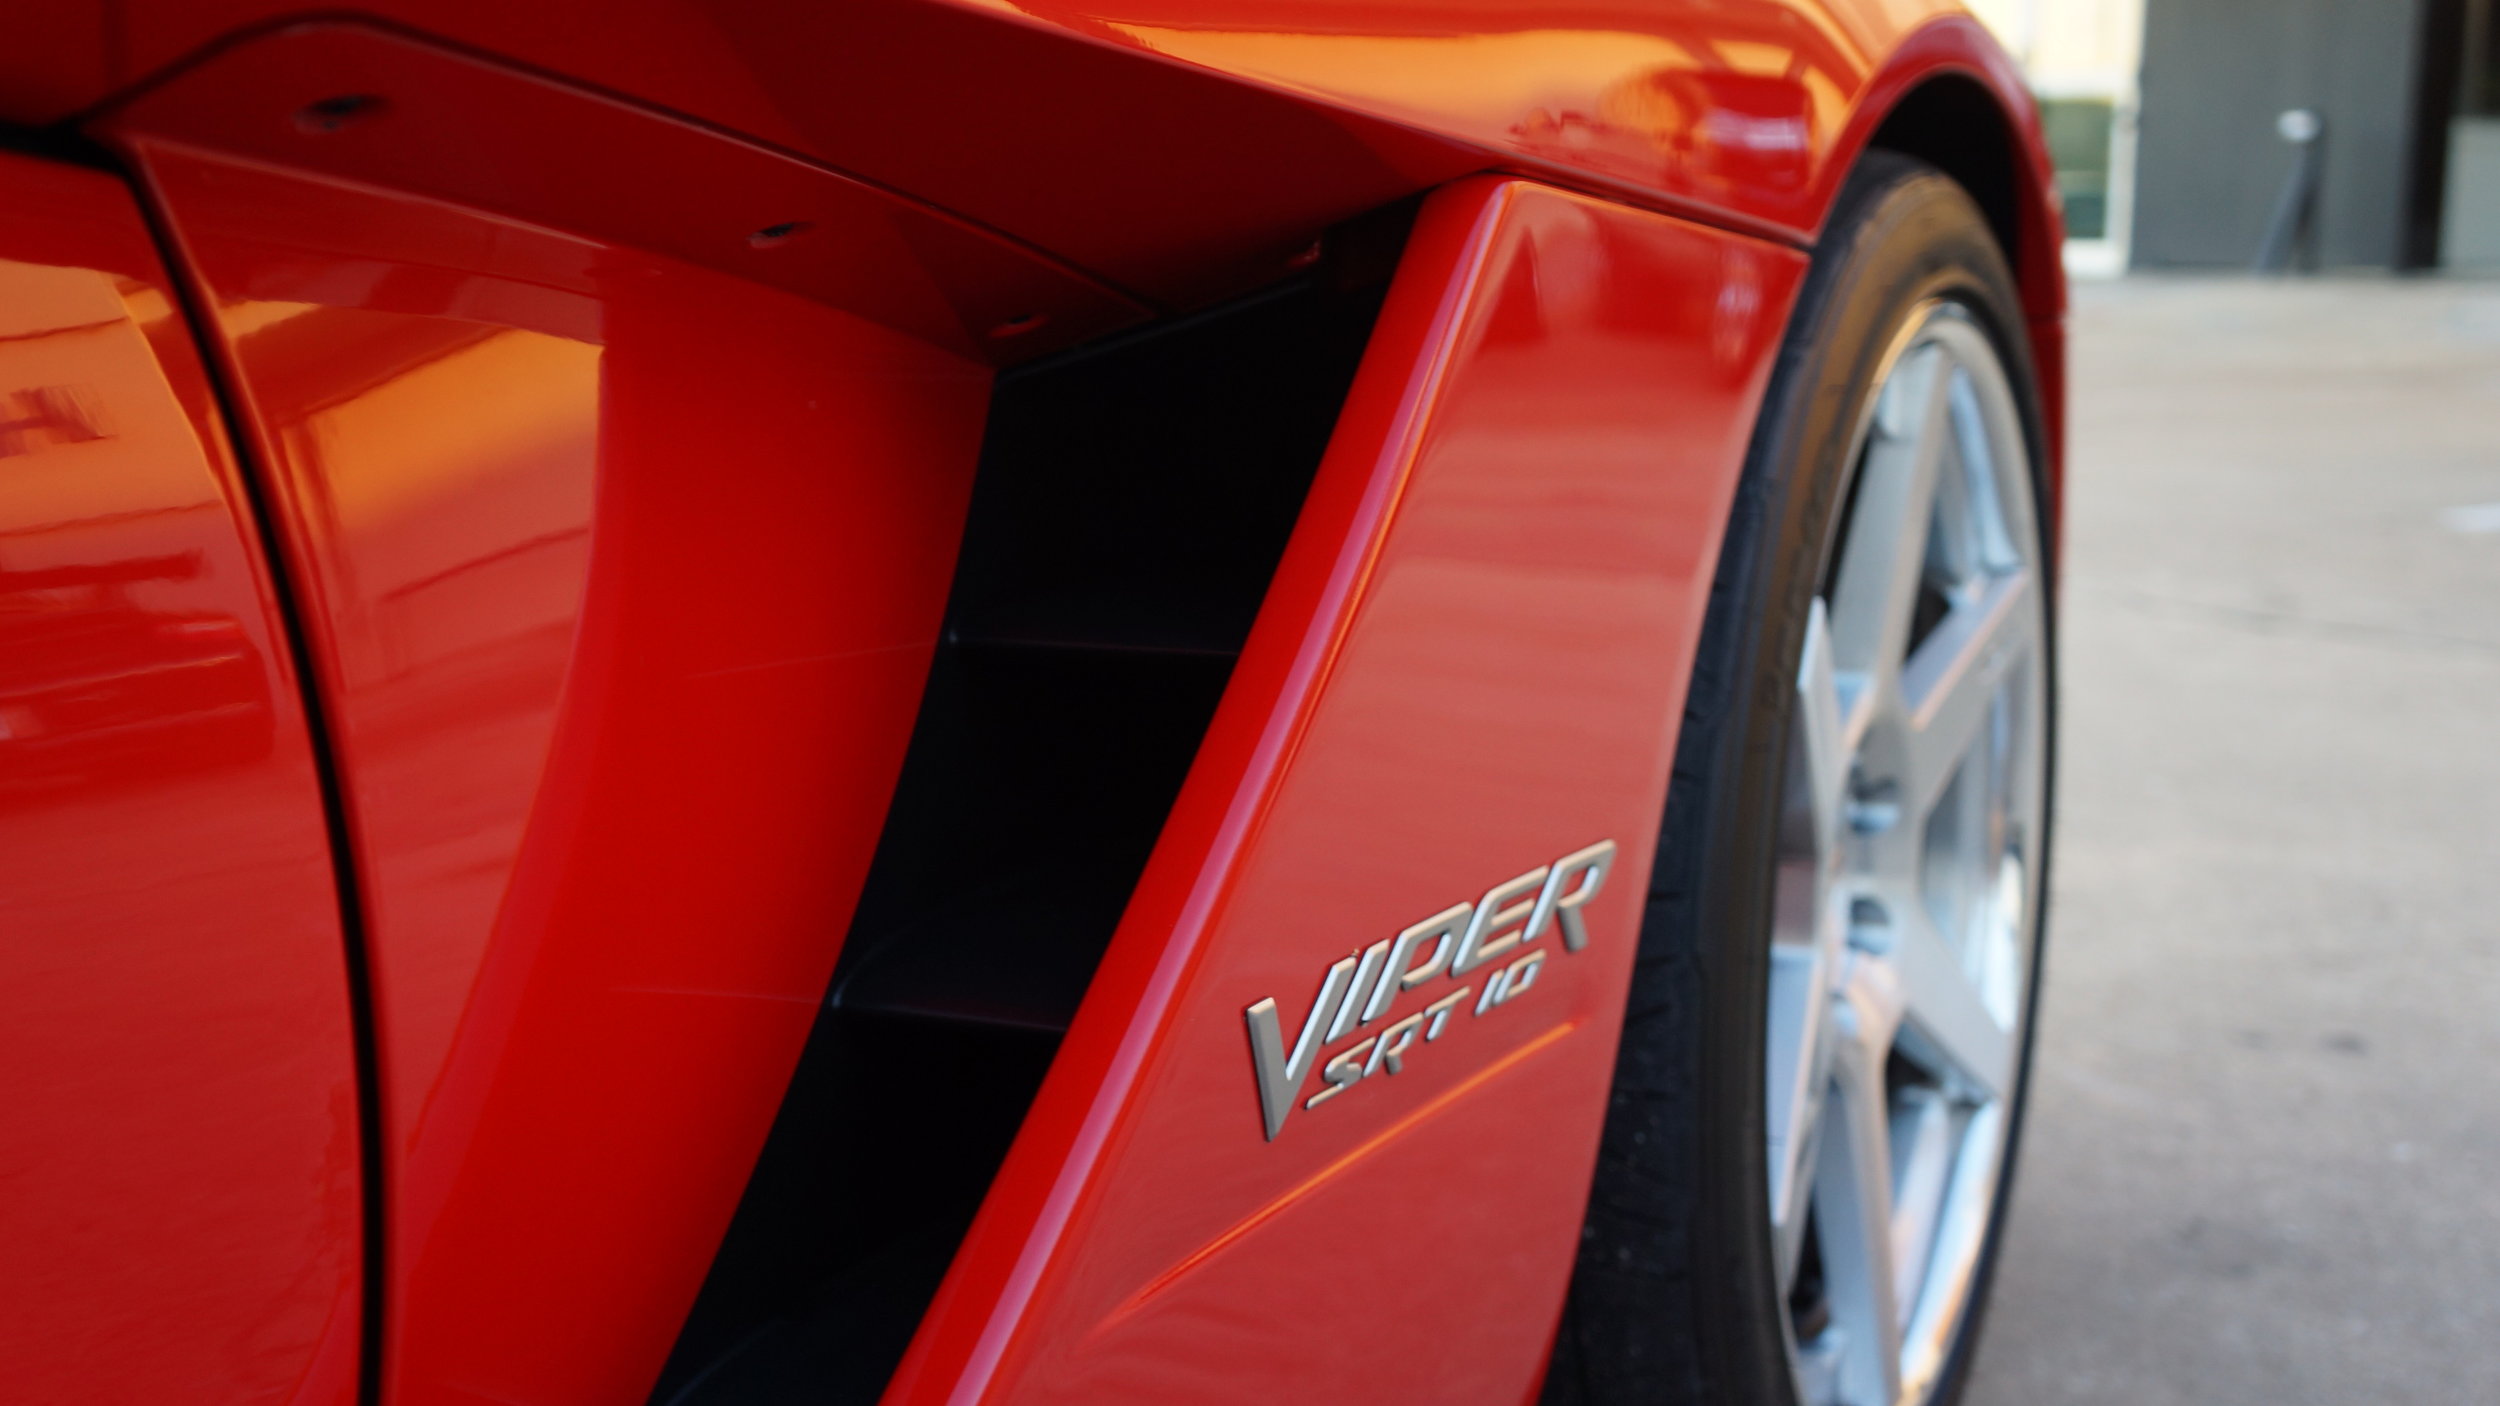
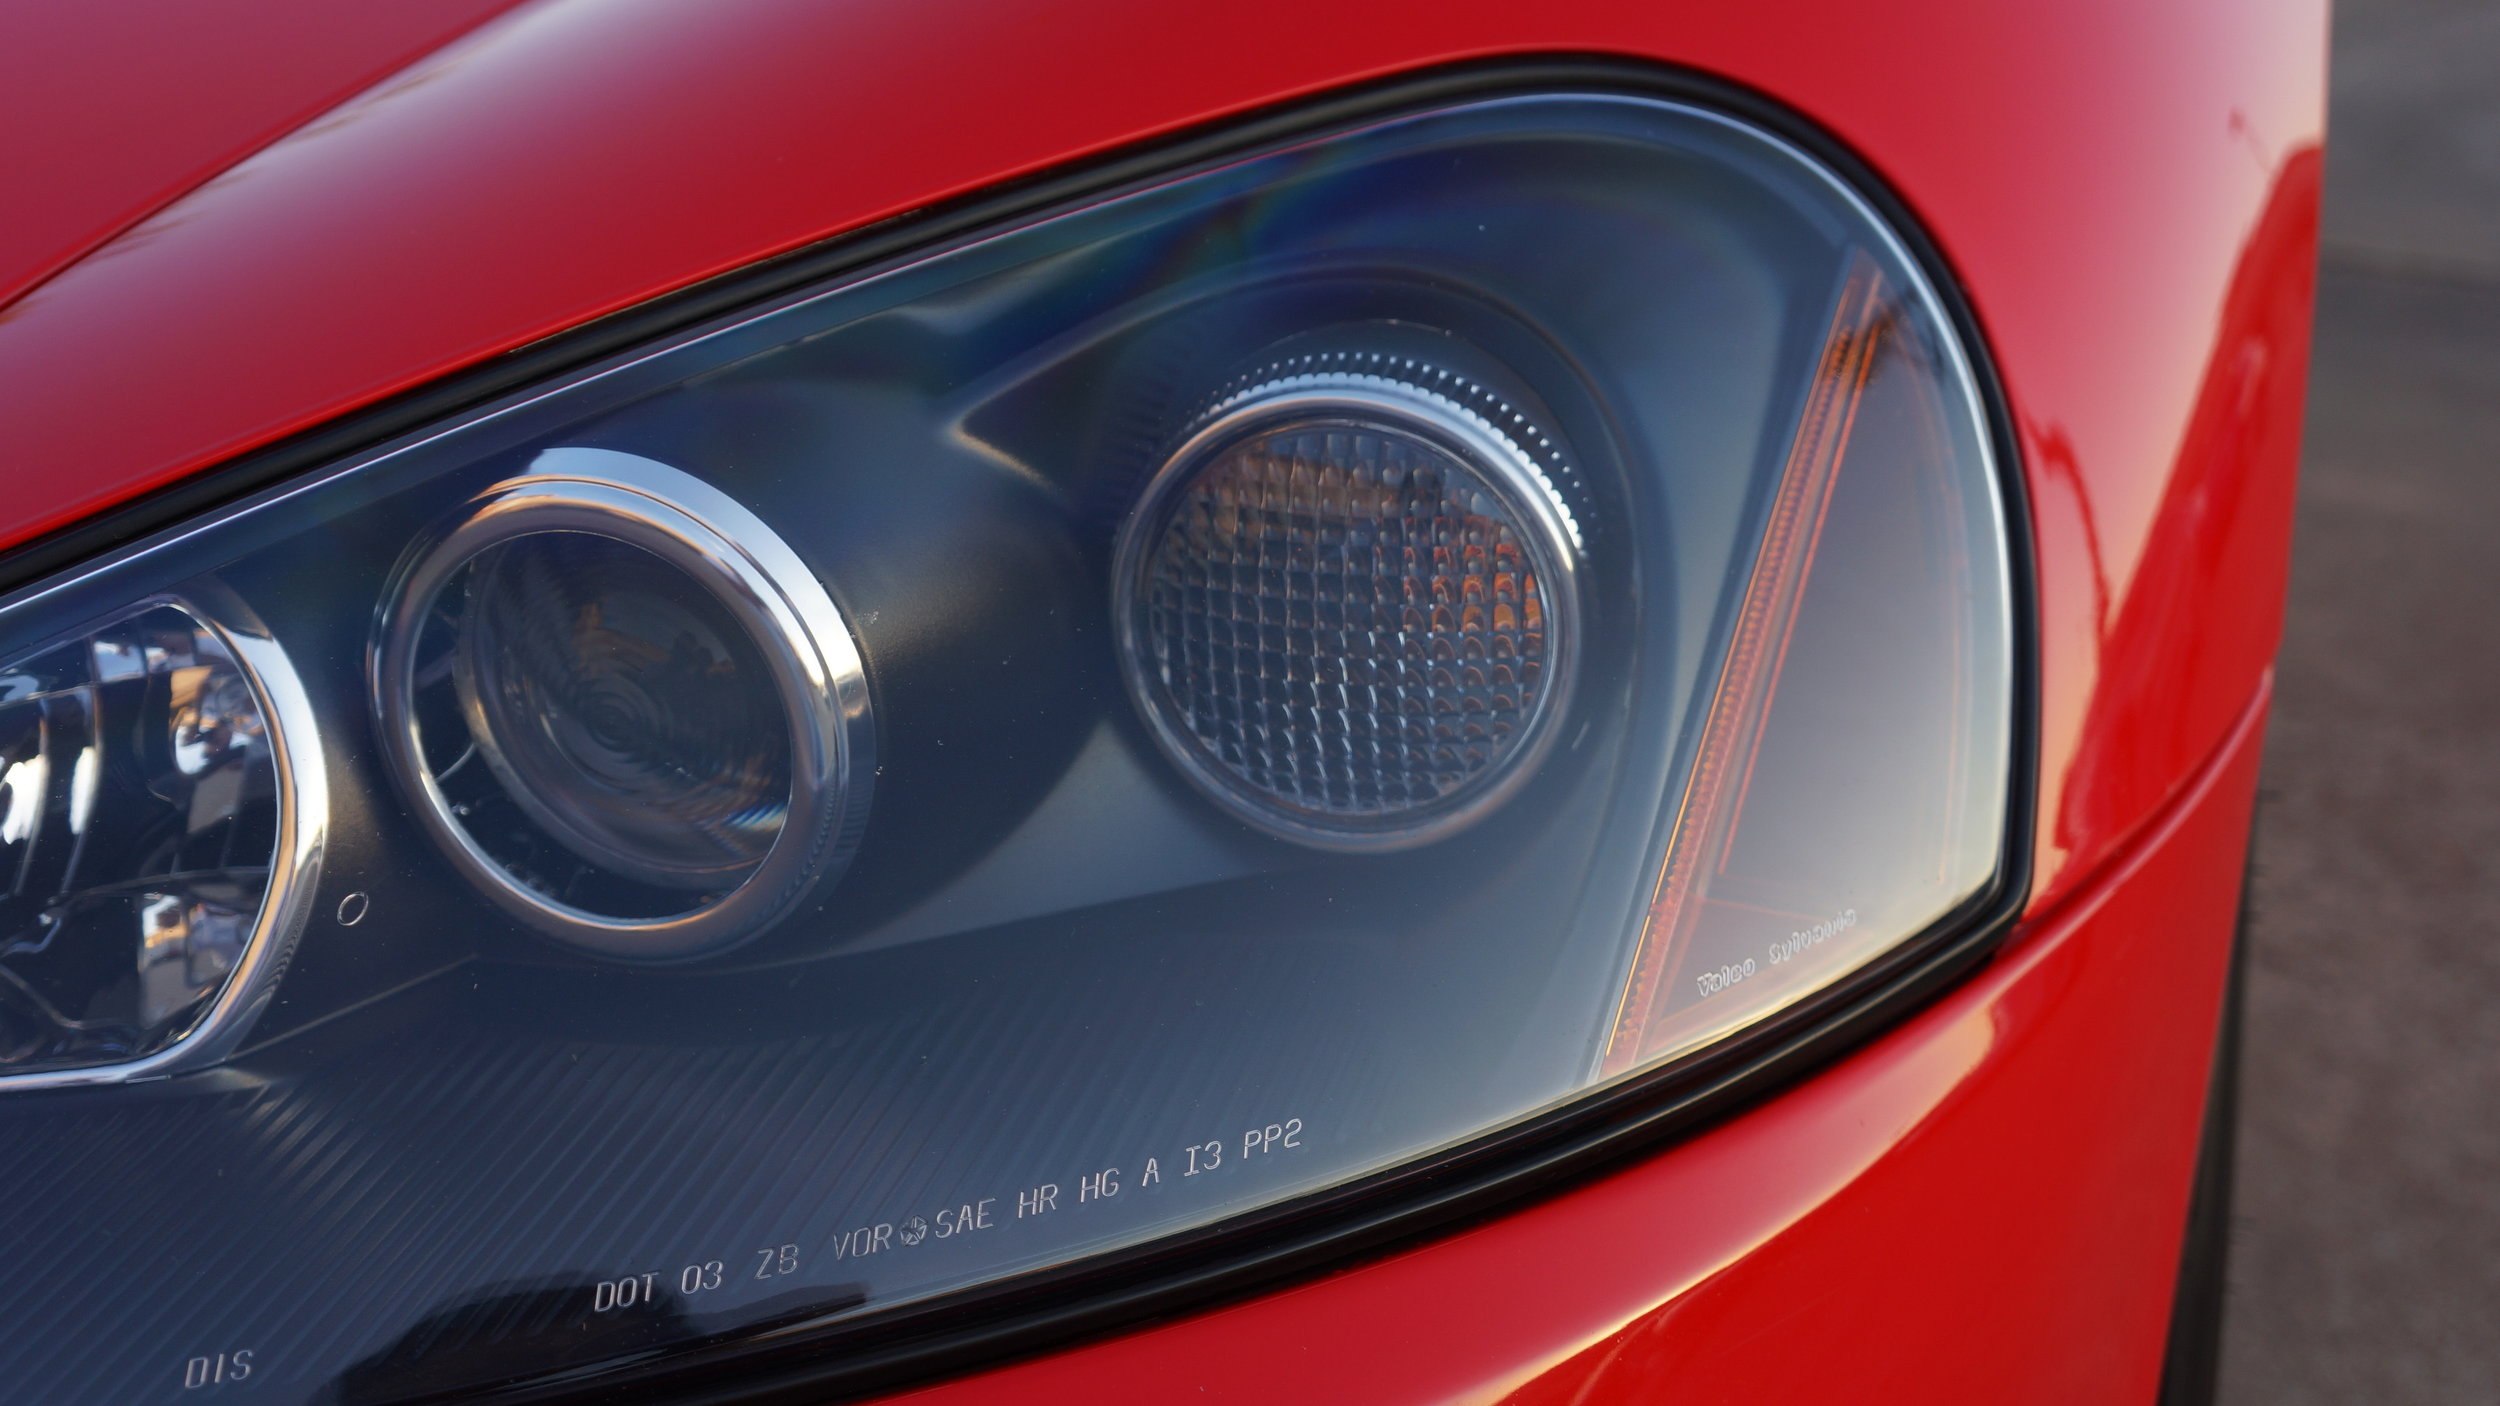
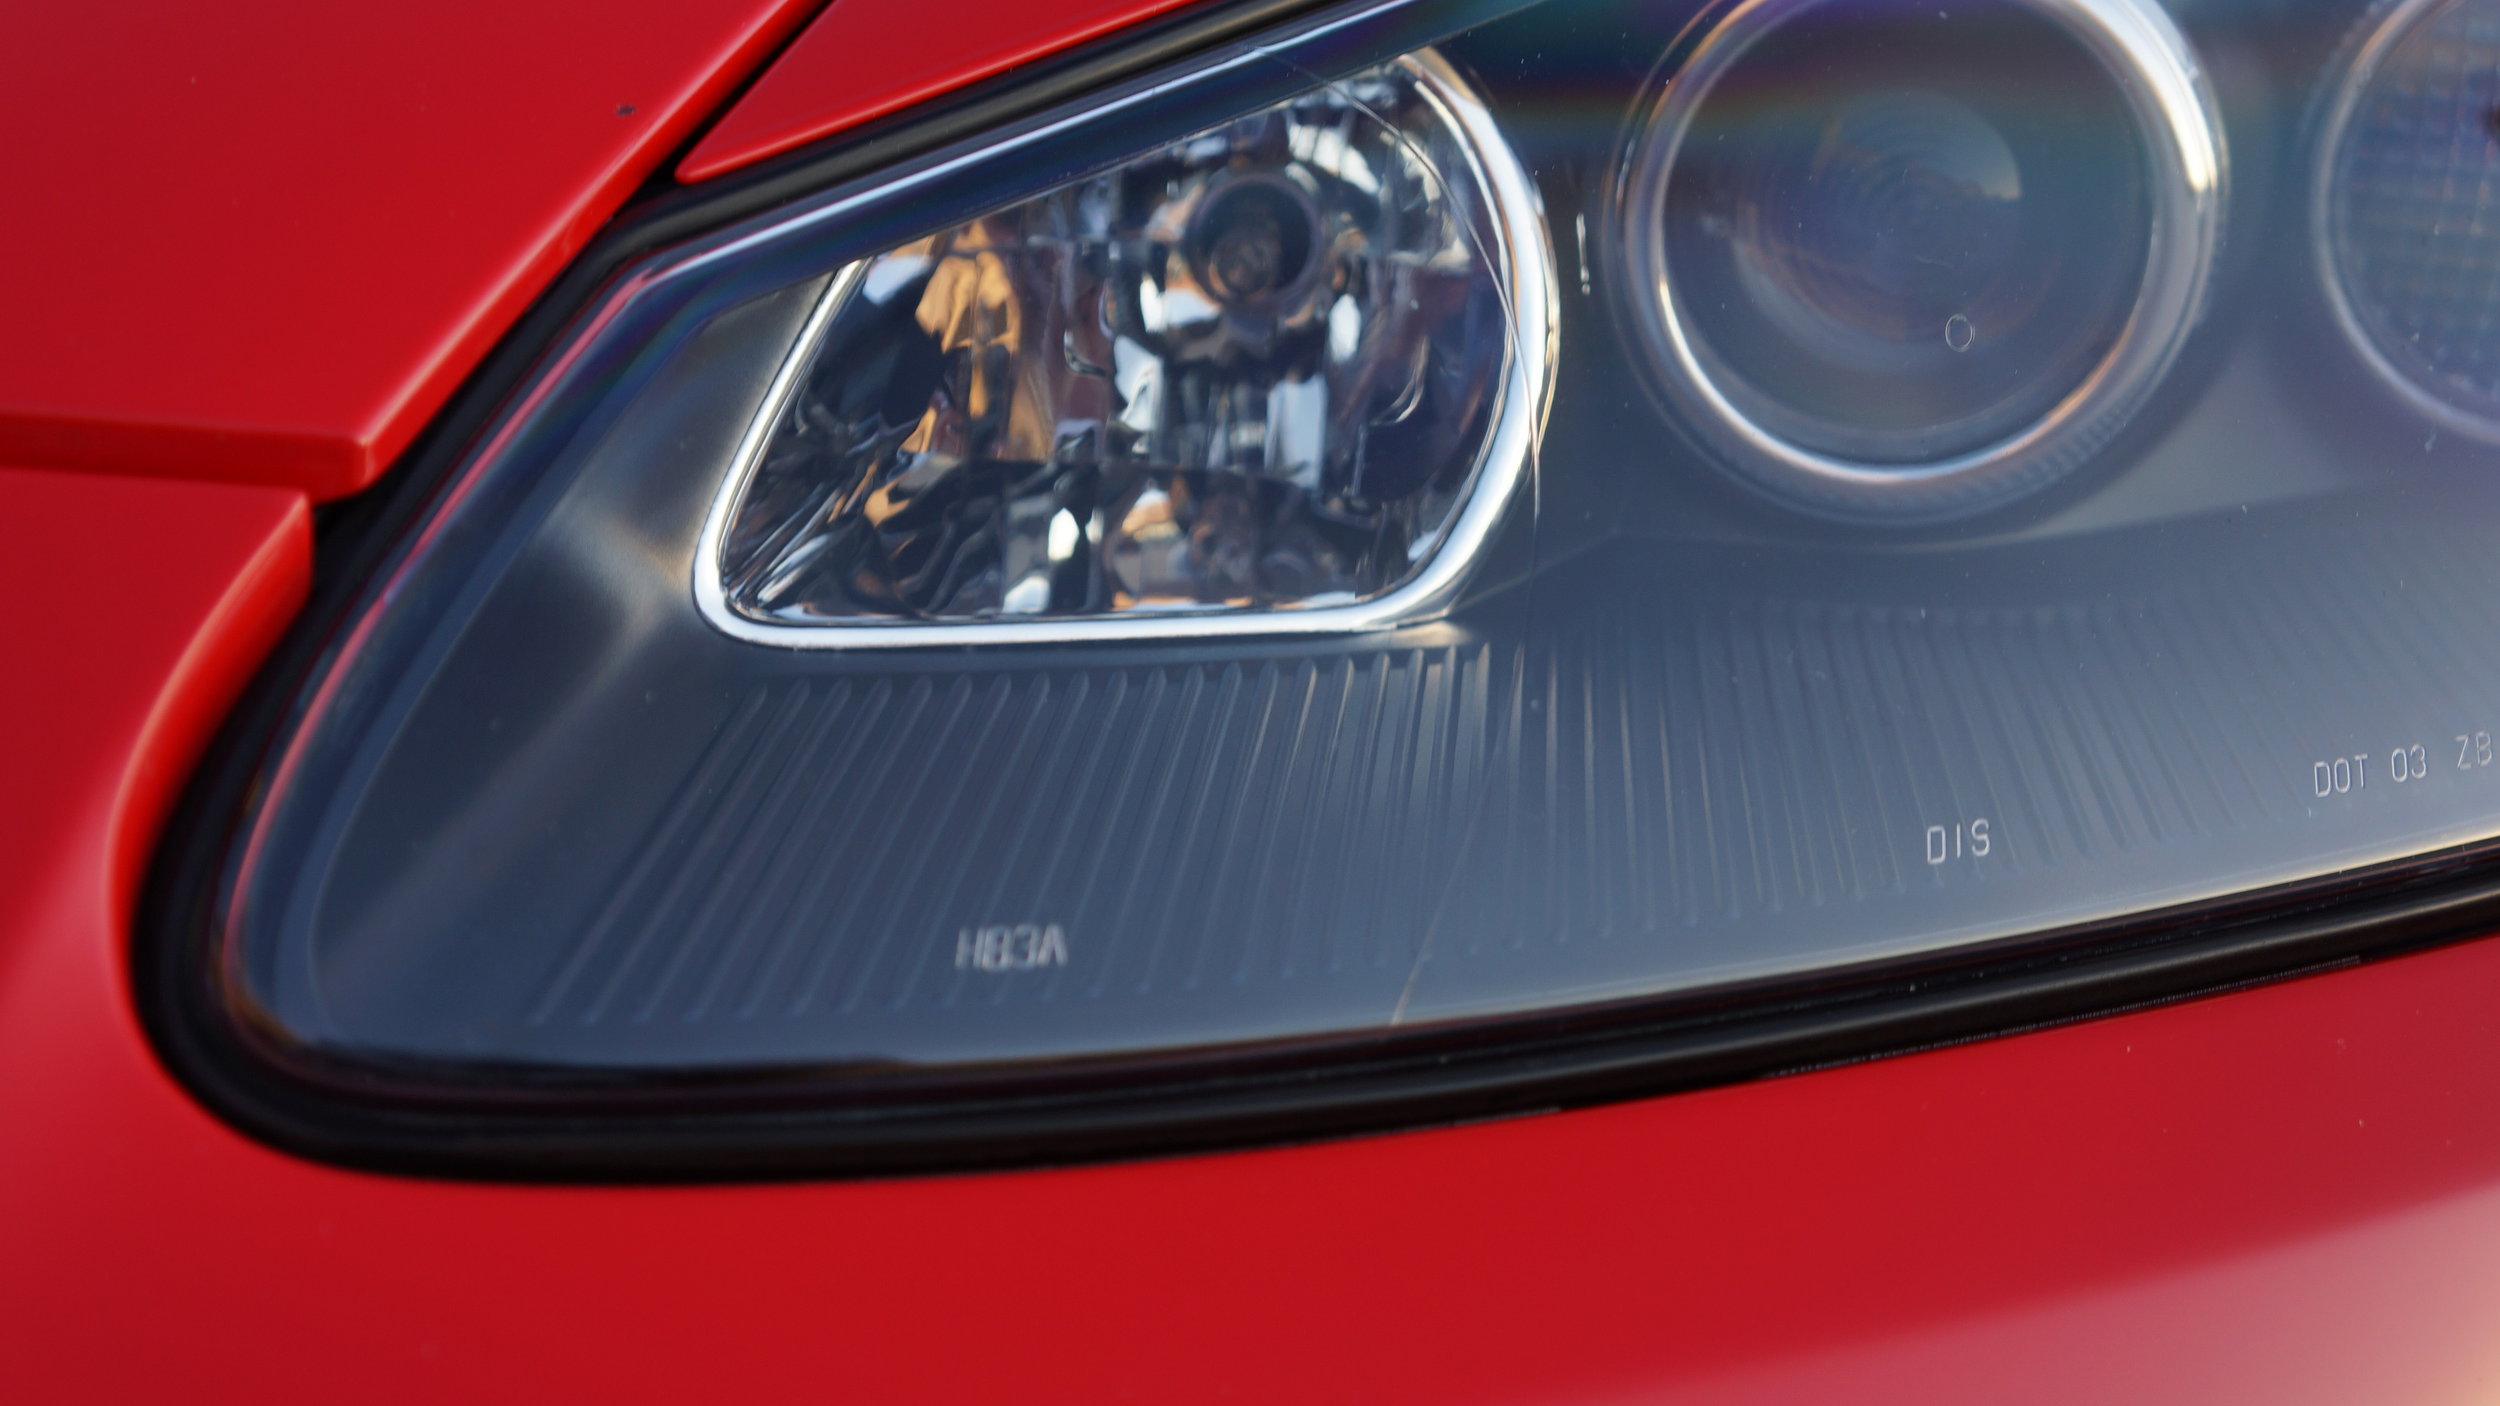
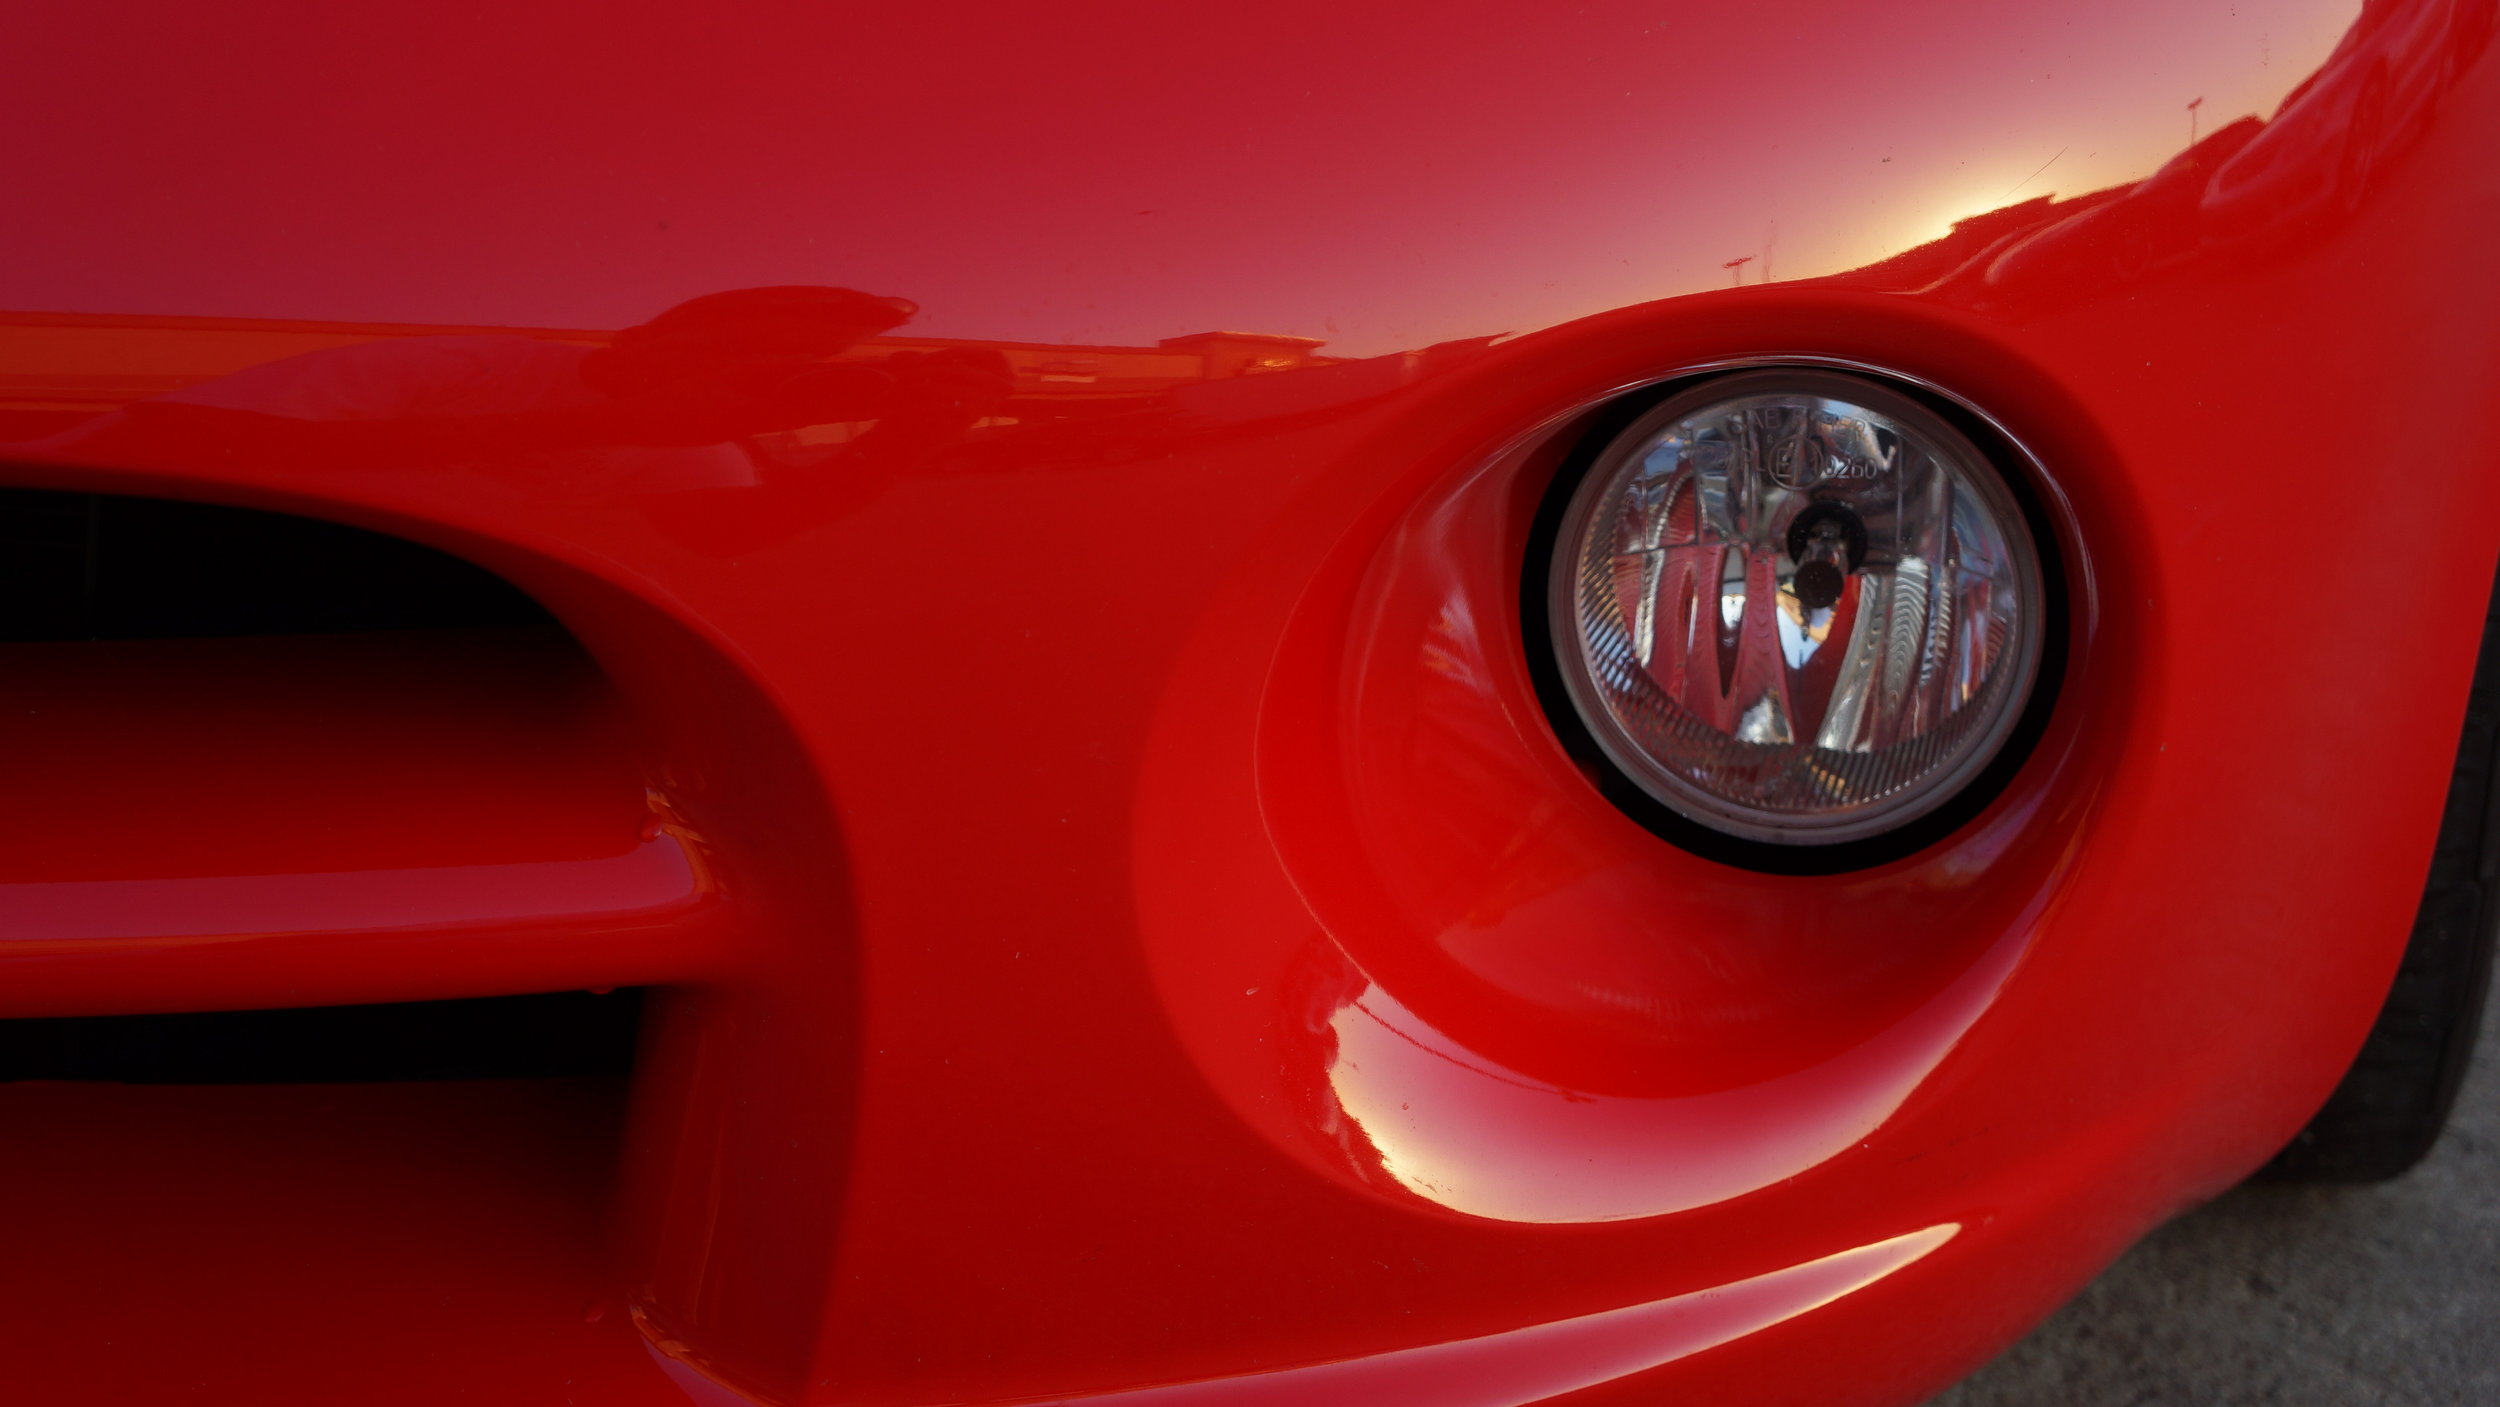
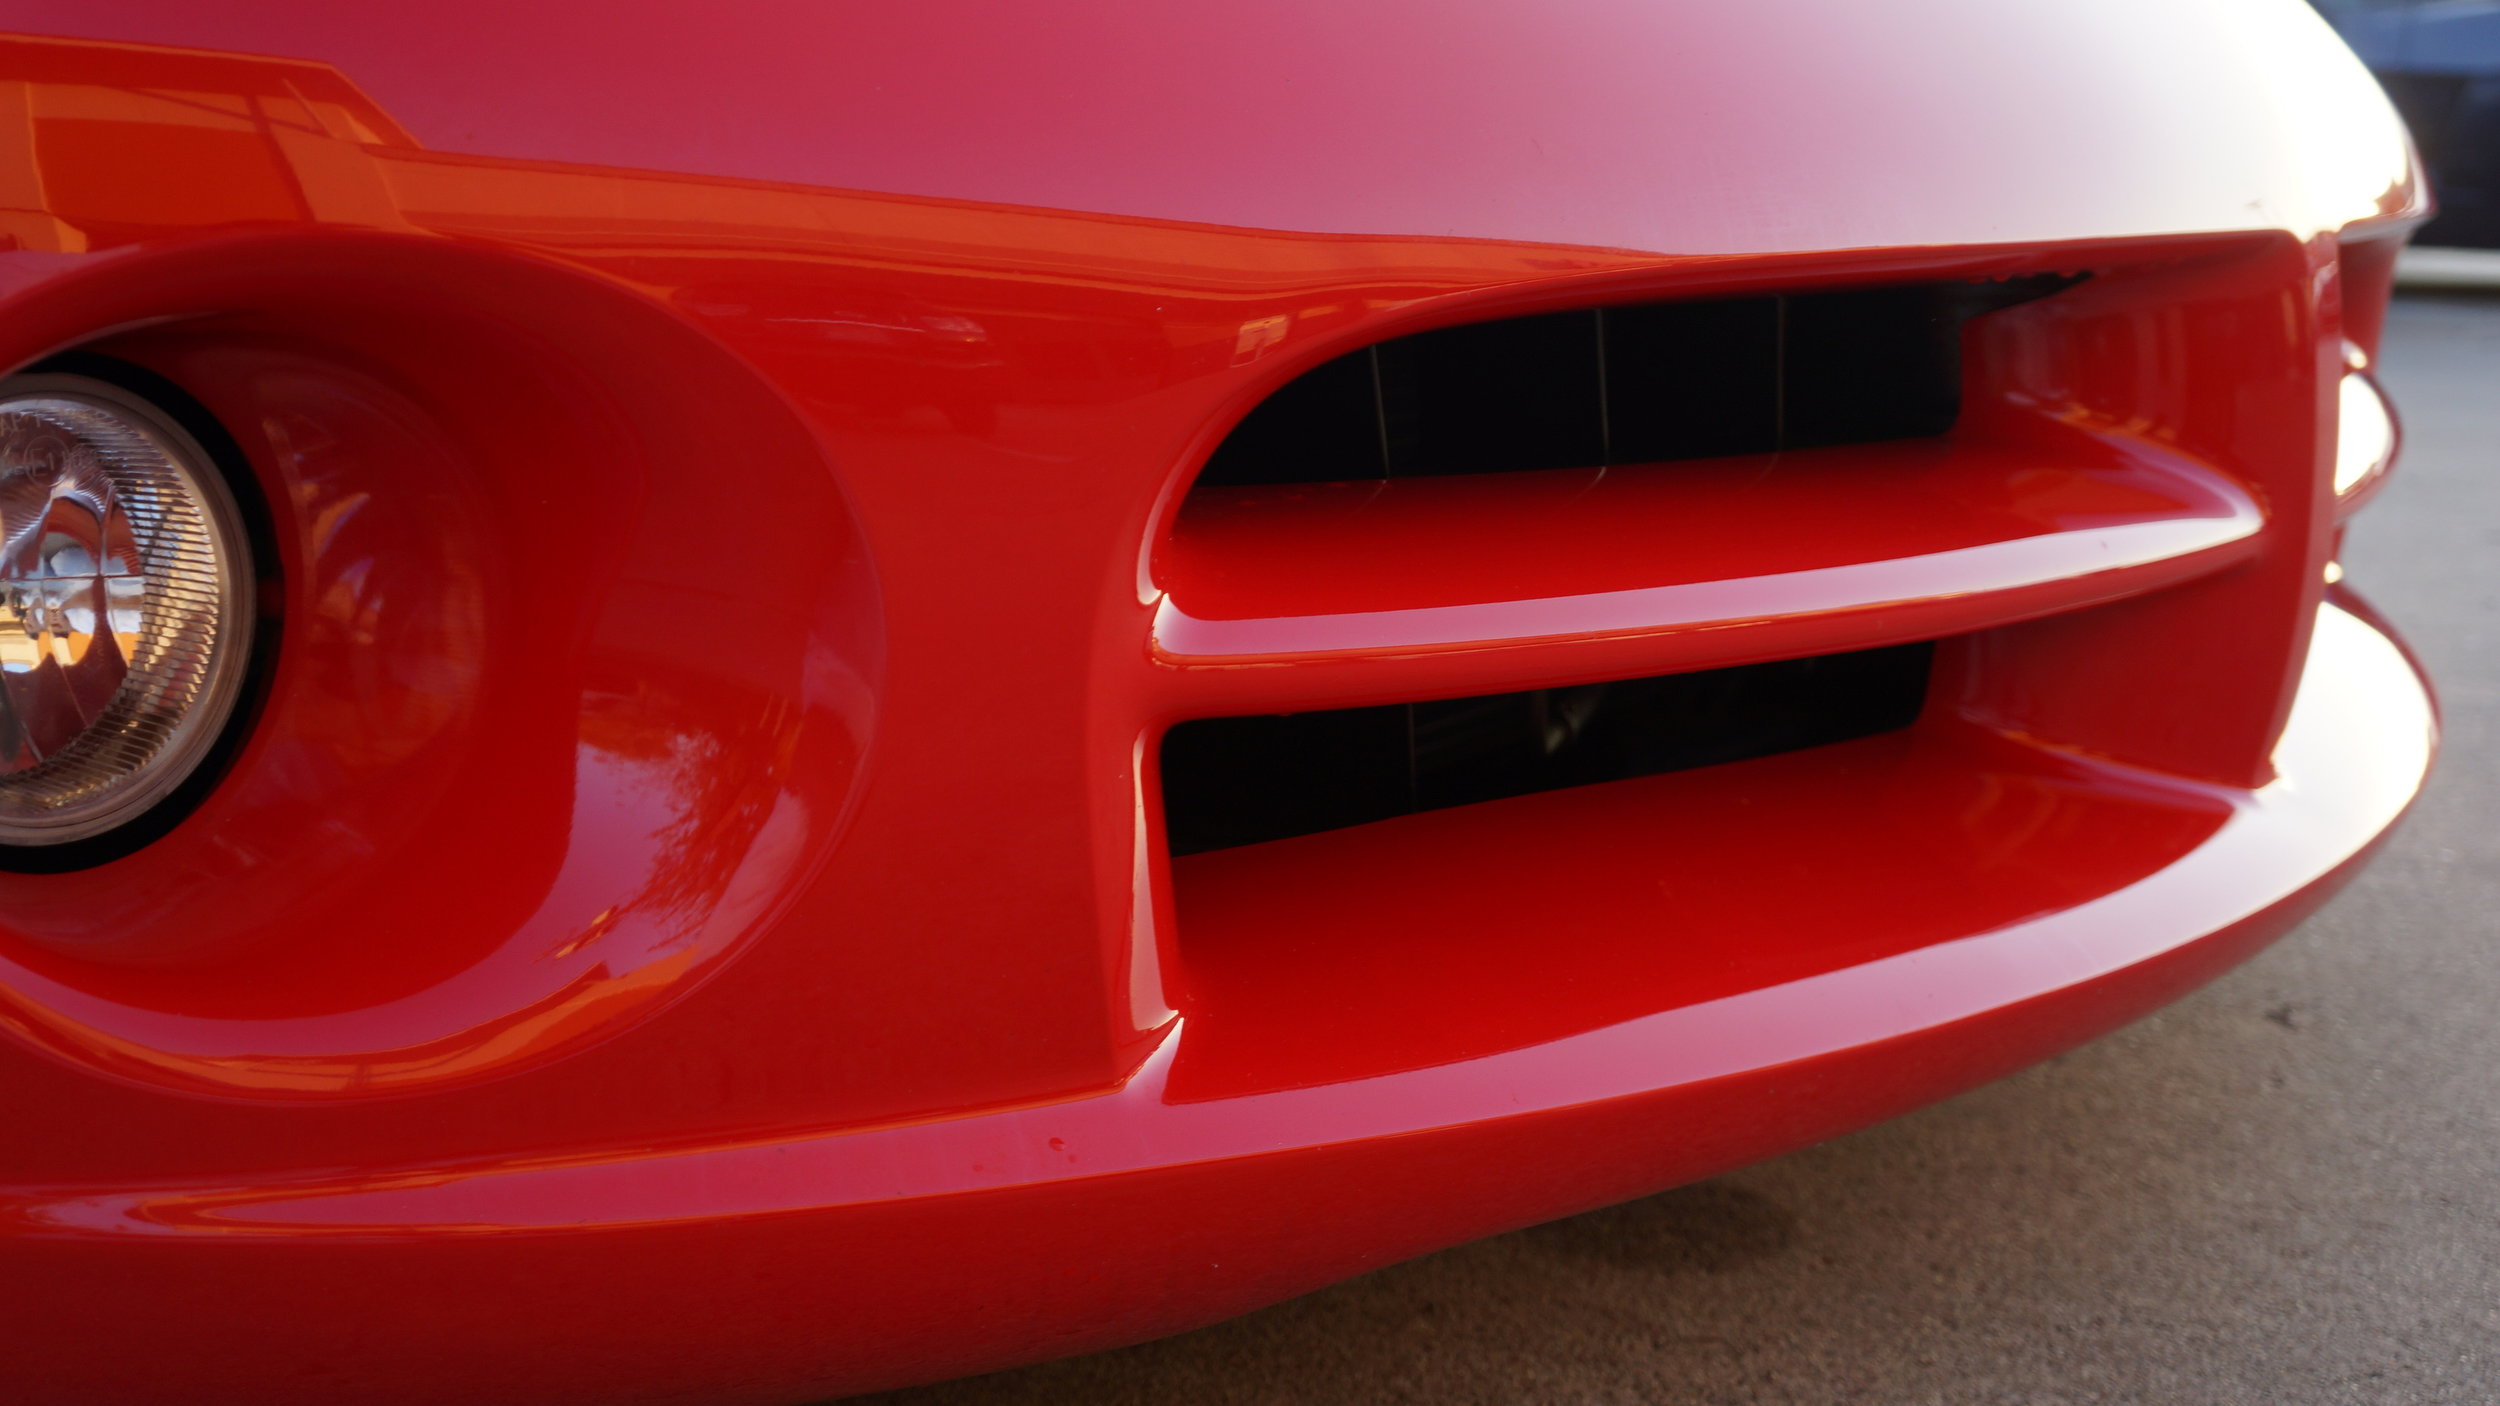
STEP 7: extra Mile
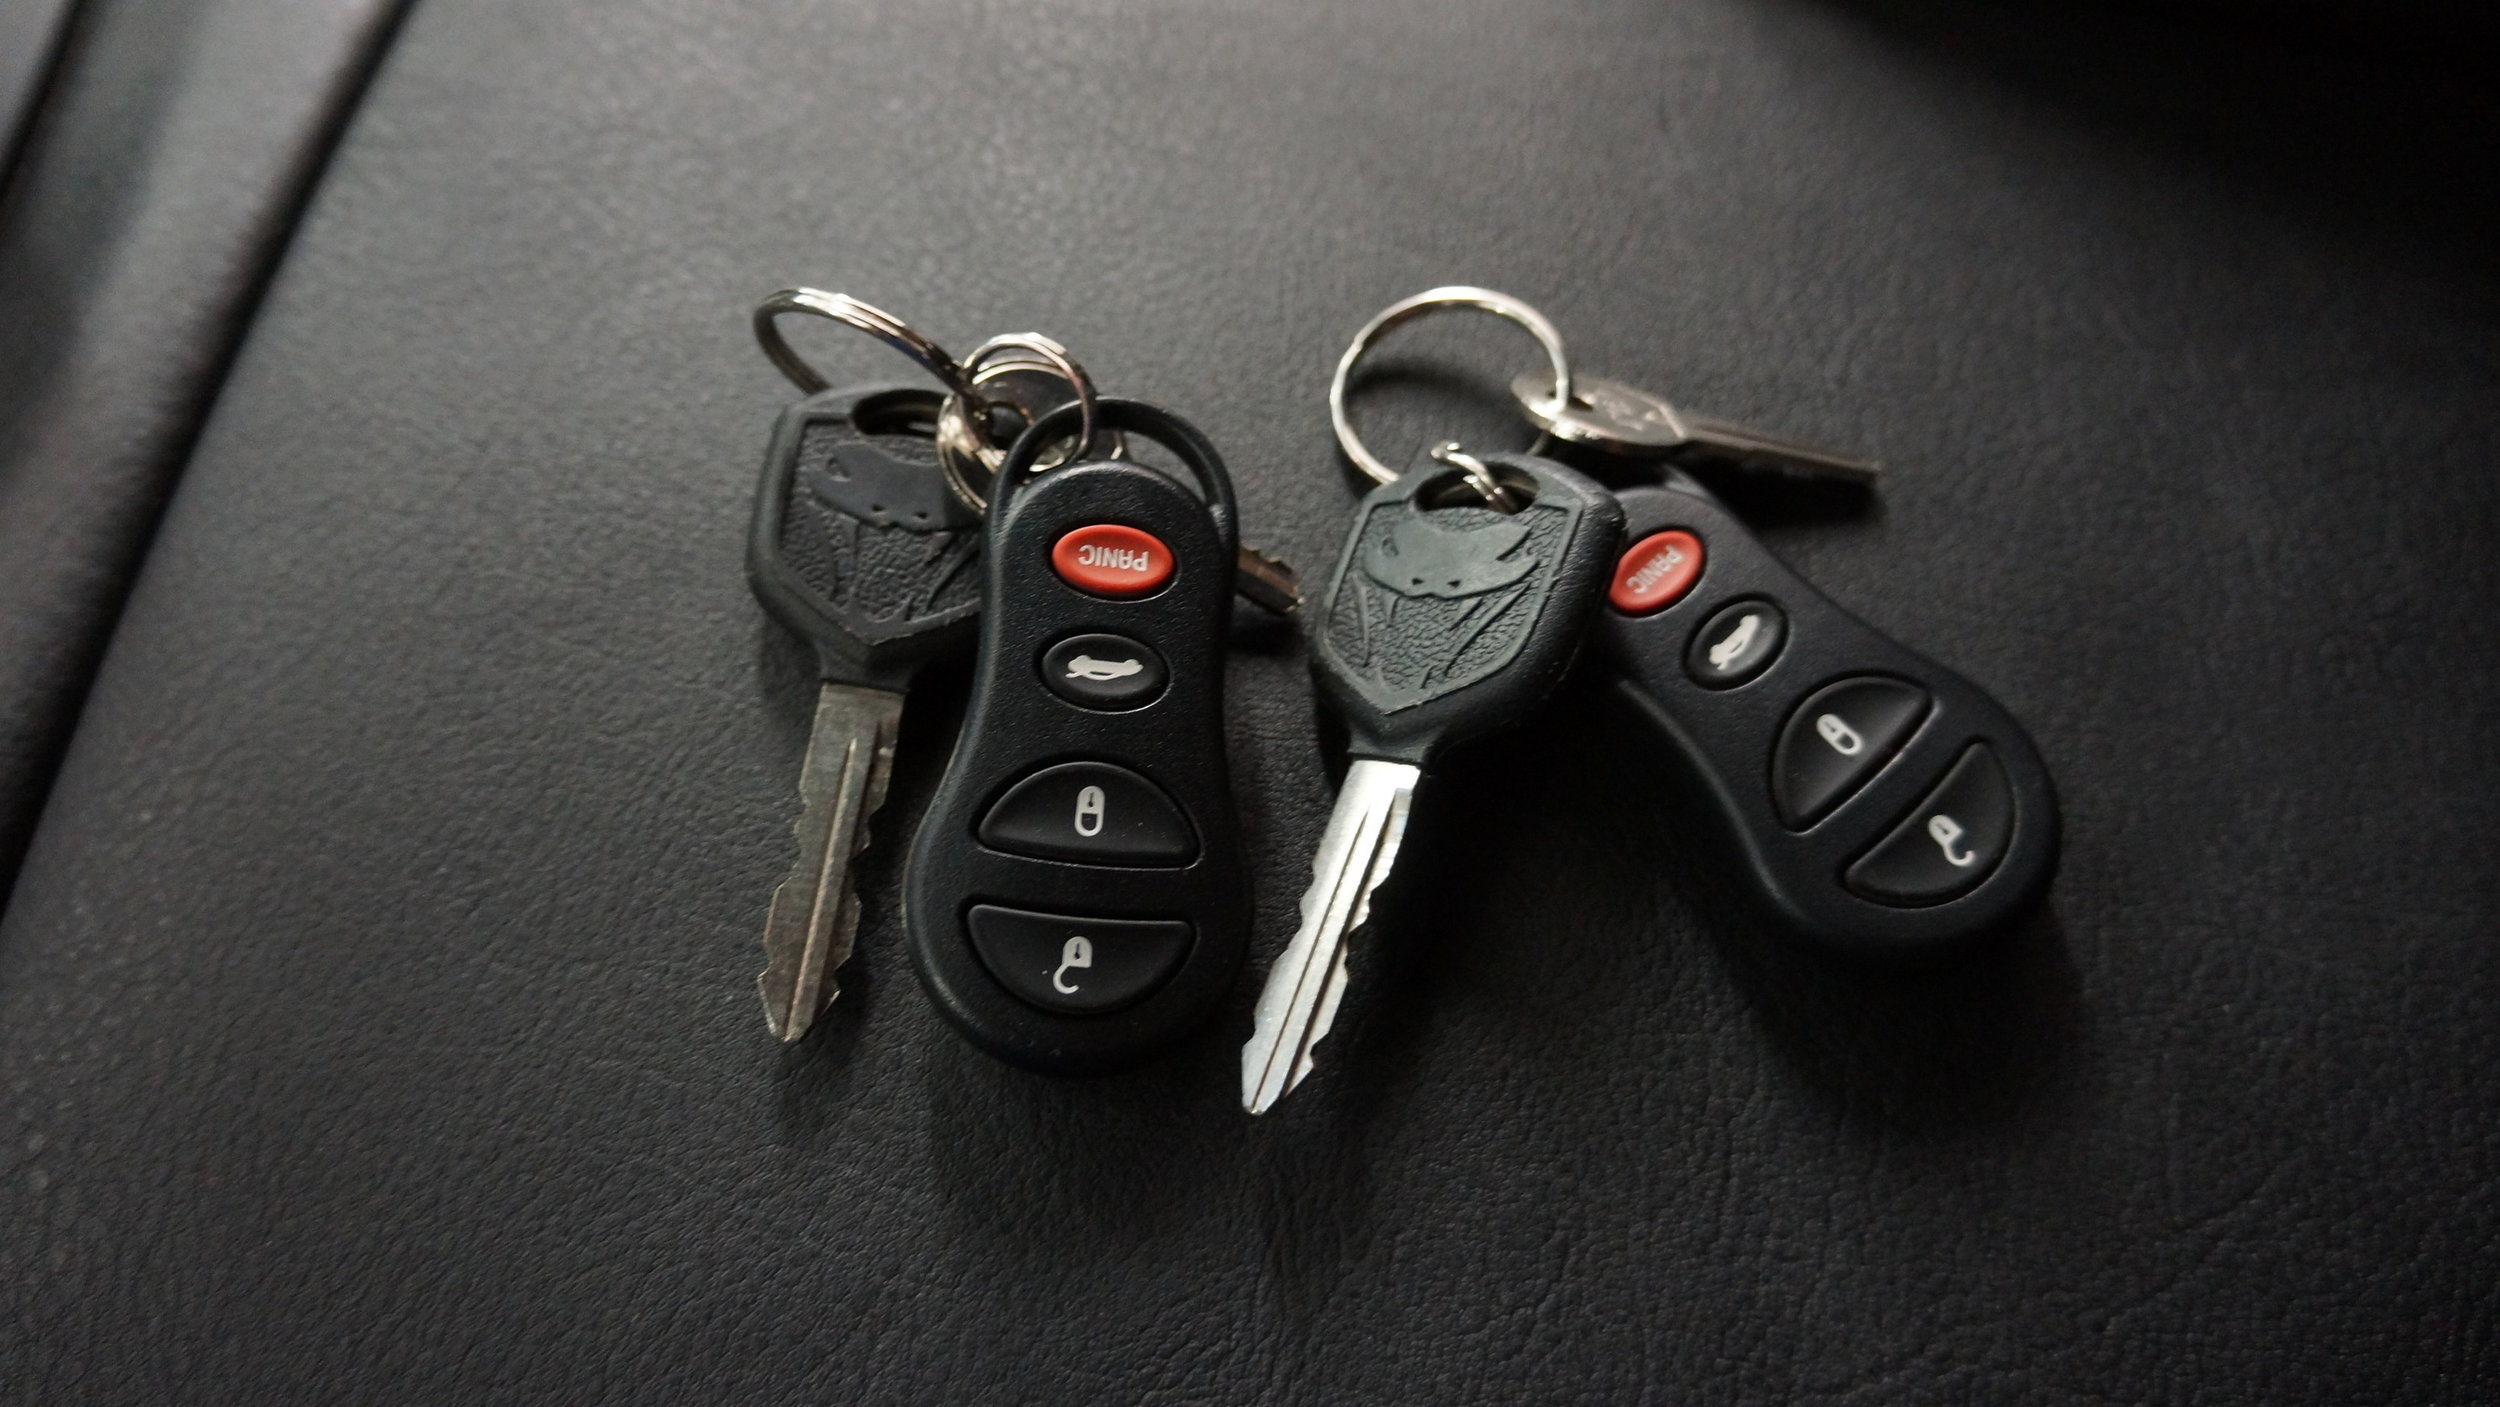
This is where you take detailed pictures of all features of the car. Not necessary but this will give you an upper hand over other's horribly prepared ads. Buyers will naturally pick a car with more detail over one with none, and even pay more money. You do not need to post them in your ad, just upload them to a dropbox account and send a potential buyer the link to it.


Congrats. You are now a semi pro at taking car pictures!
If you enjoyed this guide and gained from it,
please be sure to share it on your social media and check out our page
Facebook.com/500PlusHPForSale